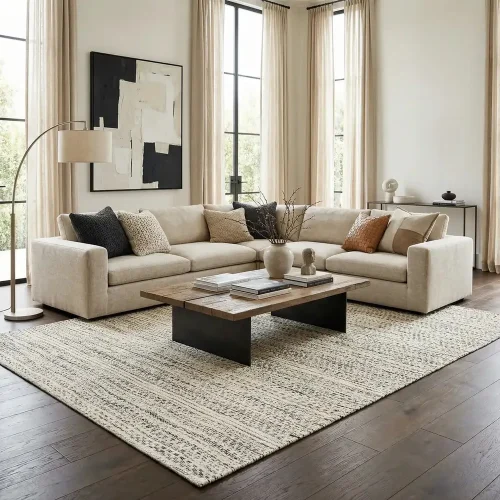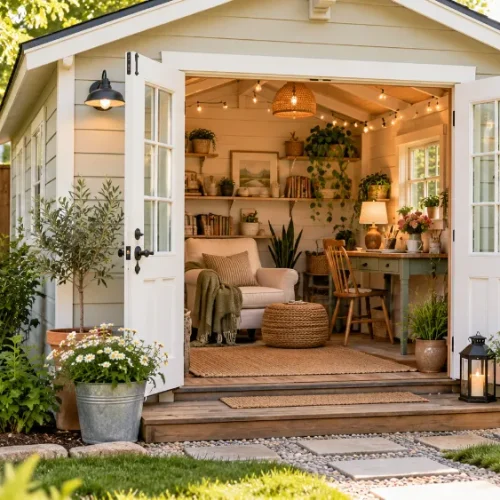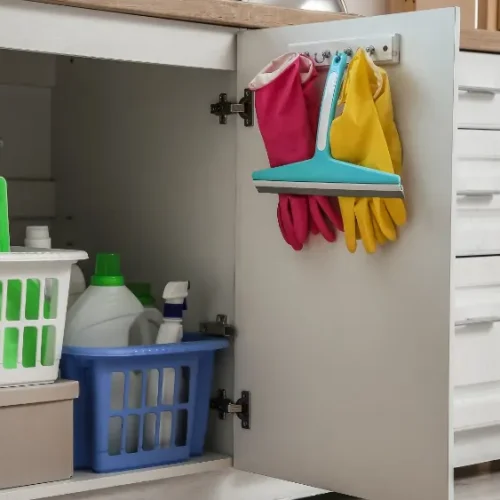

Most of us start a renovation the same way: a Pinterest board full of dreamy kitchens, a camera roll of saved Instagram rooms and maybe a paint chip taped to the wall. That’s the fun part, and it has its place. But a home renovation is really decided long before the first cabinet arrives or the first wall gets painted.
It’s decided when you choose which room deserves more space, where the family will gather, what you can afford to change and which inconveniences you’re willing to live with. Those decisions can look tiny on a floor plan. Once the work is finished, though, they shape daily life for years.
That’s why researching residential interior designing services, or even planning a weekend DIY refresh on your own, should begin with the way you intend to live rather than a collection of pretty photos. A good design process turns competing needs into a plan that works. The real question isn’t just what your home could look like, but which decisions will make it more useful, comfortable and durable for the people who live there.
Here are the decisions worth making first, plus a few budget-friendly ways to test them before anyone picks up a hammer.
Start With How You Actually Live
Before you look at a single sample, spend one ordinary week paying attention to your home. Jot down what you notice on your phone or a sticky note on the fridge:
- Friction points: spots where people bump into each other or work around something awkward.
- Clutter magnets: surfaces that are always covered because those items have nowhere better to live.
- Unused space: rooms or corners that look nice but rarely get used.
This exercise costs nothing, and it gives you (and any designer or contractor you hire) a far better brief than “I want it to feel open and bright.”
Decide What Deserves Space
Every home has a quiet competition for space. The dining table competes with the work-from-home desk. The wardrobe competes with the walking path. The kitchen competes with the dream of an open living room. Your square footage doesn’t grow just because your wish list does.
Picture a couple planning a compact apartment. One works from home several days a week, while the other loves cooking for friends. A large dining table suits their social life, but it could take the only sensible spot for a proper desk. A smaller extendable table and a well-placed work nook may serve both better than giving either activity a room of its own.
Before finalizing a layout, rank your three most important daily activities. Give space to those first, then work through the rest of the list. This keeps decorative features from crowding out what you do every day.
| Space Conflict | Often-Overlooked Compromise |
|---|---|
| Dining table vs. home office | Extendable or drop-leaf table plus a compact wall desk or closet “cloffice” |
| Guest room vs. hobby room | Daybed or sleeper sofa so the room works daily and hosts occasionally |
| Big sectional vs. walkway | Apartment-size sofa with a pair of light, movable accent chairs |
| Entry closet vs. wider hallway | Wall hooks, a slim bench and under-bench baskets |
Look Beyond the Floor Plan
A floor plan can show that a sofa fits between two walls without revealing whether the room will feel cramped when someone opens a cabinet or walks behind a seated guest. Dimensions tell you what’s possible; movement tells you whether it works.
Imagine a kitchen with plenty of storage but a refrigerator placed beside a narrow passage. Every time someone opens the fridge, anyone walking through has to stop. The problem isn’t a lack of cabinets. It’s the relationship between the objects and the people using them.
Try the painter’s tape test. Outline new furniture, an island or cabinet footprints on the floor with painter’s tape, and stack cardboard boxes to stand in for height. Then live with it for a few days: walk through with a laundry basket, “open” the doors, pull out the “chairs.” You’ll learn more in a weekend than from hours of staring at a drawing.
These common rules of thumb help you spot tight spots early:
| Clearance | Comfortable Rule of Thumb |
|---|---|
| Main walkways | About 36 inches |
| Kitchen work aisle (one cook) | About 42 inches |
| Kitchen work aisle (two cooks) | About 48 inches |
| Sofa to coffee table | About 14–18 inches |
| Dining table edge to wall | About 36 inches |
During design discussions, ask how doors, drawers and furniture will work at the same time, where two people need to pass and how the route from the front door to the living area works when the house is busy.
Understand the Cost of Change
The price of a renovation isn’t only about materials. The number and complexity of changes matter too. Moving plumbing, adding outlets, rebuilding storage and shifting walls can affect several parts of a project at once. Moving a sink a few feet, for example, might mean new drain lines, opening and refinishing the floor, and redoing the backsplash.
This is where a beautiful design can become an expensive one. A homeowner might budget for essential kitchen improvements, then add custom cabinetry, statement lighting and upgraded countertops along the way. Each addition seems manageable, but together they can squeeze out the budget for work that matters more.
Sort your proposed work into three groups:
| Category | What It Means | Example Projects |
|---|---|---|
| Essential | Safety, function or serious everyday problems | Fixing leaks, updating unsafe wiring, adding bathroom ventilation |
| Important | Makes regular activities easier or more comfortable | Pantry storage, better task lighting, replacing worn flooring |
| Optional | Mainly for looks or personal preference | Decorative pendants, a feature wall, upgraded hardware |
Protect the first group before committing to the third. Many homeowners set aside a contingency of roughly 10 to 20 percent for surprises, especially in older homes, and it’s always worth asking exactly what a quote includes.
Budget-friendly tip: Many “Optional” items make perfect DIY projects later. Hardware swaps, paint, open shelving, art and new light fixtures on existing boxes can all be added once the big work is done and you’ve had time to save.
Decide What You’ll DIY and What You’ll Hire Out
DIY can save real money, but only when the work is within your skills and doesn’t put your home, safety or warranty at risk. Deciding early helps you plan your budget, schedule and the order of work.
| Usually DIY-Friendly | Usually Best Left to Pros |
|---|---|
| Painting walls, trim and cabinets | Electrical rewiring and new circuits |
| Swapping hardware and faucets on existing lines | Moving plumbing or gas lines |
| Installing shelving, hooks and closet systems | Removing or altering walls |
| Click-lock or peel-and-stick flooring in small rooms | Anything requiring permits and inspections |
Be honest about time, too. A bathroom that takes a pro one week can take a weekend DIYer two months, which matters if it’s your only shower.
Choose Materials for Real Life
Judge a material by what happens to it after the first day, not just how it looks in a showroom. A glossy surface may bounce light beautifully but show every fingerprint. Open shelving may display your favorite dishes while collecting dust and grease. A delicate finish might suit a quiet guest room far better than an entryway used by kids and pets.
There’s no perfect material, only choices with different costs, upkeep and advantages:
| Material or Finish | Why People Love It | What to Consider |
|---|---|---|
| Quartz countertops | Durable, no sealing needed | Higher cost; sensitive to high heat |
| Laminate countertops | Budget-friendly, many looks | Edges can chip or swell if wet |
| Luxury vinyl plank | Water-resistant, DIY-friendly | Quality varies; cheaper options dent |
| Flat or matte paint | Hides wall flaws | Harder to scrub; best in low-traffic rooms |
| Satin or semi-gloss paint | Wipeable for kitchens, baths and trim | Shows wall imperfections more |
Make a DIY sample board. Gather paint swatches, flooring offcuts, tile samples and fabric scraps on a piece of foam board. Look at it in the actual room in the morning, afternoon and evening, under the lighting you plan to use. Ask how each material is cleaned and repaired, and whether matching replacements will be easy to find later.
Put Decisions in the Right Order
Renovation is a chain of decisions, and the order matters. The layout affects outlets and built-ins. Cabinet dimensions affect appliance choices. Lighting plans influence ceiling work. If an early decision changes late, everything depending on it may change too.
A sensible order for most projects:
- Layout and traffic flow
- Storage needs
- Appliances and fixtures (exact sizes drive cabinet and plumbing plans)
- Electrical and lighting plan
- Major materials like flooring, counters and tile
- Finishes and decor
Ask your designer or contractor which decisions must be locked in early and which can stay flexible. Agree, too, on who approves changes and how their costs are recorded. That shared understanding prevents disagreements when a favorite material is unavailable or a surprise turns up behind an old wall.
If you’ll live at home during the work, plan for that as well: set up a temporary kitchen station, seal off work areas with plastic sheeting and move delicate decor out of the way. When the dust settles, a good post-renovation cleanup plan gets you back to enjoying your space faster.
Design for the Years Ahead
Your home reflects the life you lead today, but it also has to handle changes that are hard to predict. A spare room may become a nursery, a study or a place for an aging parent. Storage needs grow and work arrangements shift.
That doesn’t mean designing every room for every possible future. It means protecting flexibility where it counts:
- Movable furniture instead of everything built-in.
- Layered lighting with dimmers, so a room shifts easily from work mode to cozy evenings.
- Adjustable storage that can be reconfigured as needs change.
- Neutral “bones” with personality added through paint, art and textiles that are easy to update.
Your Pre-Design Checklist
- I’ve tracked how my household actually uses the space.
- I’ve ranked our top three daily activities and given them space first.
- I’ve tested the layout with painter’s tape or cardboard mock-ups.
- I’ve sorted projects into Essential, Important and Optional, with a contingency set aside.
- I’ve decided which tasks I’ll DIY and which I’ll hire out.
- I’ve viewed material samples in my own lighting.
The Bottom Line
A successful renovation is the result of thoughtful choices about space, money, materials and time. Pretty photos are a wonderful starting point, but they’re not the plan. By deciding what matters most, testing the practical details and understanding the consequences of each change, you can create a home that does more than look finished. It can support the life unfolding inside it, with room for everyday routines, creative projects and whatever comes next.