The Fall Listing Dilemma
You spent a Saturday hauling mums home from the garden center, arranging pumpkins on the steps, and hanging the wreath you made last year. The house finally feels like autumn. Then your agent calls: the photographer is coming Thursday.
Now you’re stuck with a very real question. Do you pack up everything you just set out, or do you let your fall style show up in the listing photos?
The honest answer is somewhere in the middle. Seasonal touches can make a house feel lived-in, warm, and inviting, which is exactly the feeling buyers want when they scroll. But listing photos have a long shelf life. If your home is still on the market in mid-November or early December, a porch covered in jack-o’-lanterns quietly tells every buyer, “This house has been sitting for a while.” Fair or not, that impression can cost you showings.
The goal is simple: photos that feel cozy in October and still look current when the first snow flurries arrive. In this guide, we’ll walk through how to edit your fall decor, style the porch, prep your windows and glass doors, make the most of natural light, and time your photo shoot so your listing looks fresh for as long as it needs to.
The Longevity Test: Autumn vs. Halloween
Before you move a single pumpkin, walk through your house and sort every decoration into one of two piles. The first pile reads as “autumn.” The second reads as “a specific holiday.” That one distinction does most of the work for you.
Autumn decor ages gracefully. Think chunky knit throws, a bowl of pears on the counter, dried hydrangeas, wheat stalks in a tall vase, warm wood tones, and textured pillows in rust, olive, or cream. These pieces say “cozy” rather than “October 31.” A buyer viewing your listing in late November will barely register them as seasonal at all. They’ll just think the home looks comfortable.
Holiday decor has an expiration date. Skeletons, witches, spiderweb stretch, orange string lights, “Boo” signs, and carved jack-o’-lanterns all point to a single week on the calendar. The same goes for anything with “Happy Thanksgiving” or turkey motifs. These should come down before the photographer arrives, even if they go right back up afterward.
A few more quick rules of thumb:
- Pick neutral pumpkins over bright orange ones. White, cream, sage, and blue-gray heirloom varieties look elegant well into winter, while classic orange shouts Halloween.
- Keep it to about 20 percent. If fall decor dominates a room, the photo becomes about the season instead of the space. A few accents per room is plenty.
- Mind the colors in the frame. Deep oranges and blacks can throw off a photo’s color balance. Warm neutrals photograph more naturally.
- Remove anything that blocks architecture. Garlands across a mantel or leaf swags over a doorway can hide the trim and details buyers want to see.
If you’re not sure about a piece, ask yourself whether it would look strange in a photo taken the week after Thanksgiving. If the answer is yes, box it up for now.
Porch Arrangements That Photograph Well
Your front porch is usually the first image buyers see, and often the thumbnail that decides whether they click. It deserves the most attention, and also the most restraint.
- Start with a clean slate. Clear everything off the porch, then sweep, hose down the steps, and wipe the front door and its hardware. Cobwebs in the corners and dust on the light fixture show up clearly in high-resolution photos. If your door paint is chipped, a quick touch-up will do more for the photo than any decoration. (We covered a few more fast, affordable fixes in our post on budget-friendly home upgrades that make a house feel more valuable.)
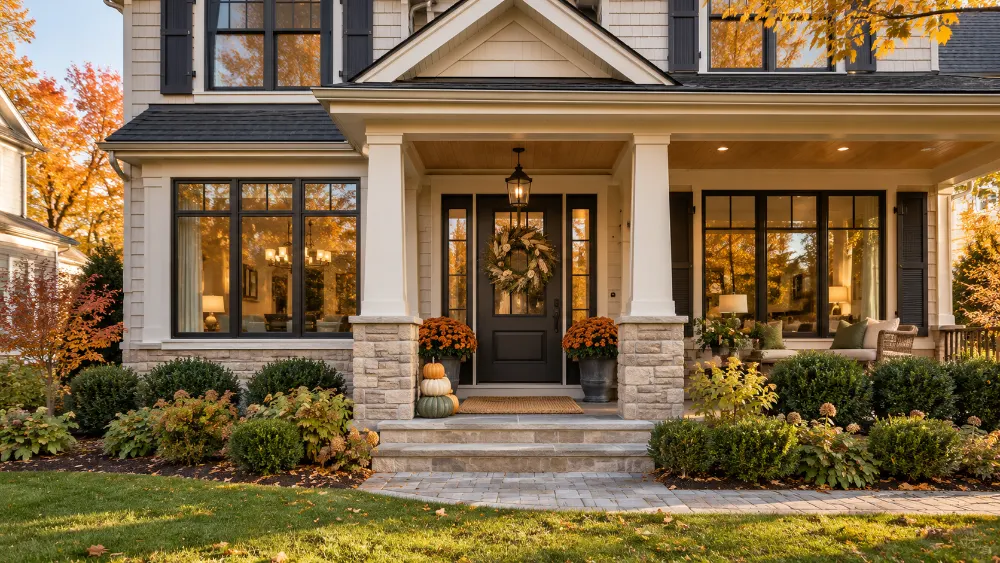
- Build a simple, symmetrical frame around the door. Two matching planters on either side of the entry create balance and draw the eye straight to the front door. Mums are the classic fall choice, and rust, burgundy, or cream blooms look rich without screaming Halloween. Because mums can fade fast, buy them a few days before the shoot, not two weeks ahead. If they start to wilt, swap in evergreens like boxwood or small potted cypress, which carry you right through winter.
- Use pumpkins sparingly and in groups. A cluster of three neutral pumpkins in varied sizes on one side of the steps looks styled. A pumpkin on every single stair looks busy and seasonal. Leave them uncarved; carved pumpkins droop within days and look unmistakably post-Halloween.
- Choose a wreath that could stay until New Year’s. A eucalyptus, magnolia, or dried grass wreath works in October and still looks right in December. Skip anything with plastic leaves in bright orange, or a pumpkin-shaped door hanger.
- Edit the extras. Hay bales, scarecrows, cornstalks tied to porch columns, and large inflatable decorations should all go. They clutter the frame and hide the bones of the house. The same applies to doormats with seasonal sayings; a plain coir or woven mat is safer.
- Don’t forget the walkway. Rake leaves from the lawn and path the day before the shoot, and again that morning if needed. A few scattered leaves add charm, but a thick carpet of them can read as neglected yard care. If you’ve already prepped your path for trick-or-treaters, many of the same steps apply. See our guide to getting your front walk ready before Halloween.
Window Decorations and Crystal-Clear Glass
Windows do double duty in listing photos. From the outside, they’re part of your curb appeal. From the inside, they frame the view and pull light into every room. Fall decorating and fall weather both tend to work against them, so they need a little extra care.
- Take down the window clings and stickers. Leaf decals, ghost silhouettes, and pumpkin clings are fun for the family, but in photos they look like smudges or clutter. They also leave a filmy residue once removed, so peel them off a few days early and clean the glass afterward.
- Rethink window boxes and sills. A window box planted with trailing ivy, small ornamental cabbages, or cool-season pansies looks seasonal in a gentle way and holds up into early winter. Indoors, clear the sills of candles, mini pumpkins, and figurines. A bare sill makes a window look bigger and lets the view become the focal point.
- Open the treatments all the way. Pull curtains fully to the sides and raise blinds completely, or tilt them evenly if privacy is a concern. Half-drawn shades look uneven in photos and block light the photographer is counting on.
- Clean the glass inside and out. This is the step most sellers underestimate. Autumn brings pollen residue, rain spots, and dust kicked up by leaf blowers, and all of it shows when the camera points toward a window. Photographers often shoot toward glass doors and big windows to capture the backyard, the deck, or that pretty row of fall trees. Streaks and water spots catch the light and turn a lovely outdoor view into a hazy one.
For first-floor windows and sliding glass doors, a squeegee, a microfiber cloth, and a simple mix of water with a few drops of dish soap will get most homeowners there. Don’t skip the tracks of sliding doors, which collect leaves and grit, or the screens, which can make the whole view look gray. Remove screens entirely for the shoot if you can, and store them in the garage until it’s done.
Upper-story windows are another story. Ladder work on a two-story house is risky, and it’s easy to leave streaks you can’t see from the ground. If you’re selling on the coast, booking a Wilmington window cleaner for two story homes a few days before the photographer arrives is an easy way to make sure every pane looks just as clear from the street as it does from the living room. Wherever you live, professional window washers can handle the high glass safely while you focus on staging inside.
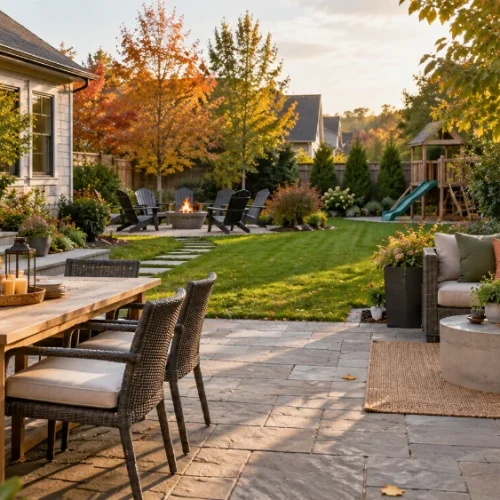
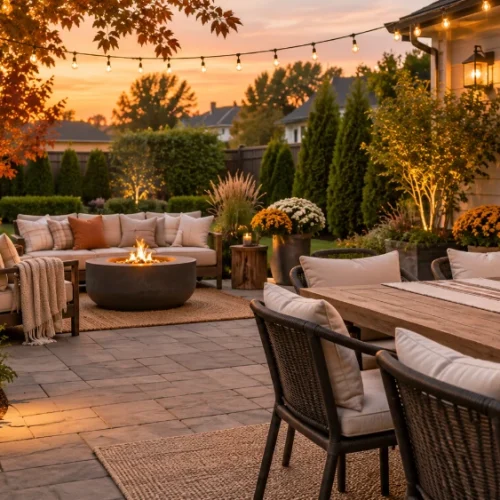
Check the view itself. Once the glass is clean, look through it. Move trash cans, garden hoses, and kids’ toys out of the sightline. If your backyard has fall touches, like a fire pit with a stack of logs or a pair of Adirondack chairs with throw blankets, keep those. They make the outdoor space look usable well beyond October.
Making the Most of Autumn’s Natural Light
Fall light is beautiful, but it’s also lower in the sky and fades earlier in the day. That changes how your rooms look on camera, so a little planning goes a long way.
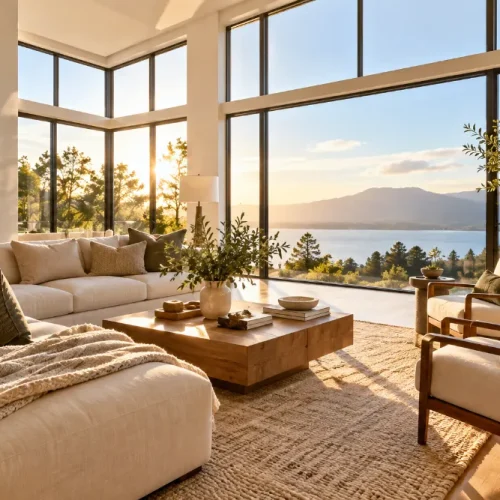
Know which way your rooms face. South-facing rooms get the most consistent light this time of year. East-facing rooms glow in the morning, and west-facing rooms warm up in the afternoon. North-facing rooms stay cooler and dimmer, so they’ll need the most help. Share this with your photographer or agent so they can plan the order of the shoot.
Turn on every light, and match the bulbs. Even with sunshine pouring in, photographers usually want all the lamps and overhead fixtures on to fill shadows. The catch is color. If one lamp has a warm yellow bulb and the ceiling fixture has a cool blue-white one, the photos will look patchy. Swap in bulbs with the same color temperature throughout, ideally a soft white or neutral daylight tone.
Skip the candles and string lights. Flickering candlelight and orange fairy lights feel cozy in person, but they create hot spots and color casts in photos. If you love the ambiance, save it for open houses.
Lighten heavy fall textiles. Dark velvet pillows, plaid blankets, and deep-toned table runners absorb light. Keep one or two for warmth and swap the rest for lighter linen or cream knits. The room will instantly feel brighter and bigger. For more ideas on letting light do the heavy lifting, see our guide to staging a home with large windows and natural light.
Use mirrors strategically. A large mirror across from a window bounces daylight deeper into a room. Just double-check that it doesn’t reflect the photographer, a cluttered hallway, or the laundry pile.
Timing Your Photo Shoot
Even perfectly styled rooms can fall flat if the timing is off. In autumn, the calendar, the clock, and the forecast all matter.
- Aim for the peak of the foliage, not the tail end. If your trees are at their most colorful, that’s a gift. Exterior shots with golden maples or red oaks in the background look stunning and suggest a neighborhood with mature landscaping. Once the branches go bare, the same yard can look stark. If you’re close to listing, it may be worth scheduling the exterior shots a bit earlier to catch the color.
- Book the right time of day. For most homes, mid-morning to early afternoon gives the brightest, most even interior light. Exterior shots depend on which way the front of the house faces; a good photographer will plan for the sun to light the facade rather than sit behind it. Remember that daylight runs out earlier in fall, so avoid late-afternoon appointments for interiors.
- Consider a twilight exterior. Many agents love a dusk photo, with every light glowing inside and a deep blue sky above. In fall, twilight arrives early, which makes this shot easier to schedule. It also feels timeless, since it shows warmth and light rather than seasonal props.
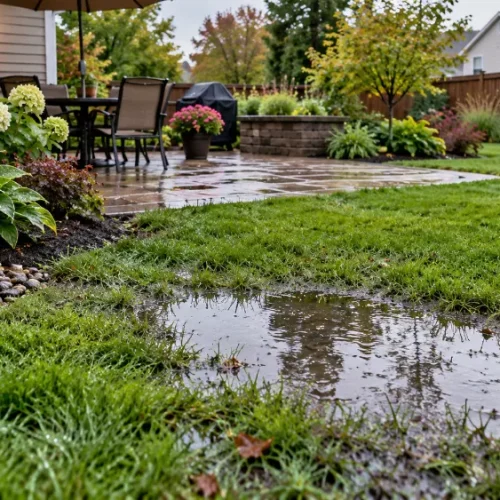
- Watch the forecast. Overcast skies can actually be helpful indoors because they soften harsh shadows. Outdoors, though, gray skies make a house look flat. Most photographers can replace a dull sky in editing, but rain-soaked porches, puddles on the driveway, and soggy leaves are much harder to fix. If heavy rain is expected, ask about rescheduling the exterior portion.
- Plan a backup refresh. Talk with your agent about what happens if the listing stays active into December. Swapping in a few updated exterior photos with evergreen planters and a simple wreath is far cheaper than letting outdated images work against you. Some sellers even schedule a quick second shoot in advance so the listing never looks stale.
Quick Pre-Shoot Checklist
Run through this list the day before your photographer arrives:
- Holiday-specific decor (Halloween and Thanksgiving) boxed up
- Porch swept, door wiped, fresh mums or evergreens in matching planters
- Uncarved, neutral pumpkins grouped in one or two spots only
- Lawn and walkway raked
- Window clings removed and all glass cleaned inside and out
- Screens removed and sliding door tracks cleared
- Curtains open, blinds raised, sills cleared
- Bulbs matched and every light working
- Candles, string lights, and extra throws put away
- Trash cans, hoses, and cars out of the frame
Let Your Home’s Personality Shine, Without the Expiration Date
You don’t have to choose between a warm, welcoming home and listing photos that hold up over time. The secret is editing. Keep the textures, colors, and natural elements that make autumn feel cozy, and set aside anything that ties your home to a single week on the calendar.
Pair that with spotless windows, plenty of natural light, and smart timing, and your photos will feel just as inviting in December as they do in October. And once the photographer packs up, feel free to bring the jack-o’-lanterns back out. Your house is still your home until closing day.
Looking for more seasonal inspiration? Browse our Seasonal DIY Décor ideas for projects you can enjoy now and pack up easily later.