A she shed doesn’t have to be a custom cottage with a bathroom and a mini-split. Most of the dreamy reading nooks, craft rooms, and potting retreats you’ve saved on Pinterest started life as ordinary storage sheds full of rakes, paint cans, and a lawnmower that hasn’t started since 2019.
The difference between a dusty storage box and a room you actually want to spend a Saturday afternoon in comes down to a handful of things you can do yourself: a little weatherproofing, insulation, a fresh coat of paint, good light, and a few well-chosen thrifted finds. That’s good news for anyone who loves a DIY project, because nearly every step of a she shed makeover is beginner-friendly.
Below, we’ll walk through the whole process step by step, share what each piece typically costs, and, because this is the fun part, give you plenty of decorating ideas to make the space feel like yours.
First, Decide What Your She Shed Is For
Before you buy a single board or paint swatch, picture yourself in the finished space. What are you doing? The answer shapes almost every decision that follows, from where the outlets go to what kind of flooring makes sense.
| She Shed Purpose | What It Needs Most | Decor Direction |
|---|---|---|
| Reading or relaxation nook | Comfortable seating, soft lighting, temperature control | Cozy cottage, layered textiles, warm whites |
| Craft or sewing room | A sturdy work surface, bright task lighting, lots of storage | Clean and bright, pegboard walls, labeled bins |
| Potting and garden shed | Washable surfaces, a potting bench, tool storage | Rustic farmhouse, galvanized metal, terracotta |
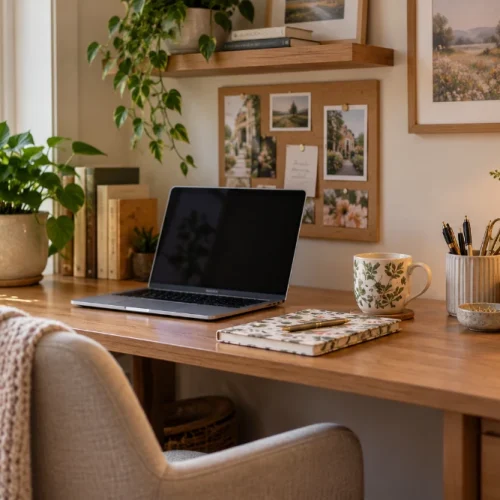
| Home office or studio | Power, reliable light, a real desk, good ventilation | Modern minimal, neutral palette, one bold accent |
| Art or painting studio | Natural light, durable floors, drying space | Gallery white, open shelving, drop cloths as decor |
A shed can absolutely do double duty, but knowing your main use keeps you from spending money on things you won’t use.
Step 1: Choose the Shed (or Use the One You Have)
The cheapest she shed is the one already sitting in your yard. If it has a solid floor, a roof that doesn’t leak, and walls that aren’t rotting at the bottom, you can usually finish the inside for about $1,000 to $3,000.
If you’re starting from scratch, you have three paths:
- Convert an existing shed. Often $1,000 to $3,000 for the interior, since the shell is already paid for. This is the true budget route and the focus of this guide.
- Buy a kit. Good-looking wood kits in the 10×12 range commonly run $3,000 to $5,000 before you finish the inside. Kits are cheaper on materials than buying every board separately, and many come with charming details like transom windows and double doors already built in.
- Build from scratch or hire it out. The most flexible option and usually the most expensive, because you’re paying for every material and, with a contractor, every hour of labor.
Before you commit to a size, check your local rules. Many towns let you skip a permit for small storage sheds, but adding electricity or using the space as a room can change that. A quick call to your local building office saves headaches later.
If you want a ballpark for a new build, a she shed cost calculator will rough out the shell, insulation, flooring, and utilities from your dimensions and region.
Step 2: Fix What Water Can Reach
This isn’t the glamorous part, but it’s the most important one. Paint and pillows won’t save a shed that leaks. Before you spend a dollar on décor, walk around the outside and look closely:
- Check the roof. Step inside on a sunny day, close the door, and look for daylight. Seal gaps around the trim and windows with exterior caulk (about $8 a tube). Replace any missing or curling shingles.
- Get it off the dirt. Wood touching soil wicks moisture and rots. If your shed sits directly on the ground, consider leveling it on concrete blocks or a gravel pad.
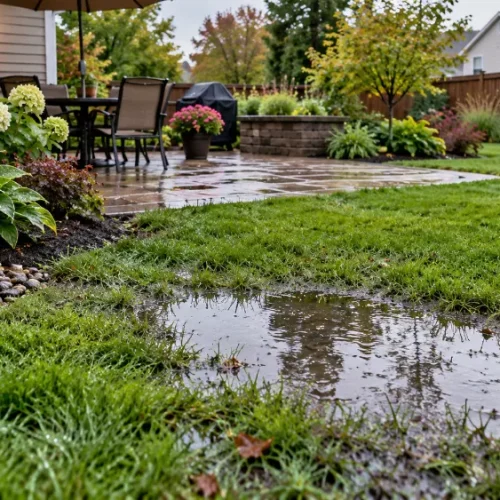
- Manage the runoff. Clear leaves, mulch, and soil away from the base so rain drains away instead of pooling. A simple gutter and rain barrel can redirect water and give you free water for your potted plants.
- Look for rot. Press a screwdriver into the bottom of the wall siding and the corners of the floor. If it sinks in easily, replace that section before you go further.
This step is cheap, but skipping it is the fastest way to ruin everything you do inside.
Step 3: Insulate (the Biggest Comfort Upgrade per Dollar)
An uninsulated shed is an oven in July and a freezer in January, which means you’ll only use it about four weekends a year. Insulation is what turns a shed into a room.
Fiberglass batts between the wall studs are the budget pick. For a typical 10×12 shed with 8-foot walls, expect roughly $300 to $650 in batts, depending on thickness and whether you do the ceiling too. Wear gloves, long sleeves, eye protection, and a mask, and you can knock it out in a day.
Rigid foam board is a good alternative if your studs are irregular or you want a thinner wall. It costs a bit more but goes up quickly and is easier to cut cleanly.
Step 4: Cover the Walls
Once the insulation is in, it needs a cover, and this is where your shed starts to look like a real room. Your main options:
- Plywood or OSB. The cheapest route, and it holds screws anywhere, so shelves, hooks, and art go up easily. Painted plywood looks clean and a little rustic, which suits a cottage or farmhouse style perfectly.
- Beadboard or shiplap-style panels. A classic cottage look for not much more money. Sheet goods are faster to hang than individual boards and hide uneven seams well.
- Drywall. Inexpensive per sheet, but it needs taping and mudding and doesn’t love damp sheds. Usually not worth it unless the space is climate-controlled.
Plan on roughly 12 to 14 sheets for the walls of a 10×12, or about $400 to $800 depending on what you choose.
Decor idea: Can’t decide? Do a mix. Run beadboard on the lower third of the walls with a simple chair rail cap, then use smooth plywood above. It gives you that wainscoting charm for a fraction of the cost.
Since plywood walls take screws anywhere, they’re perfect for open storage. Our guide on how to build DIY floating shelves from plywood walks you through a simple, sturdy shelf you can build from scrap pieces left over from this step.
Step 5: Paint It Light (and Pick a Palette)
Paint is where a budget makeover earns its keep. A gallon or two of light-colored interior paint and a quart of primer runs about $60 to $150 with supplies. White, cream, or a pale sage will make a small room feel twice as big, especially if you only have one window.
Here are a few she shed color palettes that work beautifully in small spaces:
| Style | Walls | Trim and Accents | Pairs Well With |
|---|---|---|---|
| Cottage Garden | Soft cream or warm white | Sage green or dusty blue | Floral fabrics, wicker, vintage pottery |
| Modern Farmhouse | Crisp white | Matte black | Natural wood, galvanized metal, linen |
| Boho Retreat | Warm off-white | Terracotta or mustard | Rattan, macramé, layered rugs, plants |
| Coastal Calm | Pale gray or sandy beige | Navy or soft aqua | Driftwood, rope accents, striped textiles |
| Romantic Vintage | Blush pink | Antique white | Brass hardware, lace curtains, thrifted china |
Paint the floor, too, if you’re not covering it. Porch-and-floor paint holds up well and costs less than any flooring. For a playful touch, use painter’s tape to create a checkerboard or stenciled “rug” pattern right on the plywood.
And don’t forget the outside. Painting the exterior door a cheerful color (think robin’s egg blue, buttery yellow, or deep green) and adding a pair of window boxes gives your shed instant curb appeal from the house.
Step 6: Floor on a Budget
If the plywood subfloor is sound, painted floors and a big thrifted rug are the cheapest finish. Layering a jute rug under a smaller patterned one adds warmth and texture without much cost.
If you want something nicer, click-together vinyl plank is waterproof, easy to install over plywood, and typically $2 to $4 per square foot. That’s about $250 to $500 for 120 square feet. It’s a great pick for potting sheds and craft rooms where spills happen.
Step 7: Light It
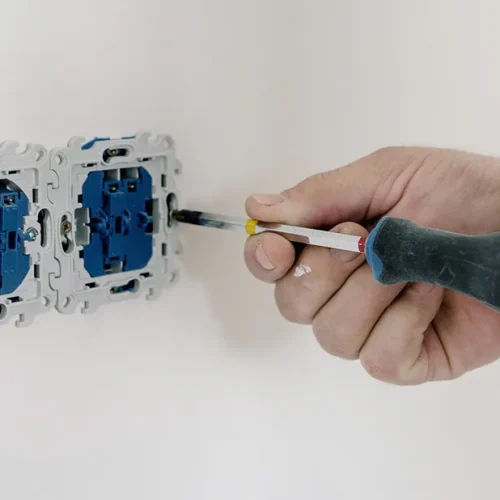
Running power to a shed is the single biggest cost jump in most she shed budgets. Hiring an electrician to run a line and add outlets commonly starts around $1,200 and can climb well past that if the shed is far from the house.
If that’s not in the budget yet, start with:
- Battery-powered or rechargeable LED puck lights and lamps.
- A small solar shed light kit with a roof panel.
- Warm-white string lights for atmosphere.
- A rechargeable lantern or two for a vintage feel.
Budget $40 to $100 and you can always add wiring later. If you do add electricity, hire a licensed electrician and pull the permit.
Decor idea: Make your lighting part of the design. Swag a plug-in pendant (or a battery-powered one) over a reading chair, drape string lights along the ceiling beams, or hang a thrifted brass fixture fitted with a rechargeable bulb.
Step 8: Furnish It Secondhand
This is the fun part, and it’s where you can spend almost nothing. Facebook Marketplace, yard sales, estate sales, and thrift stores are full of small chairs, side tables, and bookshelves that fit a shed perfectly. A fresh coat of paint ties mismatched pieces together.
A few ideas that punch above their price:
- A fold-down wall desk or shelf to save floor space in a craft room or office.
- Curtains on the window and door glass for softness and privacy. Café curtains on a tension rod are a renter-friendly, no-drill option.
- Pegboard on one wall for craft supplies or garden tools. Paint it the same color as the walls for a built-in look, or an accent color to make it pop.
- A mirror opposite the window to bounce light around and make the room feel bigger.
- A daybed or loveseat if your shed is for reading, napping, or hosting a friend.
Set aside $100 to $400 and be patient. The best finds turn up when you’re not in a hurry.
Step 9: Add the Finishing Touches
The details are what make a she shed feel personal rather than just finished. These small touches cost little but make a big difference:
- Bring the garden in. Trailing pothos, a fiddle-leaf fig, or a few herbs on the windowsill soften every corner. Dried flowers and eucalyptus bundles work if you don’t have a green thumb.
- Hang art you love. Frame your own watercolor, pressed flowers, vintage seed packets, or a thrifted landscape painting. A gallery wall works even in tiny spaces.
- Layer textiles. Throw blankets, a mix of pillows, and a seat cushion make a hard chair inviting.
- Add scent. A reed diffuser, a bowl of lavender, or a candle (used safely, never left unattended) makes the space feel like a retreat.
- Decorate seasonally. A small wreath on the door, pumpkins on the step in fall, or a mini tree with twinkle lights in December keeps your shed feeling fresh all year.
What a Budget She Shed Makeover Really Costs
Here’s a sample interior budget for converting an existing 10×12 shed you already own:
| Item (10×12 shed) | Thrifty | Comfortable |
|---|---|---|
| Fiberglass batt insulation | $300 | $650 |
| Interior wall panels | $400 | $800 |
| Paint, primer, and supplies | $60 | $150 |
| Vinyl plank or painted plywood floor | $100 | $500 |
| Lighting | $40 | $100 |
| Space heater or fan | $50 | $150 |
| Furniture, rug, and décor | $100 | $400 |
| Total interior makeover | $1,050 | $2,750 |
Prices vary by region and store, so treat these as planning numbers and check them against your local hardware store before you shop. Doing the work yourself is what keeps the total this low. Hiring out insulation and wall finishing can easily double it.
Easy Ways to Save Even More
If you need to trim the budget further, try these:
- Shop the “oops” paint shelf. Mis-tinted paint is often deeply discounted, and light neutrals are common.
- Ask for offcuts. Lumber yards and home improvement stores often sell cull lumber and plywood scraps cheaply, which are perfect for shelves and trim.
- Phase the project. Do the weatherproofing and insulation this season, then add walls, paint, and décor as your budget allows.
- Reuse what you have. That lamp in the guest room or the extra throw pillows in the closet may be exactly what your shed needs.
Make It Yours
The best she sheds aren’t the most expensive ones. They’re the ones built around how you’ll actually use the space, whether that’s painting, sewing, reading, potting plants, or just sitting with a cup of coffee and the door wide open. Fix the leaks, insulate, go light on the walls, and let your secondhand finds and personal touches do the decorating.
If you’re still deciding between converting what you have and building new, run your numbers through a free shed cost calculator first. It’s the quickest way to see which route fits your budget.