This post contains affiliate links. As an Amazon Associate, I earn from qualifying purchases, at no extra cost to you. See our disclosure policy.
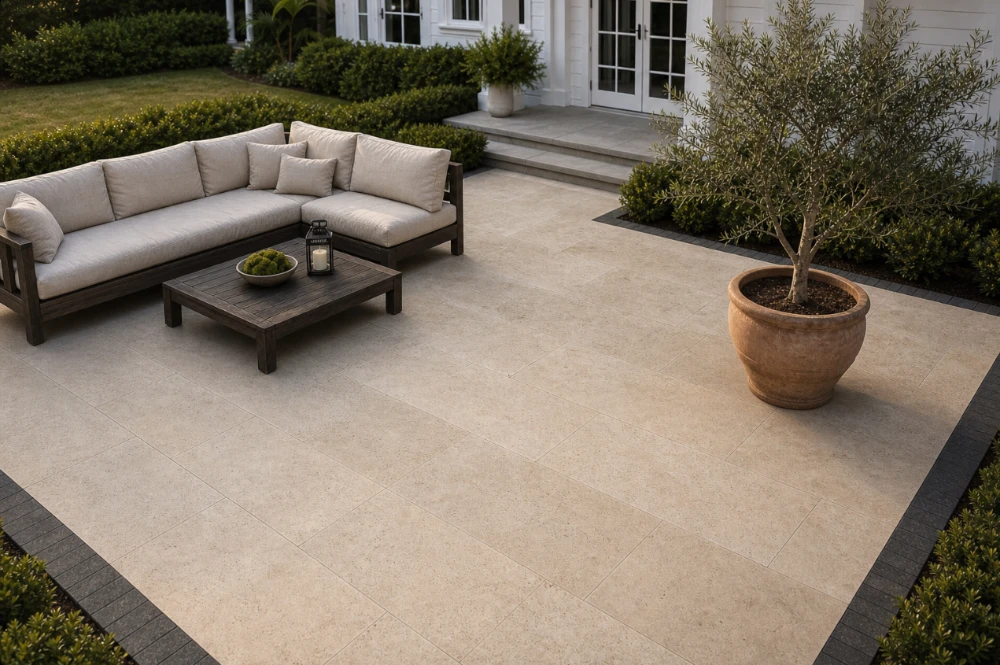
A paver patio can read two ways. It can look builder-basic, or it can look like the terrace of a boutique resort. The gap between those two outcomes is rarely about money. It comes down to a few decisions: the size of the stone, the pattern you lay it in, the border you frame it with, and how well you keep it up over the years.
If the resort-at-home feeling in a tropical villa makeover is what you are after, this is the part that happens underfoot. A well-planned patio sets the tone for everything you place on top of it. Here are six ways to make patio pavers look far more expensive than they actually cost.
1. Go big with large-format pavers
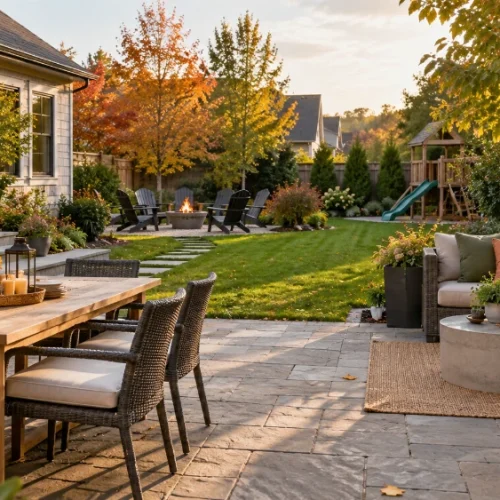
The quickest way to make a patio look high-end is to use fewer, larger stones. Large-format pavers in the 24×24 or 24×48 inch range have taken over as the dominant paver patio design for 2026, and the logic is simple. Fewer joints mean a cleaner, calmer surface that reads as one continuous floor instead of a grid of small blocks.
The result gets called “quiet luxury,” and it makes even a compact patio feel more spacious. Natural stone in this size runs roughly $15 to $35 per square foot installed, with porcelain and concrete usually coming in lower. One trick that costs nothing extra: choose a paver color close to your indoor flooring. The patio then feels like an extension of your living room instead of a separate slab in the yard. Large stones do demand a flat, well-compacted base, since any settling shows more than it would with small pavers. That part is worth doing right the first time.
2. Lay a tight herringbone
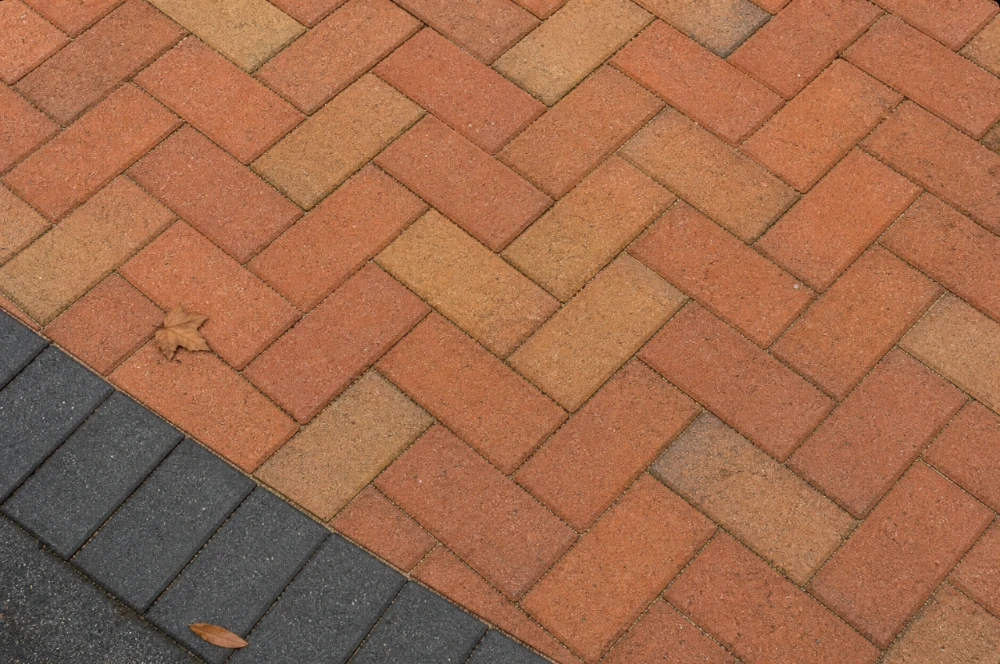
Pattern does a lot of quiet work. A 90-degree herringbone layout takes plain rectangular pavers and turns them into something that looks deliberate and custom. Standard clay brick, one of the more affordable materials on the market, looks genuinely upscale once you lay it this way. A brick paver patio in herringbone can pass for far pricier stonework.
The pattern is not only decorative. The interlock spreads weight evenly and resists shifting under furniture and foot traffic, which is why it holds up so well on patios, walkways, and entries. Keep the color monotone and the layout stays modern rather than busy. If you want one pattern that will still look right in ten years, this is it.
3. Frame the space with a contrasting border
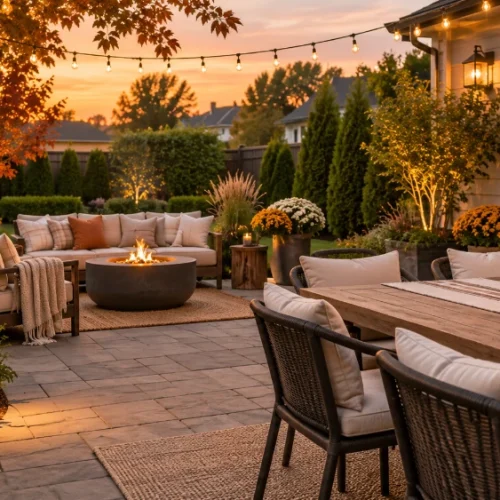
A border is the detail that separates a finished patio from one that looks unfinished. Run a single row of pavers, called a soldier course, around the outer edge in a darker tone than the field. Charcoal around a light gray or cream field is a combination that rarely misses.
This picture-frame effect outlines the space, sharpens the edges, and quietly tells anyone looking that the layout was planned, not improvised. The discipline is what makes it work: one field color plus one border color. Add a third tone and the whole surface starts to look cluttered instead of designed. Restraint is the expensive-looking choice here.
4. Use travertine near the pool
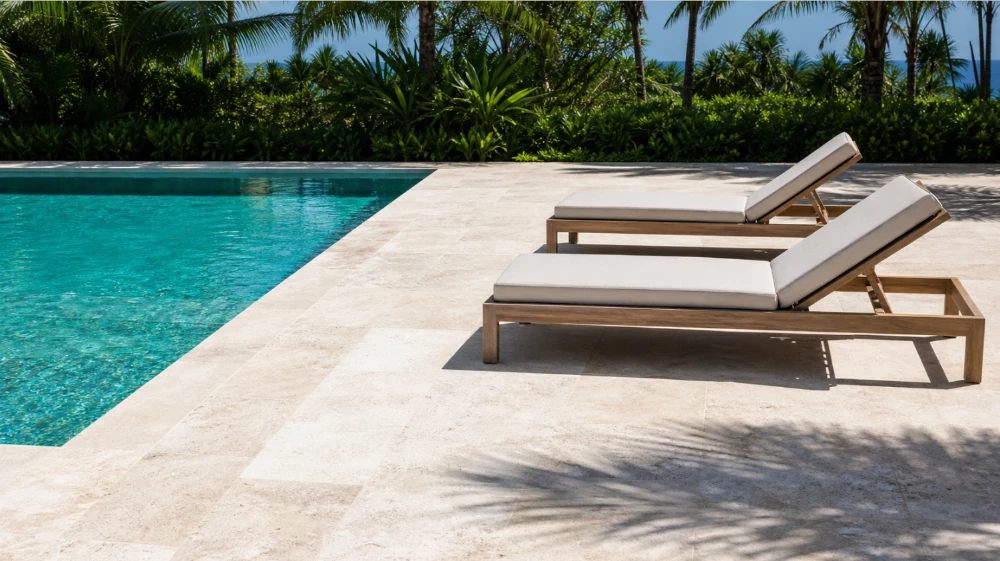
If your patio wraps a pool, material choice becomes a comfort issue, not just a style one. Travertine and limestone stay noticeably cooler underfoot than poured concrete in direct sun, which matters a lot during a hot, humid Florida summer. Travertine also brings natural slip resistance and a soft, Mediterranean texture that has signaled luxury for generations.
That combination is why it remains the classic pick for pool deck pavers. It handles water, heat, and bare feet all at once. Lighter tones reflect more sun and keep the surface cooler still, so a pale travertine deck stays walkable even in July. If you are upgrading a tired concrete deck, this single swap changes how the whole pool area feels. A travertine pool deck is one of the most requested projects for exactly this reason.
5. Carry the look to your driveway and walkways
Homes that look expensive tend to feel cohesive. The patio, the driveway, and the walkways speak the same visual language instead of switching materials at every edge. You do not need identical pavers across the whole property. A shared color palette and one repeating pattern are enough to tie it together.
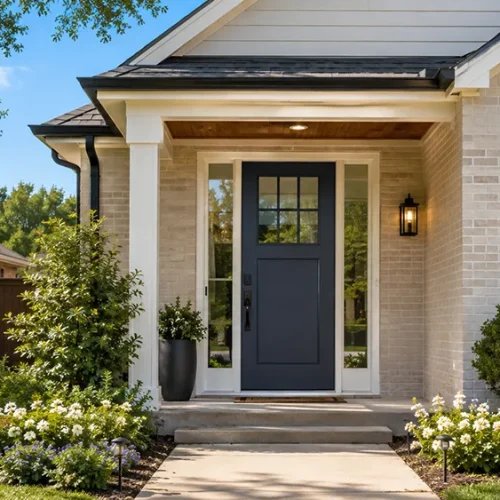
This is also where the front of the house earns its curb appeal. A matching paver driveway is the first piece of hardscape a guest sees, long before they reach the backyard. When the driveway, the front walkway, and the patio clearly belong to the same design, the property reads as intentional and well kept. That impression is worth more than any single upgrade on its own.
6. Keep it sealed and clean
Here is the step most people skip, and it decides whether your patio still looks expensive in three years. Sun, humidity, and heavy rain fade the color, wash sand out of the joints, and open the door to weeds and stains.
Sealing every one to three years protects the color, locks the joint sand in place, and blocks stains before they set. Pair that with a periodic pressure clean and a re-sand, and even a ten-year-old patio can look close to new again. Weeds, for the record, do not grow from underneath. They grow in the dirt that collects in the joints, which is exactly what cleaning and sealing prevents. If you would rather not handle it yourself, a professional clean and seal gets it done in a day or two with products made for this climate.
The Expensive Look Is Mostly Restraint
None of these six moves depends on a large budget. Larger stones, one clean pattern, a single contrasting border, the right material near water, a cohesive palette across the yard, and steady upkeep. That is the whole recipe.
Do those things and your paver patio will look like it cost far more than it did. Better still, it will keep looking that way for years, which is the part that actually feels like luxury.