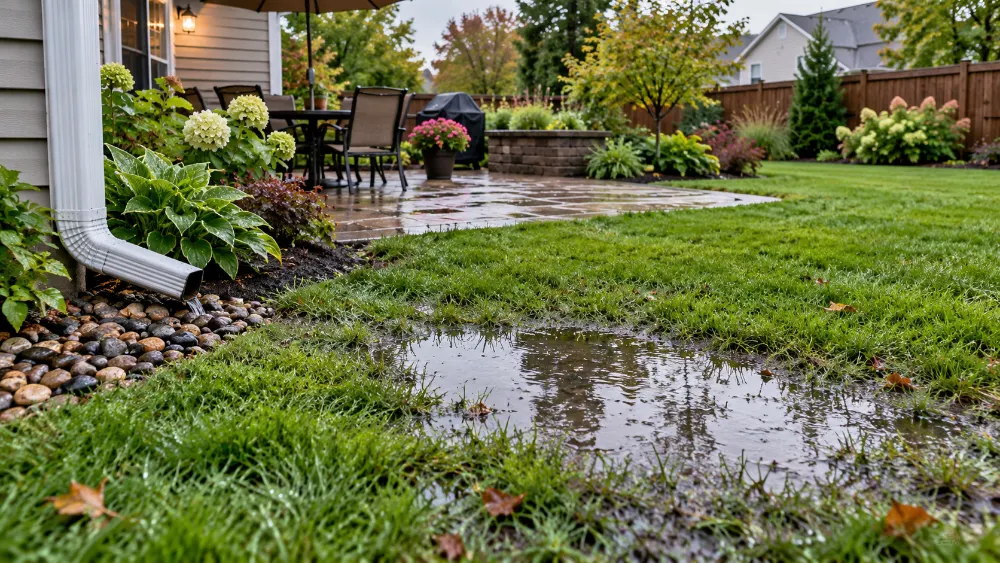
You spent the summer making your backyard feel like an extra room of the house: string lights over the patio, a fresh bed of perennials, maybe a gravel seating corner you built over a long weekend. Then a big storm rolls through, and the next morning there is a puddle sitting right where your outdoor rug or fire pit chairs usually go.
Almost every yard gets a puddle after a heavy storm. The real question is whether that puddle is a harmless quirk of the surface or a sign that water is not draining the way it should. Spending a little time observing before you dig, regrade or call a contractor can save you money, protect the outdoor projects you have already put work into, and point you toward the right fix.
This guide walks you through the same detective work a pro would do, using nothing more than your eyes, a phone and a few household tools. Fall is the perfect time to do it, since autumn rains and fallen leaves reveal drainage weak spots before winter freeze-thaw cycles make them worse.
Surface Problem vs. Drainage Problem at a Glance
Before you grab a shovel, use this quick comparison to get a feel for which camp your puddle falls into.
| Clue | Likely a surface problem | Likely a drainage problem |
|---|---|---|
| How long it lasts | Gone within a few hours | Lingers for a day or more |
| When it shows up | Only during heavy storms | Even after light or moderate rain |
| Where the water comes from | Falls straight onto the spot | Flows in from a downspout, slope or neighbour’s yard |
| Size over time | Stays about the same | Grows or spreads season to season |
| Lawn and plants | Grass looks normal once dry | Soggy turf, moss, yellowing or rotting plants |
| Nearby structures | No effect on the house or patio | Damp basement, sinking pavers, cracks near the foundation |
| Typical fix | Topdressing, aerating, small DIY tweaks | Redirecting water, regrading, installing a drain |
If most of your answers land in the left column, you are probably looking at a weekend DIY project. If several land on the right, keep reading before you spend money on cosmetic fixes.
Notice When the Puddle Appears
Timing tells you a lot. A puddle that shows up during heavy rain and disappears within a few hours is usually a surface issue, such as a slight dip in the lawn or compacted soil from foot traffic, kids’ games or patio furniture that has been dragged across the grass. A puddle that lingers for a day or more, or appears even after light rain, suggests the ground cannot absorb water well or that water is being directed to that spot from elsewhere.
Keep a simple puddle log on your phone or in the notebook where you sketch your yard plans. After three or four storms, a pattern usually emerges. Here is a simple format you can copy:
| Date | Rain amount | Puddle size | Time to drain | Notes |
|---|---|---|---|---|
| Example: Oct 3 | Heavy, about 1 in. | 3 ft wide | 6 hours | Near patio steps |
| Example: Oct 10 | Light drizzle | 2 ft wide | Still there next day | Same spot, smells musty |
A quick photo each time is worth adding too. Side-by-side pictures make it easy to see whether the puddle is growing, and they are handy to show a contractor later if you need one.
Watch Where the Water Travels
During the next rain, step outside with an umbrella and follow the water. It sounds simple, but ten minutes of watching will tell you more than an hour of guessing. Ask yourself:
- Does it flow from a downspout, a neighbour’s yard or a sloped patio?
- Does it run along a garden path or stepping stones and collect at the low end?
- Does it pool against a raised bed, retaining wall or fence line that acts like a dam?
- Does it sheet across the lawn in a thin layer, or cut a visible channel through mulch or gravel?
If the puddle is fed by moving water, the problem is drainage, and the fix will involve redirecting that flow rather than simply filling a low spot.
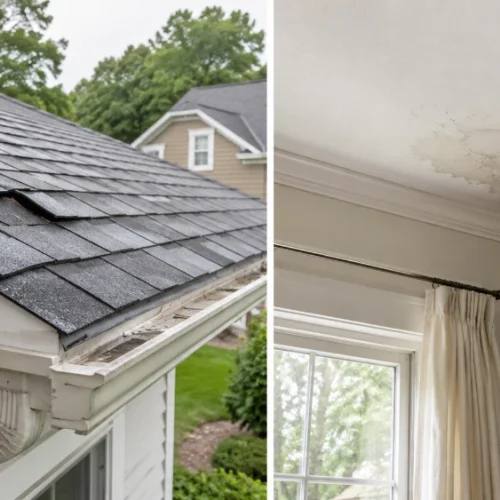
Check the downspouts too. A downspout that empties right beside the foundation or onto a flat area is one of the most common causes of persistent puddles. Clogged gutters make it worse, because overflow spills over the edge in a sheet instead of travelling through the downspout at all. In fall, clear leaves from gutters before the heaviest rains arrive, and look for splash marks or eroded soil under the eaves as a sign of overflow.
Think About Your Recent DIY and Landscaping Projects
New garden beds, a fresh patio, extra mulch or even a new fence can change how water moves. As DIYers, we tend to focus on how a project looks, but every change to the ground also changes where rain goes. If the puddle started after a project, the solution may be as simple as adjusting the grade or adding a small channel around the new feature.
| Recent project | How it can cause puddles | Simple adjustment |
|---|---|---|
| Raised garden beds | Block old flow paths and trap water on the uphill side | Leave a gap between beds or add a gravel channel along the uphill edge |
| New patio or pavers | Shed water much faster than grass, dumping it at the edges | Make sure the patio slopes away from the house and add a gravel border to soak up runoff |
| Extra mulch or edging | Builds up a lip that holds water in the lawn | Pull mulch back a few inches and keep it below the lawn line |
| New fence or shed | Footings and bases can interrupt natural slopes | Leave a small gap at the bottom or dig a shallow swale beside it |
| Artificial turf or play area | Compacted base layers may drain poorly | Check that the base was graded and perforated correctly |
| Container or planter groupings | Heavy pots compact the soil and block flow | Lift pots on feet or move them off the low spot |
This is also a good reminder for future projects: before you add a new outdoor feature, watch how water moves through that area during at least one rainstorm.
Look Closely at Nearby Paved Surfaces
Sometimes what looks like a drainage issue on a walkway is partly a surface issue. Dirt, algae and mineral residue can build up where water sits, leaving slippery, stained patches even after the puddle dries. These patches are often the first clue that water has been pooling in the same spot for a while.
Signs to look for on patios, walkways and driveways include:
- Dark rings or tide lines where water collects and evaporates
- Green or black algae growth, especially in shady corners
- White, chalky efflorescence on concrete or brick
- Pavers that have sunk, tilted or shifted out of line
- Sand washed out of paver joints or weeds growing in the gaps
On suitable concrete or stone, power washing for concrete walkways near Towson can remove that residue and make the surface safer, but cleaning will not change how water flows. The drainage problem underneath still needs its own solution, such as regrading, extending downspouts or installing a drain.
The good news is that a clean surface makes the problem easier to diagnose. Once the stains are gone, you can watch exactly where new water marks appear after the next storm, which shows you precisely where the low spots are.
Three Simple DIY Tests to Confirm the Cause
If you are still unsure, these easy tests use tools you probably already have in the garage.
- The screwdriver test. Push a long screwdriver into the soil at the puddle spot and again a few feet away on dry ground. If it struggles to go in at the puddle spot, compacted soil is likely the culprit, which is a surface problem you can often solve by aerating.
- The percolation test. Dig a hole about 12 inches deep and 12 inches wide near the puddle, fill it with water and let it drain completely. Fill it again and time how long it takes to empty.
- Drains about 1 inch or more per hour: the soil drains reasonably well, so focus on surface dips or incoming runoff.
- Drains less than half an inch per hour: heavy clay or compacted subsoil is holding water, which points to a true drainage problem.
- The string-line slope test. Tie a string between two stakes, one near the house and one out in the yard, and use a line level to make it level. Measure down from the string to the ground at each stake. Ideally the ground should drop about 6 inches over the first 10 feet away from your foundation. If it is flat or slopes back toward the house, regrading is on the cards.
Write the results in your puddle log. Together with your storm notes, they give you a clear picture of what is really going on.
Budget-Friendly Fixes, From Easiest to Most Involved
Once you know the cause, match it to the right fix. Start with the simplest option that addresses the real problem, and work your way down the list only if you need to.
| Fix | Best for | DIY level | Budget |
|---|---|---|---|
| Topdress and reseed | Shallow dips in the lawn that drain within hours | Beginner | $ |
| Core aeration | Compacted soil from foot traffic or furniture | Beginner (rent an aerator) | $ |
| Downspout extensions or splash blocks | Water dumping beside the foundation | Beginner | $ |
| Clean gutters and add leaf guards | Overflow spilling off the roof edge | Beginner | $ to $$ |
| Rain barrel | Capturing roof runoff to reuse in the garden | Beginner | $ to $$ |
| Shallow swale | Steering surface runoff around a patio or bed | Intermediate | $$ |
| Regrading near the house | Flat or reverse slope toward the foundation | Intermediate | $$ |
| Dry creek bed | Moving water across the yard in a decorative way | Intermediate | $$ |
| Rain garden | Soaking up runoff in a planted low area | Intermediate | $$ |
| Channel or French drain | Persistent runoff or poorly draining clay soil | Advanced or pro | $$$ |
A quick tip: always call your local utility-marking service before digging anything deeper than a few inches. It is usually free, and it keeps you clear of buried lines.
Make Your Drainage Fix Part of the Design
A drainage fix does not have to look like a utility project. With a little creativity, it can become one of the prettiest features in your yard.
- Dry creek bed: Line a shallow channel with river rock in mixed sizes, then tuck ornamental grasses, hostas or creeping thyme along the edges. It carries water during storms and looks like a natural stream bed the rest of the year.
- Rain garden: Turn a stubborn low spot into a planted basin filled with moisture-loving natives such as switchgrass, black-eyed Susans or coneflowers. Butterflies and bees will thank you.
- Decorative rain chain: Swap a plain downspout near the patio for a copper or iron rain chain that empties into a gravel basin or a large planter. It adds sound and movement to your outdoor living space.
- Gravel borders and pea gravel paths: A strip of gravel along a patio edge soaks up runoff and gives a clean, finished look that pairs well with string lights and outdoor seating. For style inspiration, browse these pea gravel patio edging ideas.
- Rain barrel makeover: Paint or wrap a rain barrel to match your outdoor colour palette, or tuck it behind a simple slatted screen so it blends in.
- Permeable pavers: If you are planning a new patio or walkway anyway, permeable pavers let water soak through the joints instead of running off.
Think of these as two projects in one: you solve the water problem and add character to your backyard at the same time.
When to Call a Professional
Plenty of puddle problems are perfect DIY projects, but some are worth handing to a landscaper, drainage contractor or foundation specialist. Call in help if you notice any of the following:
- Water pooling against the foundation or seeping into the basement or crawl space
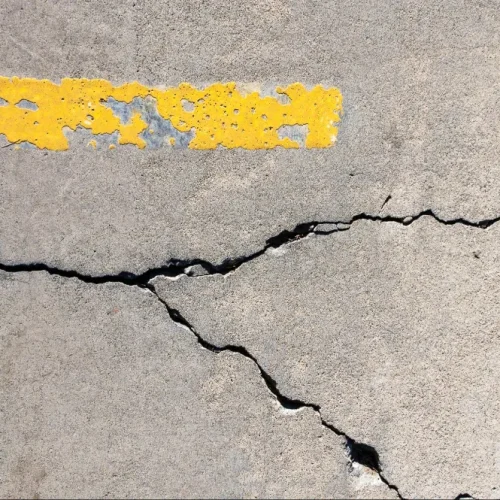
- New or widening cracks in the foundation, patio or driveway near the wet area
- Pavers, steps or a retaining wall that are sinking or leaning
- Water flowing onto your property from a neighbour’s yard or the street, which may involve shared drainage rules
- Standing water that attracts mosquitoes or never fully dries out between storms
- A slope that needs more soil moved than you can comfortably handle with a wheelbarrow
Bring your puddle log, photos and test results to the first conversation. You will get a more accurate quote, and you will be able to tell whether the contractor’s proposed solution actually matches what you have observed.
Decide on the Next Step
If the puddle is small, drains within hours and appears only during big storms, topdressing the low spot with soil and reseeding may be enough. If it lingers, is fed by runoff or sits near your foundation, it is worth investigating drainage more seriously.
Before the cold weather sets in, run through this quick fall checklist:
- Clear leaves and debris from gutters and downspouts
- Check that every downspout empties at least a few feet from the house
- Start or update your puddle log after the next two or three storms
- Do the screwdriver and percolation tests at any spot that stays wet
- Aerate and topdress compacted lawn areas while the soil is still workable
- Clean stained or slippery walkways so new water marks are easy to spot
- Sketch where a dry creek bed, rain garden or gravel border could go next spring
Identifying the cause first means you fix the real problem instead of just the symptom. Your yard stays healthier through every season, and the outdoor spaces you have worked so hard to create stay dry, safe and ready to enjoy.