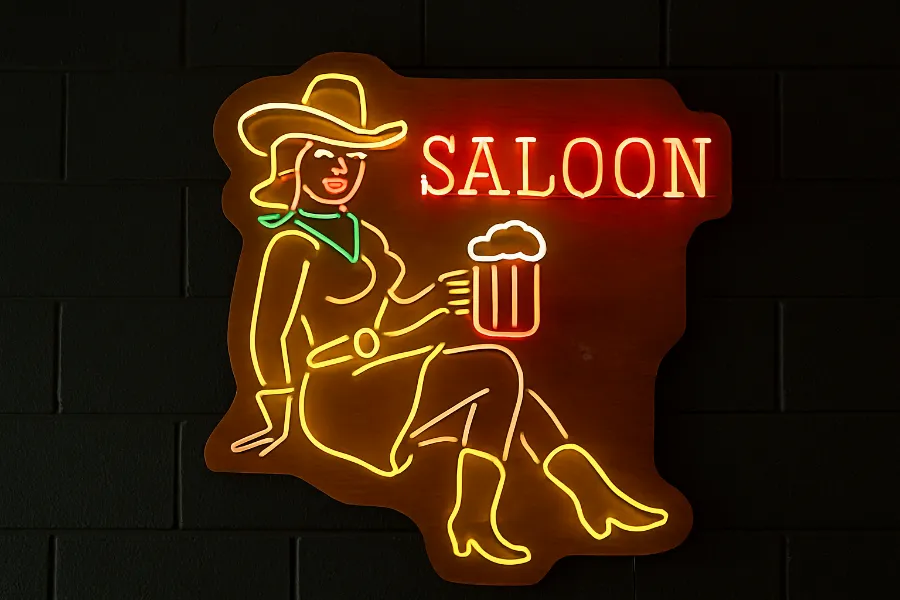
There’s something magnetic about vintage neon signs. They’re loud without speaking. They glow with a warmth that feels alive. Step into a retro diner, an old Vegas street, or even a cozy modern living room with a neon accent, and suddenly the space has character. That’s the magic of neon — it’s not just light, it’s atmosphere.
In today’s design world, where minimalism has had a long run, more homeowners are leaning into nostalgic aesthetics. And few things capture nostalgia like the retro glow of vintage neon signs. Whether you’re chasing authenticity with real glass tubes or opting for LED neon flex for an easier DIY project, the vintage style never fails to impress. Let’s dive into the history, design tips, and ways you can bring neon charm into your own home.
The Story of Vintage Neon Signs
Neon first lit up the world in Paris in 1910 when French engineer Georges Claude unveiled the technology. By the 1920s, neon signs became the heart of commercial advertising in cities across the U.S. and Europe. By mid-century, the colorful glow of neon was synonymous with nightlife: bars, casinos, theaters, motels, and diners.
Think about the Vegas Strip of the 1950s — a sea of glowing cowboys, martini glasses, and oversized cursive letters. Or roadside motels luring weary travelers with a buzzing “VACANCY” sign. That imagery still sticks with us because neon became more than lighting — it became culture.
Vintage neon signs tell a story. They carry the marks of time, a bit of flicker, maybe even chipped paint on the backing board. They’re imperfect, and that’s why they feel authentic.
Classic Materials: Traditional vs. Modern Neon
When people think of neon, they usually picture glass tubes filled with noble gases like neon or argon. These traditional signs glow brightly, but they’re also expensive, fragile, and require skilled craftsmanship. Creating one involves heating and bending glass, sealing electrodes, and filling the tubes with gas — not exactly a casual weekend DIY.
That’s where LED neon flex comes in. Unlike glass neon, LED strips are encased in flexible silicone, mimicking the look of real neon without the complexity. They’re cheaper, safer, and easier to install.
Here’s a quick comparison:
| Feature | Vintage Glass Neon | LED Neon Flex |
|---|---|---|
| Look & Feel | Authentic vintage glow | Close replica |
| Durability | Fragile glass | Flexible & sturdy |
| Cost | High (hundreds to thousands) | Affordable ($20–$100) |
| Skills Needed | Professional glass bending | DIY-friendly |
| Power | High voltage transformer | Low-voltage power supply |
So if you want an authentic collector’s piece, go for vintage glass. But if you’re adding a retro touch to your living room or making your own custom design, LED neon is the way to go.
Designing Your Own Vintage Neon Sign
A good neon sign starts with a strong design. Vintage neon signs often used bold block fonts, cursive script, or playful illustrations. The key is simplicity — curves, clean lines, and shapes that can glow evenly.
Step 1: Sketch Your Idea
Draw it on paper first. Maybe you want a retro “Cocktails” sign, a playful cactus, or a diner-inspired script that says “Eat Here.”
Step 2: Choose Colors
Classic neon colors include red, blue, yellow, and green. Warmer whites or pinks can give your sign a softer retro vibe.
Step 3: Pick Your Backing
For DIY signs, acrylic sheets are ideal — clear and sturdy. Wood adds a rustic touch if you’re blending industrial and vintage decor.
Step 4: Plan Proportions
Signs should be sized to fit the wall or surface. A small glowing accent above a bar cart works as well as a big, bold piece for a living room.
DIY Vintage Neon Signs
Yes, you can make your own neon sign at home. While you probably won’t be blowing glass tubes, LED neon flex makes DIY neon approachable.
Tools & Materials You’ll Need
- LED neon flex strips (choose your colors)
- A backing board (acrylic, plywood, or metal)
- Power supply (12V or 24V transformer)
- Strong adhesive or mounting clips
- Wire, soldering kit, and connectors (for complex designs)
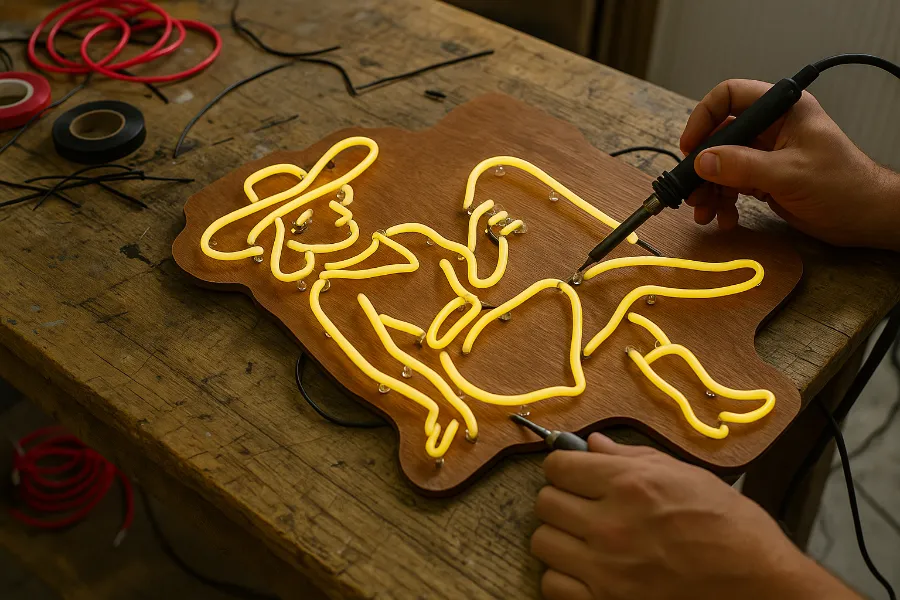
Basic Steps
- Sketch your design and transfer it to your backing board.
- Cut LED neon strips to match your sketch.
- Secure strips with adhesive or clips, following the curves carefully.
- Wire everything safely to your power supply.
- Test before mounting permanently.
Pro tip: If you’re creating lettering, stick with short words or initials. Neon flex is easier to bend for simple designs than for highly detailed artwork.
DIY neon doesn’t just save money — it gives you complete freedom to match your sign to your personality.
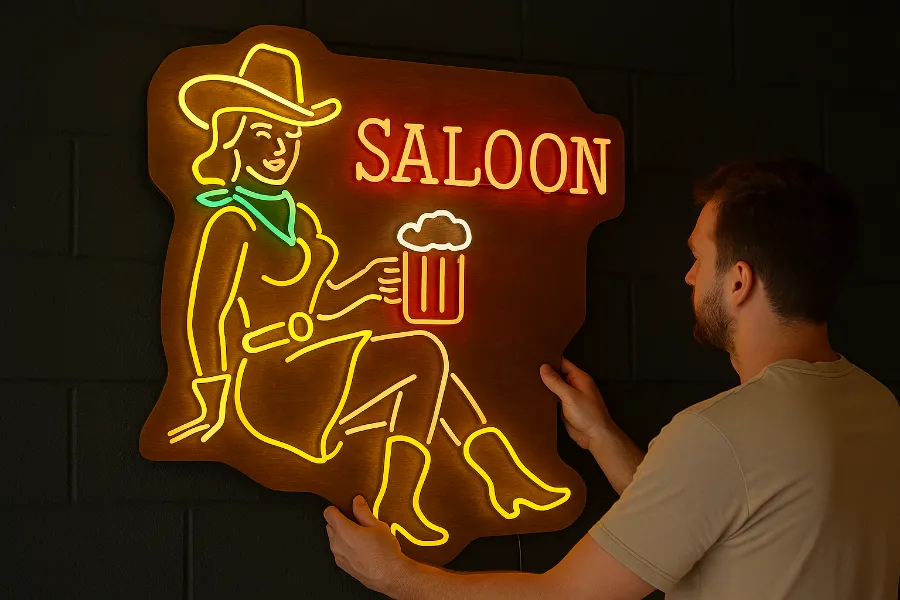
Using Vintage Neon Signs in Home Decor
So where do vintage neon signs belong in modern homes? The short answer: anywhere you want personality.
In the Living Room
A bold “Cinema” or retro “Bar” sign instantly sets a vibe. Neon works especially well in eclectic or industrial-style living rooms where mixed textures already play together.
In the Kitchen or Dining Area
Imagine a neon sign that says “Eat,” “Coffee,” or even a retro martini glass. It turns an ordinary space into a playful one.
In Bedrooms
Soft pink or warm white neon can add a cozy, nostalgic glow. Try cursive words like “Dream” or “Love” mounted above the bed.
Game Rooms and Bars
This is where neon truly shines. Vintage signs shaped like guitars, beer mugs, or arcade references transform these spaces into entertainment hubs.
Custom & Professional Options
If DIY isn’t your thing, you can still enjoy the retro vibe. Many companies now specialize in custom neon and LED signs. You can send them a doodle or even just a phrase, and they’ll craft a polished piece for you.
Some even offer UV-printed acrylic backings to add photos or graphic details behind the neon — blending modern tech with vintage glow.
If you’re a collector, antique markets sometimes carry authentic vintage neon signs. Be prepared, though: originals can be expensive and require professional restoration.
Caring for Vintage Neon Signs
Whether you buy or build, maintenance matters.
- Keep them clean: Dust can dull the glow. Use a microfiber cloth.
- Mind the wiring: For LED neon, check connections if lights flicker. For glass neon, always use a licensed professional for repairs.
- Placement: Avoid direct sunlight and moisture, which can damage materials.
With proper care, a neon sign can last for decades — that’s why vintage originals are still glowing strong today.
Why Vintage Neon Signs Never Go Out of Style
At the end of the day, vintage neon signs aren’t just decor — they’re emotion. They remind us of road trips, late nights at diners, Vegas adventures, or even the cozy corner of a family bar. Their glow is both retro and timeless.
In a world filled with sleek screens and sterile LEDs, neon offers something different: warmth, personality, and a story. Whether you hang an authentic glass relic, craft your own LED sign, or order a custom piece, bringing neon into your home is like bottling nostalgia and letting it shine.
So go ahead — add that flicker of the past to your present. Let the glow of vintage neon signs light up your space.


")


")


