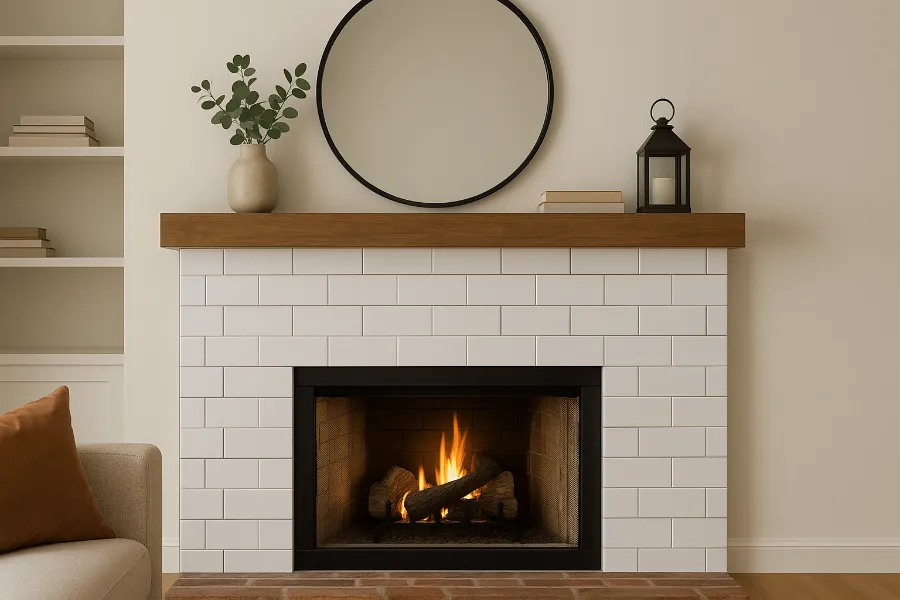
The fireplace has always been the heart of the living room. But let’s be honest—an old, dated brick fireplace doesn’t always bring the cozy charm it once did. If you’re tired of the red or painted brick dominating your space, a tile over brick fireplace makeover might be exactly what you need. It’s not just a facelift; it’s a way to modernize your living room without tearing everything down. The best part? You can do it yourself with some patience, the right tools, and a clear plan.
Let me walk you through everything you need to know about transforming that tired brick fireplace into a sleek, tiled centerpiece.
Understanding the Process of Tiling Over Brick
The idea of laying tile directly over brick might sound intimidating at first, but it’s simpler than you think. Brick has a textured surface, and while that unevenness can be a challenge, it also helps mortar bond strongly with the tile. The key is proper preparation: you’ll need to smooth out the surface with thinset mortar to create a flat base before laying your tiles. This preserves the structure of your fireplace while giving it a fresh, updated look.
When done right, a tile over brick fireplace project combines durability with beauty. You’re essentially creating a brand-new surface without costly demolition or reconstruction.
Tools and Materials You’ll Need
Before you start, gather your tools and materials. Being prepared will save you frustration mid-project.
Tools:
- Wire brush
- Drill with mixing paddle
- Notched trowel & flat trowel
- Grout float
- Tile cutter or wet saw
- Level
- Sponge
- Safety goggles and dust mask
Materials:
- Latex-modified thinset cement (heat-resistant)
- Tiles of your choice (ceramic, porcelain, or natural stone)
- Tile spacers
- Grout (unsanded for narrow joints, sanded for wider ones)
- Grout sealer (for natural stone or to protect from stains)
- Drop cloths and painter’s tape
Having everything ready ensures the project flows smoothly from start to finish.
Prepping the Brick Fireplace Before Tiling
Preparation is the foundation of success. Skip this step, and your tiles won’t stick properly.
Removing Mantel and Fixtures
Take off the mantel and any decorative trim. Protect your hearth and floor with a drop cloth. The goal is to expose the bare brick so you have a clean slate to work with.
Cleaning the Surface
Use a wire brush to scrub away soot, dust, and crumbling mortar. Follow up by wiping the brick with a rag soaked in vinegar or a vinegar-water mix. Let it dry completely for at least 24 hours. A clean, dry surface is essential for mortar adhesion.
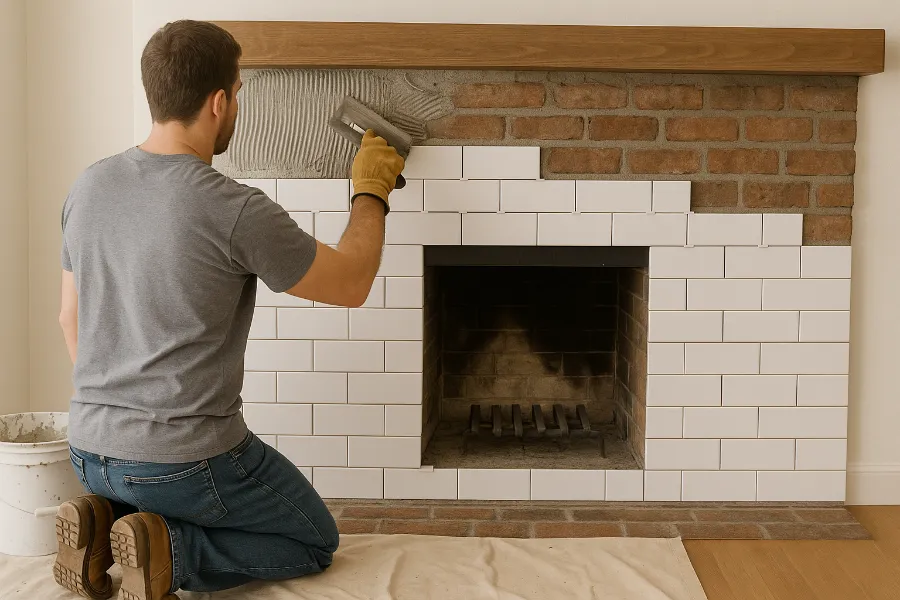
Applying Thinset: Creating a Smooth Foundation
The brick’s uneven texture needs to be leveled before tiling.
- Mix latex-modified thinset to a mayonnaise-like consistency.
- Using a flat trowel, spread thinset over the brick, pressing it into joints and crevices.
- Aim for a flat, seamless surface. If necessary, apply a second coat after the first one cures.
This thinset layer not only levels the surface but also ensures a strong bond for your tiles.
Choosing the Right Tiles
Your tile over brick fireplace isn’t just about structure—it’s about style too. Here are a few things to consider:
- Heat Resistance: Choose tiles that can withstand high temperatures, like ceramic, porcelain, or natural stone.
- Design and Style: Large format tiles give a clean, modern feel, while mosaic or herringbone patterns add texture and charm.
- Color and Finish: Light-colored tiles can brighten a room, while darker ones bring drama and depth.
Tip: If using marble or other natural stone, inspect boxes for color variation and select tiles that match your design vision.
The Tiling Process Step by Step
Here’s where the transformation happens. Be patient and work methodically.
Setting the First Row
This row is the most visible, especially the one directly above the firebox. Use a level and nail a temporary wood board horizontally across the fireplace. This will keep your first row straight and prevent tiles from slipping while the thinset sets.
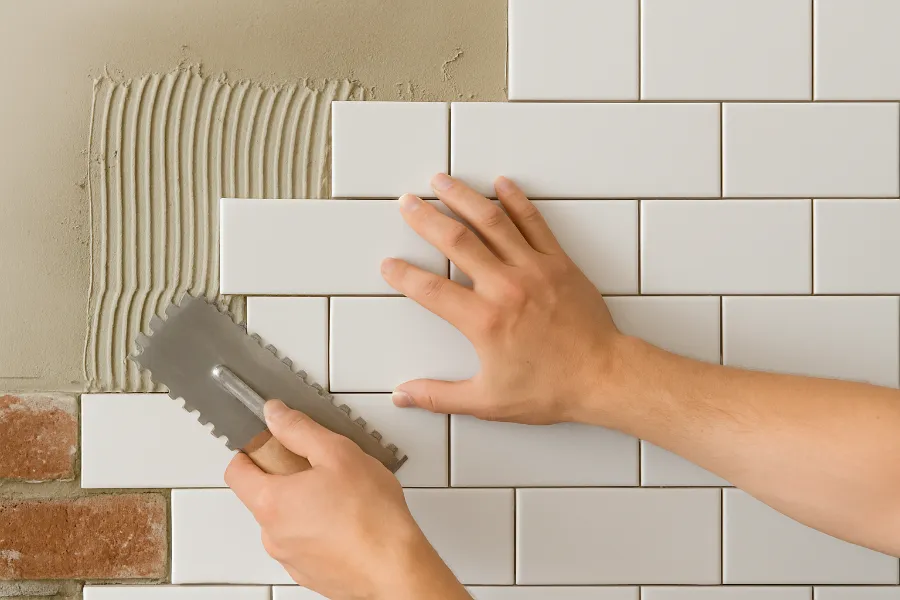
Working Your Way Up
Spread thinset with a notched trowel and place tiles, inserting spacers between them for consistent gaps. Work in small sections, checking level as you go. Cut tiles with a wet saw to fit edges and corners.
Tiling Around the Firebox
Measure carefully. Cut tiles precisely for clean edges around the firebox. Any mistakes here are noticeable, so take your time.
Grouting and Finishing Touches
Once your tiles are set and cured (usually 24 hours), it’s time for grout.
- Mix grout according to package directions.
- Use a rubber float to press grout into joints at a 45-degree angle.
- Wipe off excess with a damp sponge.
- Let grout cure, then clean any haze from the tiles.
Finally, seal grout (and stone tiles, if used) to protect against moisture and stains. This step adds longevity to your work.
Overcoming Common Challenges
Tiling over brick isn’t without hurdles. Here are common problems and fixes:
- Uneven Brick Surface: Apply multiple thinset coats instead of one thick layer.
- Cutting Tiles for Corners or Firebox: Use a wet saw for precision.
- Old or Crumbling Mortar: Remove any loose pieces before applying thinset.
Patience here pays off with a smooth, professional finish.
Enhancing the Fireplace Surroundings
Once the tile is complete, you can enhance the fireplace area even more:
- Add a Mantel: A wood, metal, or stone mantel frames your fireplace beautifully.
- Built-in Shelving: Add storage and display space for books, photos, or décor.
- Accent Lighting: Use sconces, recessed lights, or LED strips to highlight your new feature.
Your tile over brick fireplace can be the centerpiece of an entire wall makeover.
Maintenance and Care of Tiled Fireplaces
A tiled fireplace is durable but needs care:
- Wipe down regularly to prevent soot buildup.
- Use non-abrasive cleaners, especially on natural stone.
- Reseal grout or stone every couple of years for protection.
These small habits keep your fireplace looking fresh for years.
Conclusion: The Benefits of a Tile Over Brick Fireplace
A tile over brick fireplace project transforms your space without a full remodel. It preserves the sturdy brick structure while giving it a sleek, modern update. With the right preparation, tools, and a bit of patience, this DIY project can completely change the feel of your home. Whether you go for a timeless marble mosaic or a bold ceramic tile, your new fireplace will be more than just a source of warmth—it will be the design anchor of your living room.
So, if you’ve been staring at that old brick and wishing for change, now you know exactly how to make it happen. Roll up your sleeves, grab some thinset, and give your fireplace the stylish upgrade it deserves.


