You finally signed off on the last coat of paint. The contractors packed up. The plastic sheets came down. And then, right when you were picturing yourself sinking into your beautifully renovated space with a coffee, you noticed it.
Dust. Everywhere.
On the baseboards. Inside the cabinets. Coating the inside of light fixtures you swore were sealed off. A thin gray film over surfaces you didn’t even know existed. If you’ve just wrapped a renovation, you already know the feeling. The project is technically “done,” but your home feels anything but ready to live in.
At Sparkle and Scrub Cleaners, this is exactly the call we get most often. A homeowner has just survived weeks (or months) of construction, the work is technically finished, and they’re staring at a thin layer of drywall dust on every surface in the house. We’ve cleaned up after hundreds of these projects across Toronto and Southern Ontario, and we’ve learned what works, what doesn’t, and where homeowners tend to lose hours of effort to a single avoidable mistake.
This is the guide we wish every homeowner had before they started swiping at drywall dust with a Swiffer (spoiler: that does not work). Here’s exactly how to tackle post-renovation cleanup the right way, the tools you actually need, the mistakes to avoid, and how to know when it’s time to stop scrubbing and bring in a professional team.

Why Post-Renovation Dust Is a Whole Different Beast
Regular household dust is mostly skin cells, fibers, and pollen. Renovation dust is a different animal entirely. Depending on what kind of work was done, you could be looking at a mix of:
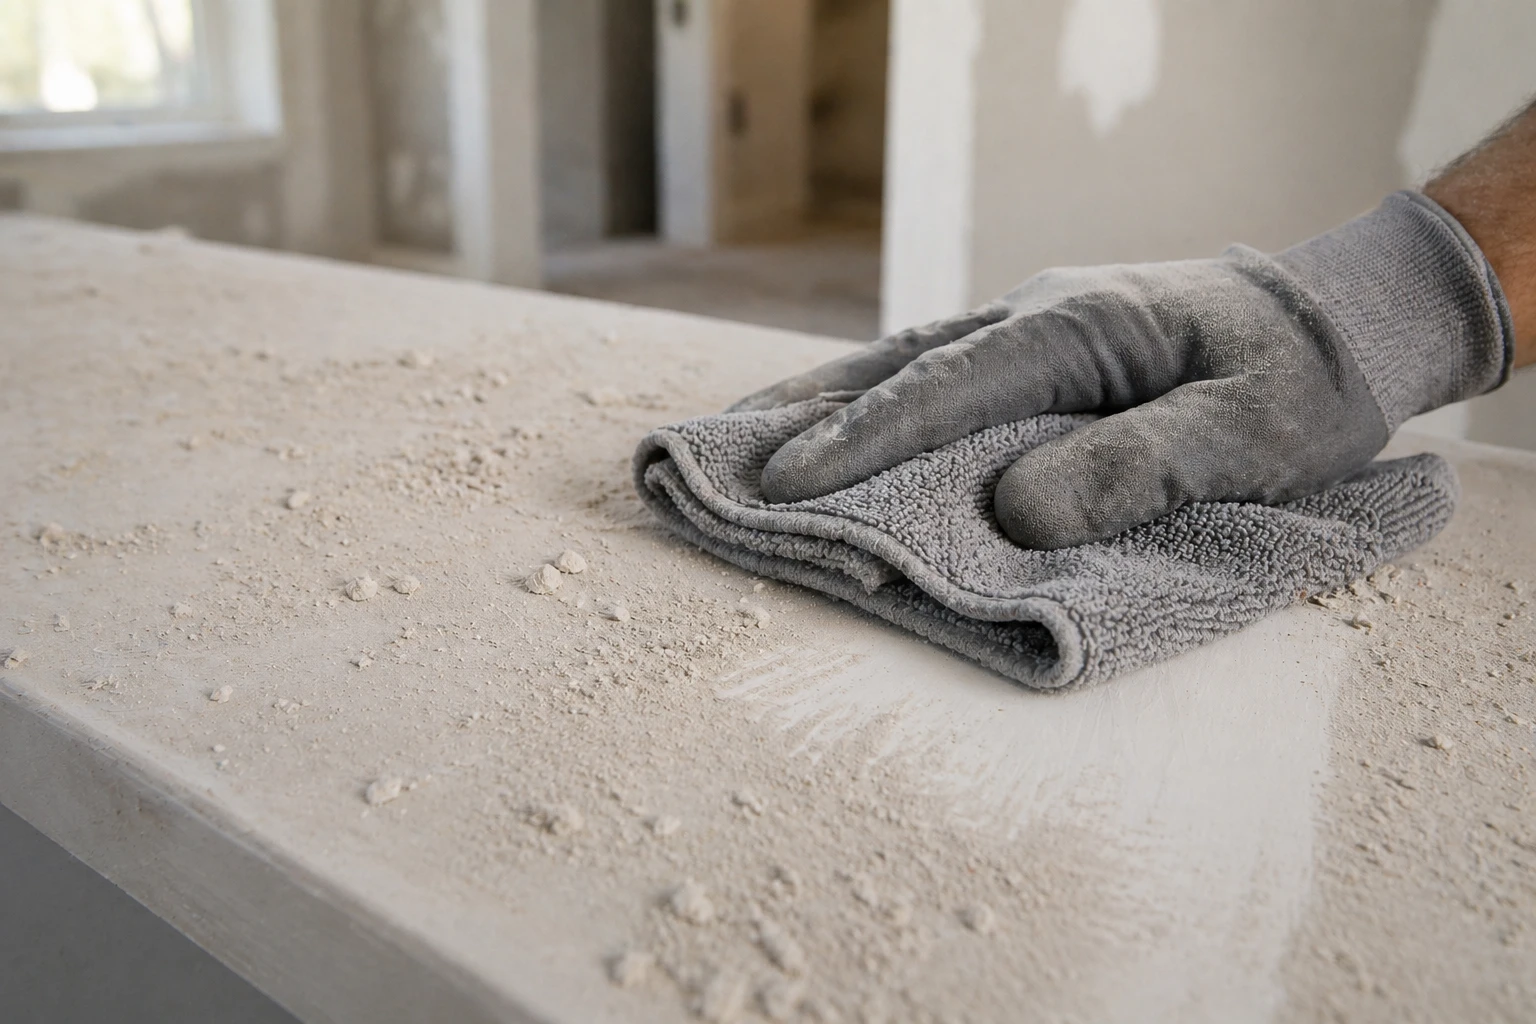
- Drywall and joint compound dust (the fine, white, talcum-powder-like stuff)
- Sawdust from cut wood, MDF, or trim
- Concrete or grout particles from tile work
- Paint flakes and primer residue
- Insulation fibers
- Possibly silica, especially if any masonry, tile-cutting, or concrete grinding happened
This matters for two reasons. First, this kind of dust is far finer than household dust, so it slips through cheap vacuum filters and gets blown right back into the air. Second, some of it (silica, in particular) is genuinely not great to breathe in over long stretches. The U.S. Occupational Safety and Health Administration treats it as a regulated hazard on job sites for good reason.
Translation: this isn’t a job for an everyday duster and a bottle of all-purpose spray. You need a real plan.
Before You Touch Anything: The Pre-Cleanup Prep
The biggest mistake homeowners make is jumping straight into wiping things down. Don’t. You’ll just push fine particles into the air, where they’ll resettle on every surface you just cleaned. Start here instead:
- Open windows, but turn off the HVAC. You want airflow, but the last thing you want is your furnace or AC pulling fine dust into the ductwork (we’ll get to that). If your renovation was significant, schedule a duct cleaning afterward as well.
- Change your furnace filter. Even if it’s only a few weeks old. It’s probably loaded.
- Gear up. A real N95 mask (not a cloth one), safety glasses, and gloves. This isn’t overkill. Fine dust irritates eyes and lungs faster than most people expect.
- Remove what you can. Soft furnishings (cushions, throws, curtains), area rugs, and small items that haven’t been touched yet. Take them outside, shake them out, and either wash or air them.
- Work top to bottom. Always. Ceilings and light fixtures first, then walls, then furniture, then floors. Gravity is your enemy if you don’t respect this order. You’ll clean the floor only to have dust fall on it from the ceiling fan an hour later.
The Room-by-Room DIY Cleanup Walkthrough
Here’s the order our team follows on every post-renovation job. It works because it respects gravity and avoids redoing work:
1. Ceilings, Vents, and Light Fixtures
Start at the top. Use a microfiber duster (not a feather duster, since those just scatter dust) on ceilings, ceiling fans, vents, and light fixtures. For textured ceilings, a soft brush vacuum attachment with a HEPA filter works best. Wipe down vent covers with a damp microfiber cloth. If a vent looks bad, take it off, soak it in warm soapy water, and let it air dry before reinstalling.
2. Walls and Trim
Renovation dust clings to walls electrostatically, especially if they’re freshly painted. Use a microfiber pad on an extendable handle, working in overlapping sections from top to bottom. Don’t use anything wet on freshly painted walls for at least two weeks, since you can mark the finish. Dry microfiber lifts dust without leaving streaks.
For baseboards and trim, a slightly damp microfiber cloth works well once paint has fully cured. Get into the top edge of the baseboard, because that’s where dust hides.
3. Windows, Sills, and Frames
Wipe sills first with a dry cloth or vacuum to remove debris, then follow up with a damp cloth and a streak-free glass cleaner. Don’t forget the window tracks. A stiff brush and the vacuum hose make quick work of the gunk that collects there.
4. Cabinets, Shelves, and Drawers
Yes, you have to open everything. Construction dust gets inside drawers, behind cabinet doors, and on top of upper cabinets even when contractors tape things off. Vacuum interiors with a HEPA vacuum, then wipe with a barely-damp microfiber cloth.
5. Floors (Save These for Last)
Always last. Vacuum first, and only with a vacuum that has a HEPA filter and a sealed system. A regular shop vac will blow fine dust right back out the exhaust.
After vacuuming, mop with a microfiber flat mop and a small amount of cleaner appropriate for your floor type. You may need to mop two or three times. The first pass picks up the heavy stuff. The second one actually cleans.
The Tools and Supplies You Actually Need
You don’t need to buy out the cleaning aisle. A short, focused list outperforms a cart full of specialty products:
- A vacuum with a true HEPA filter and sealed system. This is non-negotiable. Without it, you’re moving dust around, not removing it.
- Microfiber cloths and pads (a lot of them). Cotton rags push dust around. Microfiber traps it. Plan to use a fresh side every few square feet.
- A tack cloth or two. Cheap, sticky, and shockingly good at picking up the last layer of fine residue, especially on woodwork.
- An extendable microfiber duster. For ceilings, fans, and the tops of high cabinets.
- A simple all-purpose cleaner and a glass cleaner. You don’t need anything fancy.
- A bucket of warm water with a small amount of dish soap. For trim, doors, and any washable surface that paint has fully cured on.
- N95 masks, gloves, and safety glasses. PPE for you, not for the dust.
The Mistakes That Will Sabotage Your Cleanup
These are the issues we see most often when homeowners call us in to redo a DIY post-renovation cleanup. Save yourself the headache:
- Using a regular vacuum. We can’t say this enough. If your vacuum doesn’t have a HEPA filter and a sealed system, it’s an aerosol cannon for the exact particles you’re trying to remove.
- Wiping before vacuuming. Dry-wiping fine dust just smears it. Always vacuum first.
- Using water on freshly painted surfaces. Latex paint takes about two weeks to fully cure. Wet wiping before then can leave permanent marks.
- Ignoring the HVAC system. If your furnace or AC ran during the renovation, your ductwork is full of fine debris. It will keep redepositing onto clean surfaces for months. Replace the filter and consider a duct cleaning.
- Forgetting the “invisible” spots. Tops of door frames, the inside lip of cabinet kick plates, behind the toilet, inside the dishwasher. Dust gets everywhere.
- Trying to do it all in one day. A real post-renovation clean for a single room can take 4 to 6 hours. A whole-home renovation cleanup can take days. Pace yourself, or hand it off (more on that below).
When It’s Time to Call in the Pros
We’re big believers in DIY for the right scope of work. A single-room cleanup after a small project is absolutely something a motivated homeowner can handle. But there’s a real, honest line where DIY stops being worth it. You should seriously consider hiring a professional team if:
- Your renovation involved more than one room, or any significant demolition.
- There was tile cutting, drywall sanding, or concrete work (the dust is finer and harder to remove safely).
- You’re trying to move into a freshly renovated home on a tight timeline.
- You’re selling the home, staging it, or hosting a photo shoot for the listing.
- You don’t own a HEPA vacuum and aren’t planning to buy one for one job.
- You or someone in your household has asthma, allergies, or is sensitive to fine particulates.
Professional post-construction cleaning teams use commercial-grade HEPA vacuums, work in a top-to-bottom systematic order, and know exactly where dust hides on a renovation site. Light fixture cavities, the gap behind appliance surrounds, the inside of HVAC registers. A team can do in a day what would take a homeowner a week of weekends, and the result is genuinely a different level of clean. For homeowners in the Toronto, GTA, Brantford, Hamilton, or Ottawa area, that’s the work our team specializes in every day.
A good rule of thumb: if the renovation costs more than $10,000, the cost of a professional cleanup is small relative to the project, and it’s the difference between “this still feels like a job site” and “this is finally my home.”
The Final Step: Bringing the Space Back to Life
Once the dust is gone, don’t rush the styling. Give the room a day or two with the windows open. Wipe down any soft furnishings before you bring them back in. Wash the curtains. Run any throw pillows through a dryer on a no-heat cycle to shake out fine particulates.
Then, and only then, start styling. Bring back the art. Restage the shelves. Light a candle. The reason this step matters is that all the design work you just paid for only shows up properly when the surfaces around it are spotless. A gorgeous new kitchen with a film of drywall dust on the upper cabinets just looks tired. A clean one looks like a magazine spread.
That’s the real payoff of a thorough post-renovation cleanup. It’s the moment your renovation actually starts feeling like the home you imagined.
A Few Final Tips
- Don’t skip the duct cleaning. Especially after major renovations. It’s the single biggest reason “clean” rooms keep getting dusty for weeks afterward.
- Keep extra microfiber cloths handy for a week. You’ll find dust you missed. It’s normal.
- Replace your furnace filter again after the first month. Whatever your initial cleanup missed, the system will catch.
- Document the “after” photos. Once it’s spotless, take pictures. You’ll want them for insurance, resale, or just to remember what your home looked like before life happened to it again.
A renovation is a big investment of money, time, and patience. The cleanup is the last 5% of the project that determines whether it feels worth it. Take the time to do it right, or hand it off to people who do this every day. Either way, you’ve earned that quiet first morning in your new space, coffee in hand, with nothing left to do but enjoy it.
About the Author
This post was contributed by the team at Sparkle and Scrub Cleaners, a residential and post-renovation cleaning company serving Toronto, the Greater Toronto Area, Brantford, Hamilton, and Ottawa. Specializing in post-construction cleanup, deep cleaning, and move-in/move-out services, the team has helped hundreds of homeowners turn freshly renovated spaces into homes that actually feel ready to live in. With over 50 five-star Google reviews and a checklist-driven cleaning standard, Sparkle and Scrub Cleaners brings the equipment, training, and attention to detail that post-renovation work demands.


