There is something undeniably alluring about the prospect of a bathroom renovation. We all dream of trading in cracked tiles and dated vanities for a spa-like sanctuary that offers a quiet escape from the daily grind. However, the gap between a Pinterest dream board and the reality of a bank account can often feel like a canyon.
Creating a beautiful, timeless space does not require an unlimited budget. Instead, it requires a strategic “high-low” approach, specifically knowing exactly where to invest in professional craftsmanship and where to embrace your inner DIY enthusiast. By balancing aesthetic desires with structural realities, you can achieve a high-end look that stands the test of time without breaking the bank.
Defining Your Vision and Budget
Before you swing the first sledgehammer, the most critical step is establishing a realistic financial roadmap. It is easy to get swept up in the excitement of choosing tapware and tiles, but failing to account for the “invisible” costs, such as plumbing relocation or subfloor repairs, can derail a project quickly.
Understanding the market rates is essential for setting these expectations. According to a budgeting guide, the average bathroom remodel hovers around $11,500, though this figure can vary wildly based on the scope of work. Smart homeowners can often stretch this budget by distinguishing between a cosmetic “refresh” (painting, swapping hardware) and a structural “remodel” (moving pipes, replacing tubs).
If your budget is tight, keep the plumbing where it is. Moving a toilet or shower drain, even a few centimetres, can add thousands to the final bill. Instead, focus your resources on high-impact surface changes that elevate the room’s feel without altering its bones.
The High-Low Approach: Where to Spend and Save
The secret to a successful budget renovation is not just about cutting costs; it is about allocating funds to the areas that impact longevity and safety. This is often referred to as the “Mastering the Mix” philosophy, meaning you are splurging on quality where it counts and saving on decorative elements that can be upgraded later.
Where to Save (DIY Friendly)
- Demolition: Removing old cabinets, accessories, and even some flooring can be done by a handy homeowner, provided you know how to avoid electrical wires and pipes. This sweat equity can save hundreds in labour costs.
- Painting: A fresh coat of moisture-resistant paint is the most cost-effective way to transform a room. It instantly brightens the space and hides imperfections.
- Hardware and Accessories: Towel rails, mirrors, and cabinet handles are easy to install and can be sourced from budget-friendly retailers. These are like jewellery for the room and are easy to swap out if trends change.
Where to Spend (Call the Pros)
Waterproofing and tiling are the non-negotiables of bathroom design. In wet areas, a single mistake can lead to leaks, mould, and structural rot that costs significantly more to fix than the original renovation. This is one area where DIY attempts often lead to expensive rectification work down the track.
While you might paint the walls yourself, complex tasks in the “wet zone” often require pros. For example, homeowners looking for bathroom renovations in Five Dock often rely on specialised tilers to ensure compliant waterproofing and a flawless finish. The precision required to slope a shower floor correctly or lay large-format tiles without lippage is a skill honed over years, making it a worthy investment for the longevity and value of your home.
Aesthetic Consistency and Timeless Design
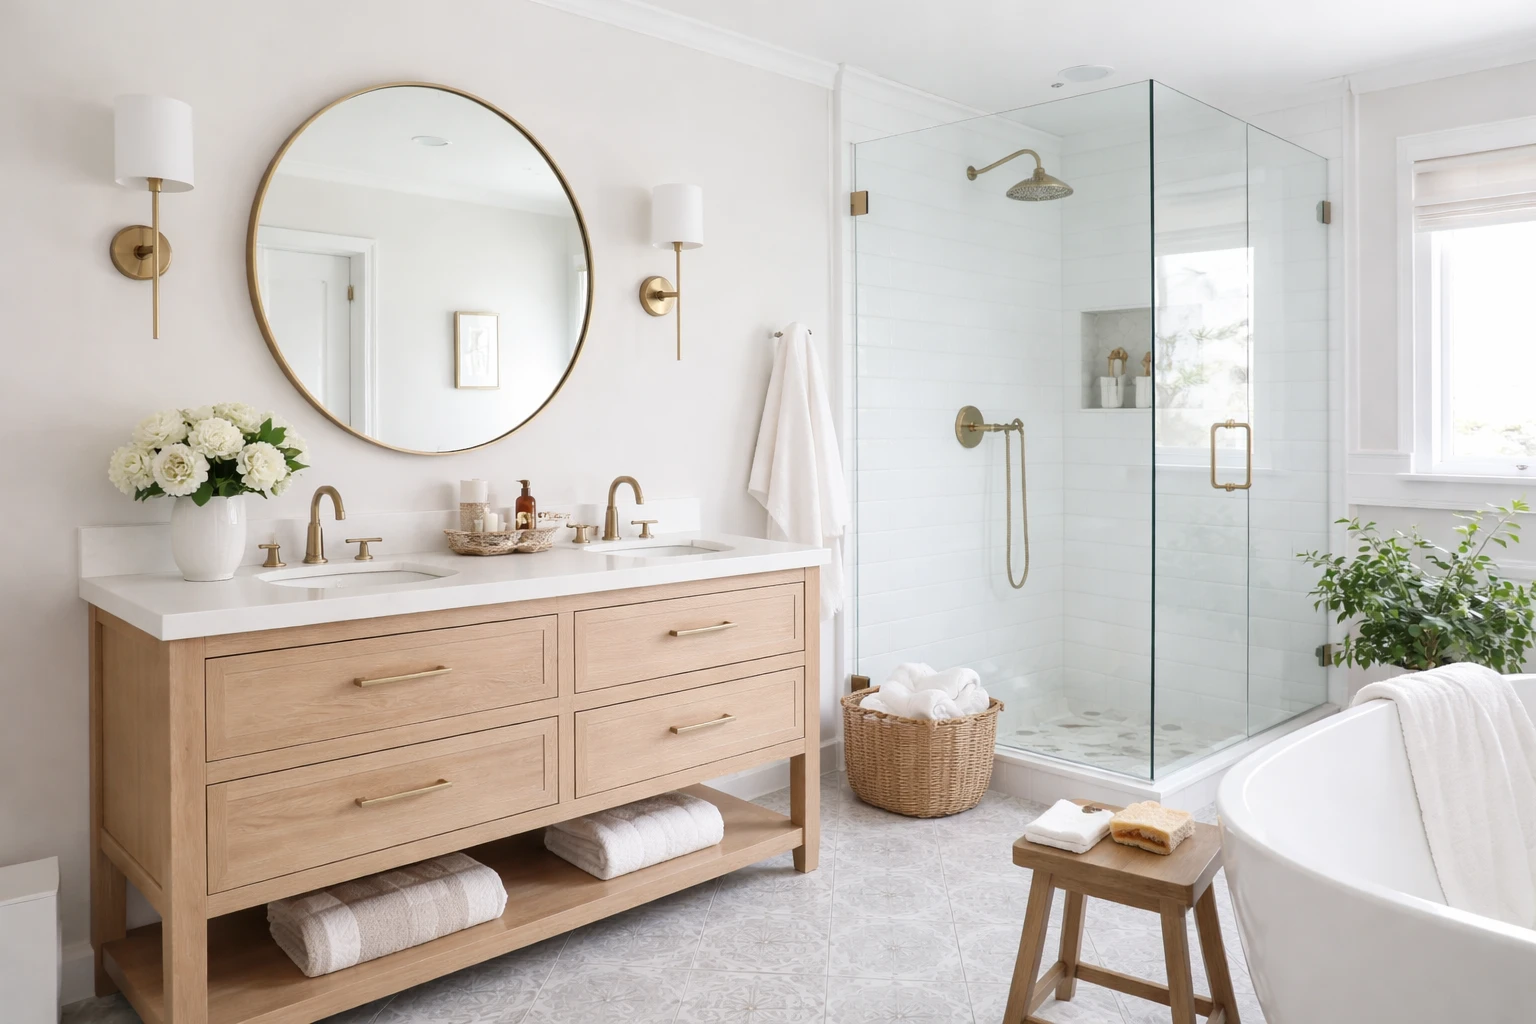
Once the technical plan is in place, the fun part begins: the design. A timeless bathroom typically relies on neutral hard finishes, such as white, grey, or natural stone tiles, paired with easily changeable accents like towels, plants, and art. This ensures your bathroom won’t look dated in five years when current colour trends shift.
When planning your own sanctuary, you might take inspiration from Primary Bath “Before” and Design Plan, where she balanced a specific vision for marble and glass with the practical need for a trusted contractor to handle the installation. Her journey highlights the importance of having a cohesive plan before purchasing materials, ensuring that every element, from the grout colour to the vanity style, works in harmony. Choosing the right single sink vanity unit can also help maintain a clean, balanced layout while keeping the bathroom functional in smaller spaces.
To achieve a cohesive look, consider these design principles:
- Stick to a Palette: Choose one metal finish (e.g., brushed nickel or brass) and stick to it for tapware, lighting, and hardware. This unifies the space and reduces visual clutter.
- Lighting Layers: Combine overhead lighting with task lighting (sconces near the mirror) to create warmth and functionality. Aim for a warm white globe (around 3000K) to avoid a sterile, clinical feel.
- Texture over Colour: If you love neutrals, add interest through texture, such as a timber vanity or a ribbed glass shower screen, rather than bold, permanent colours.
The Logistics of the Build
A bathroom renovation involves a tight sequence of trades. Unlike a living room update, where you can work at your own pace, a bathroom generally needs to follow a strict order of operations to ensure the waterproofing membrane remains intact and effective.
If you are managing the project yourself, keeping a tight schedule is vital. Here is the typical workflow you should anticipate:
- Demolition: Stripping the room back to the studs and removing all debris.
- Rough-In: Plumbers and electricians run new lines for water and power while walls are open.
- Sheeting: Installing water-resistant plasterboard or cement sheeting to prepare the walls.
- Waterproofing: The most critical stage. Applying the membrane and allowing it to cure completely is essential for preventing water damage.
- Tiling and Grouting: Laying the floor and wall tiles. This requires precision to ensure water drains correctly.
- Fit-Off: Installing the toilet, vanity, taps, and lights once the messy work is done.
- Painting and Caulk: The final cosmetic touches that seal the gaps and polish the look.
By understanding this flow, you can organise trades efficiently and minimise the downtime where you are left without a functioning bathroom. Efficient scheduling can shave days off the project timeline.
Creating Your Sanctuary
Renovating a bathroom is a balancing act between dreams and logistics, splurges and savings. By prioritising the structural integrity of the room and calling in experts for the critical wet areas, you ensure your investment lasts. Whether you are in the planning stages or ready to demo, remember that a timeless design is built on a foundation of quality workmanship and thoughtful planning. Once the dust settles, you will have a space that not only adds value to your home but also brings a little bit of luxury to your everyday life.
FAQs
Most bathroom renovations range widely depending on scope, but many projects average around $10,000–$15,000 when balancing materials, labor, and unexpected repairs.
Painting walls, replacing hardware, and updating lighting can dramatically improve the space without major construction costs.
Waterproofing, complex plumbing, and major electrical work should typically be handled by licensed professionals to prevent costly damage later.
Yes, and keeping plumbing in its original location is one of the best ways to control renovation costs.
Neutral tiles, classic fixtures, and consistent finishes such as matching metals help create a bathroom that stays stylish for years.
Most standard bathroom renovations take about two to four weeks, depending on the complexity of the work and the availability of trades.
Porcelain tiles, stone surfaces, and high-quality fixtures tend to offer durability and long-term value in wet environments.
Use layered lighting, large mirrors, and simple color palettes to make the space feel brighter, larger, and more refined.
For technical tasks like tiling and waterproofing, experienced professionals often prevent expensive repairs in the future.
Plan the order of trades carefully, confirm timelines in advance, and ensure materials are purchased before construction begins.


