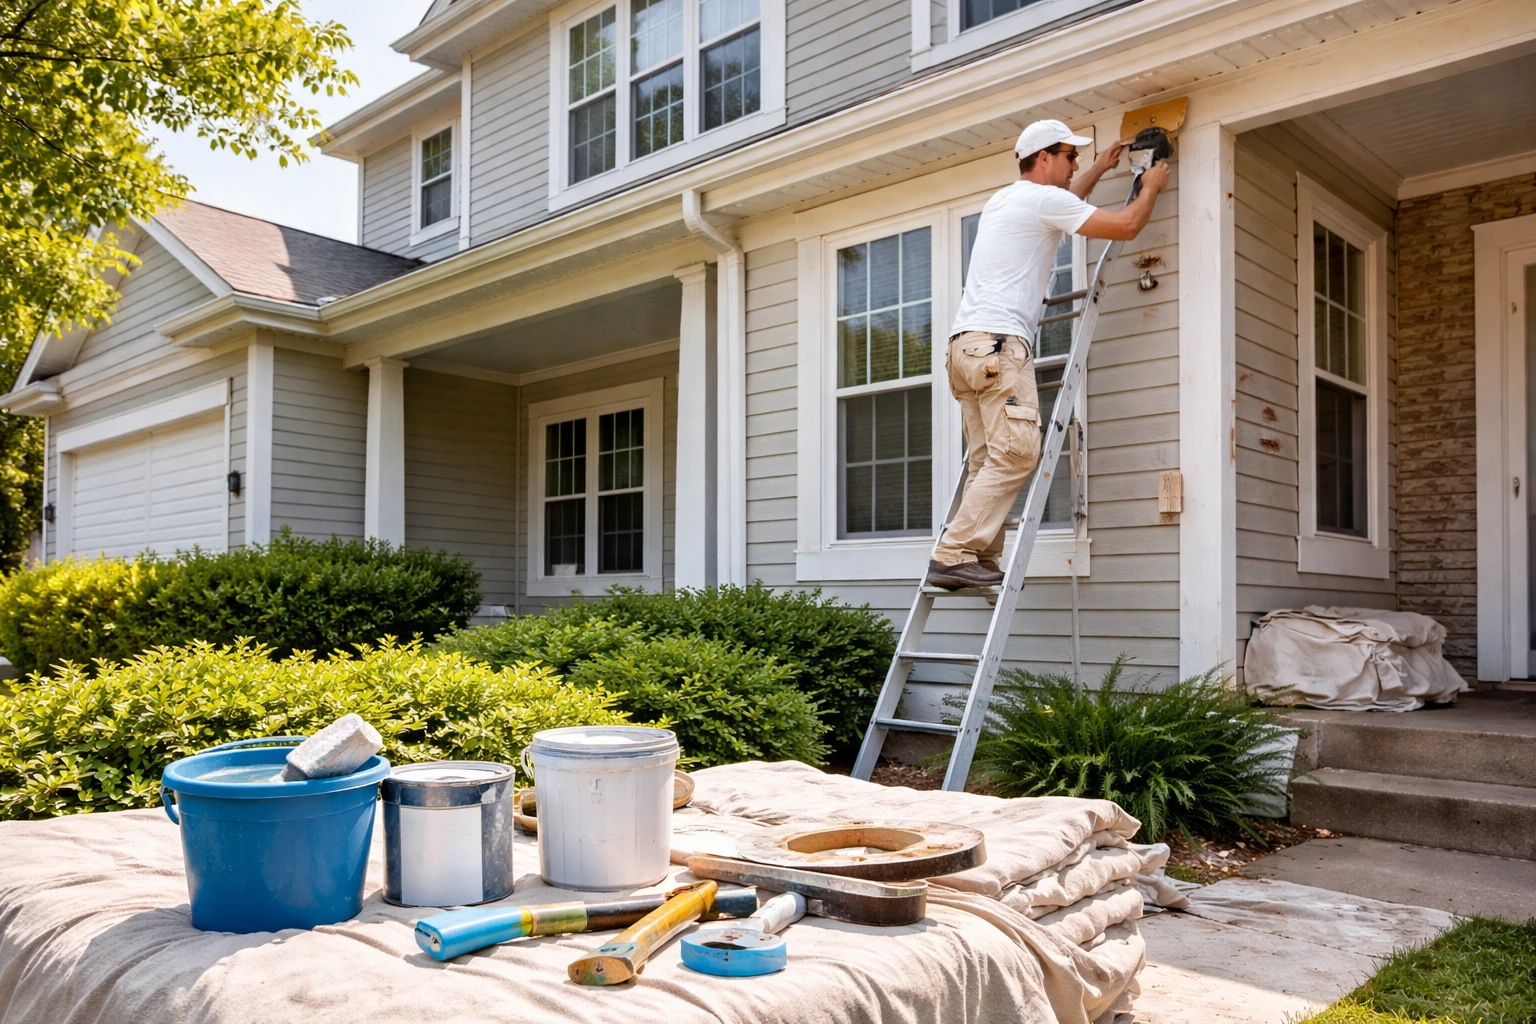
Painting your home’s exterior is an easy home improvement project that improves your property’s aesthetics and resale value. While most people invest in high-quality materials and expensive paints, they often overlook the significance of preparing their home for the paint job. Thorough preparation lays the groundwork for a high-quality finish, long-lasting color, and durable results, even before you open your first can of paint. While homeowners can perform simple cleaning and repairs, more complex damage and multi-storey homes require the expertise of a trusted painting company.
7 Simple Steps
Before a single drop of paint touches your home, you need to prepare accordingly. Each of these steps plays an important role in the project’s success.
Step 1: Inspect Your Home’s Exterior
The first step is a thorough inspection of your home’s exterior. Take a walk around your home with your phone, notebook, pencil, and a tape measure, and look for any signs of damage. These can be subtle, such as hairline cracks or unusual signs of moisture that might affect the painting job, especially in moisture and sun-damage-prone areas. Look for peeling paint, water stains, mold, rotting wood, insect nests, and loose or damaged siding. Check your windows, doors, fascia, and other painted surfaces for issues.
The shaded parts of the house are prone to moss, mold, and other moisture issues. Gaps and peeling caulk around windows, doors, and corners allow moisture to enter. Ignoring these minor issues can lead to serious problems that affect the home’s structural integrity, but addressing them on time protects you from costly repairs and paint failure. A good inspection will help you identify the required repairs and preparation work for exterior house painting.
Step 2: Clean All Exterior Surfaces
Any debris on the surface can affect the paint adhesion and finish, so you’ll want to begin by cleaning all exterior surfaces. Remove mold, mildew, dust, dirt, cobwebs, and any unusual residue; all of these affect how paint adheres to the surface.
Hand washing is suitable for cleaner surfaces, delicate areas, and detailed trims. If your home hasn’t been cleaned in years, you may need to consider power washing to remove debris and mold. They remove all the gunk and mold and create a smooth surface for paint adherence, color development, and a perfect finish. They even clean deep into stucco, vinyl, and wood grains.
Always use protective gear and follow safety guidelines, especially while using ladders and pressure washers. Use biodegradable and gentler cleaning solutions with fewer chemicals to avoid harming your home or the environment, and give the surface 24-48 hours to dry completely before moving to the next step.
Step 3: Repair Damaged Areas
After the home is clean and dry, the next step is to address any damage and issues with your exterior. Identify holes, scraps, and cracks. Small cracks can be fixed with exterior-grade fillers and putty, while larger cracks might require sealants or caulk. You might need to patch larger cracks and replace materials in damaged sections.
Inspect siding for warping or missing pieces and repair or replace them as needed. Look for splintered and rotten wood; remove these to create a solid foundation for the paint. When you’re performing repairs, follow all manufacturer instructions and safety protocol. This is the key to creating a solid foundation for an exquisite paint job.
Step 4: Scrape and Remove Loose Paint
Peeling paint creates a barrier between the existing surface and the new coat. This affects how well paint will adhere to the surface. Before painting, use scrapers and wire brushes to remove loose materials. Focus on any area with visible flaking paint and smooth the edges so they blend with the surrounding.
Focus on areas with visible flaking paint and smooth the edges so they blend with the surrounding. Don’t scrub roughly to gouge the wood or damage the siding. Removing the old layer creates a smooth surface for paint to bond evenly and last for years.
Step 5: Sand and Smooth Surfaces
Sanding creates a smooth surface for paint application. This makes it critical for decorative areas. However, residue left behind creates a gritty finish in the new paint. After sanding, collect the dust and dispose of it properly.
Use high-grit sandpaper for finer areas, and lower-grit sandpaper for larger sections. When done correctly, sanding gives a professional-grade finish with a consistent sheen.
Step 6: Protect Landscaping and Other Outdoor Features
Protective measures often go overlooked. However, these reduce cleanup time and accidental damage. Using dropcloths, cover outside items and fixtures as needed to avoid paint splatter and cosmetic damage.
Focus on covering the surrounding areas and elements. With breathable drop clothes, you prevent splatter on your walkways, decks, and driveways. Also, cover exterior fixtures and use painter’s tape to mask and protect areas like your windows, trim, mailbox, house numbers, and door hardware.
Step 7: Prime Before You Paint
A high-quality primer is an investment in the paint’s quality and durability. It seals porous surfaces, covers stains, and improves color coverage, but also creates a surface that paint properly adheres to.
Stain-blocking primers are ideal for water-damaged areas; bonding primers work well for metal and PVC; mildewcide primer is perfect for damp-prone areas; and UV-resistant primer protects against future sun damage. Depending on weather conditions and the product formulation, let them dry for 4-24 hours.
Bonus Tips
Do not skip the cleaning and priming steps, as they create a smooth, clear base for paint adhesion, durability, and final appearance. Never paint over damp or damaged surfaces, as it traps moisture and causes peeling. Invest in high-quality materials at all times to achieve your desired results, even with tasks as small as sanding.
Keep children and pets out of the home during the painting project to prevent accidents, and invest in high-quality materials. You should also inform your neighbors in advance that they may experience noise and activity in the neighborhood.
Final Thoughts
Preparing your home helps achieve a professional-grade result that is worth the investment. From inspection, repair, and cleaning to scraping, sanding, and priming, each step prepares the surface, leading to better paint adhesion, color development, and durable results. If you’re unsure how to proceed, contact a local exterior painting company. They can provide expert advice and help you achieve a perfect finish.
FAQs
Preparation ensures proper paint adhesion, longer-lasting results, and a smoother, more professional-looking finish.
You should allow surfaces to dry completely, typically 24–48 hours, depending on weather and humidity levels.
No, loose or peeling paint must be scraped off to prevent future flaking and ensure the new coat bonds properly.
Yes, primer seals porous surfaces, blocks stains, and improves paint durability and color coverage.
Hand washing works for light dirt, while power washing is ideal for heavy buildup, mold, or debris.
Minor cracks can be filled, but warped, rotting, or severely damaged siding should be replaced for a solid base.
Lower-grit sandpaper works for rough areas, while higher-grit sandpaper is best for smoothing detailed or delicate surfaces.
Yes, using drop cloths and protective coverings prevents paint splatter and damage to plants and outdoor fixtures.
No, painting over damp surfaces traps moisture, which can cause bubbling, peeling, and premature paint failure.
Consider hiring professionals for multi-storey homes, extensive damage repairs, or if you lack the tools and safety equipment for the job.


