Framing a canvas can feel like the finishing touch that transforms your artwork from “nice” to “wow.” Whether it’s your own painting, a print you’ve purchased, or a piece you’ve inherited, learning how to frame a canvas can make a huge difference in how it looks on your wall. The good news? You don’t need to spend hundreds on custom framing. With the right approach, you can frame your canvas beautifully—on your own, for a fraction of the cost.
In this guide, we’ll walk through everything: choosing the right frame, gathering tools, step-by-step assembly, cost-saving hacks, and tips to avoid common mistakes.
Choosing the Right Frame
Before diving into nails and saws, it’s worth thinking about what kind of frame will suit your canvas. Not all frames are created equal, and the choice you make here sets the tone for how your art will be perceived.
- Picture Frames vs. DIY Frames
A standard picture frame can sometimes work for thin canvases, but most stretched canvases are too thick to fit into off-the-shelf frames. That’s why many people build simple wooden frames at home. - Budget vs. Custom
Custom framing shops can charge anywhere from $100 to over $500 depending on size. If you’re working with multiple canvases, that adds up quickly. A DIY frame, on the other hand, can cost less than $10 in materials. - Style Considerations
Do you want the frame to blend in or stand out? A slim black frame gives a modern, gallery-like feel, while rustic wood adds warmth and character. Floating frames, where the canvas appears to “hover” inside the frame, create a high-end look.
Materials and Tools You’ll Need
You don’t need an advanced workshop to frame a canvas. Most supplies are available at any home improvement store.
Materials:
- Wood trim or boards (1×2 or lattice strips work well)
- Brackets, corner braces, or paneling pieces
- Finishing nails, screws, or brad nails
- Wood glue (optional, for extra stability)
- Paint, stain, or wood finish
Tools:
- Measuring tape
- Miter saw, hand saw, or circular saw
- Hammer or brad nailer
- Sandpaper
- Clamps (optional, but useful for clean corners)
- Pencil for marking cuts
Optional extras include wood filler, polyurethane, and hanging hardware like D-rings or sawtooth hangers.
Step 1: Measure Your Canvas
Accurate measurement is the foundation of success.
- Measure the Width and Height: Write down the dimensions of your canvas.
- Account for Depth: Canvases typically range from ¾ inch to 1½ inches deep. Make sure your wood trim is deep enough to cover the sides.
- Add Allowance for Joints: If you’re using mitered corners (angled cuts), factor in a little extra length for each cut.
Pro tip: Always measure twice, cut once.
Step 2: Select Your Frame Style
There are a few different ways to frame a canvas.
- Mitered Corners
The most traditional option. Each corner is cut at a 45-degree angle, giving the frame a seamless look. Best if you want a professional, polished finish. - Butt Joints
The simplest method. One piece of wood overlaps the other at the corners. Less refined, but sturdy and quick to build. - Floating Frames
These leave a small gap between the canvas and the frame, making the artwork appear suspended. More advanced, but worth it if you want a gallery-style effect. - Rustic Frames
Using reclaimed or weathered wood adds charm and texture, especially for farmhouse or vintage-inspired decor.
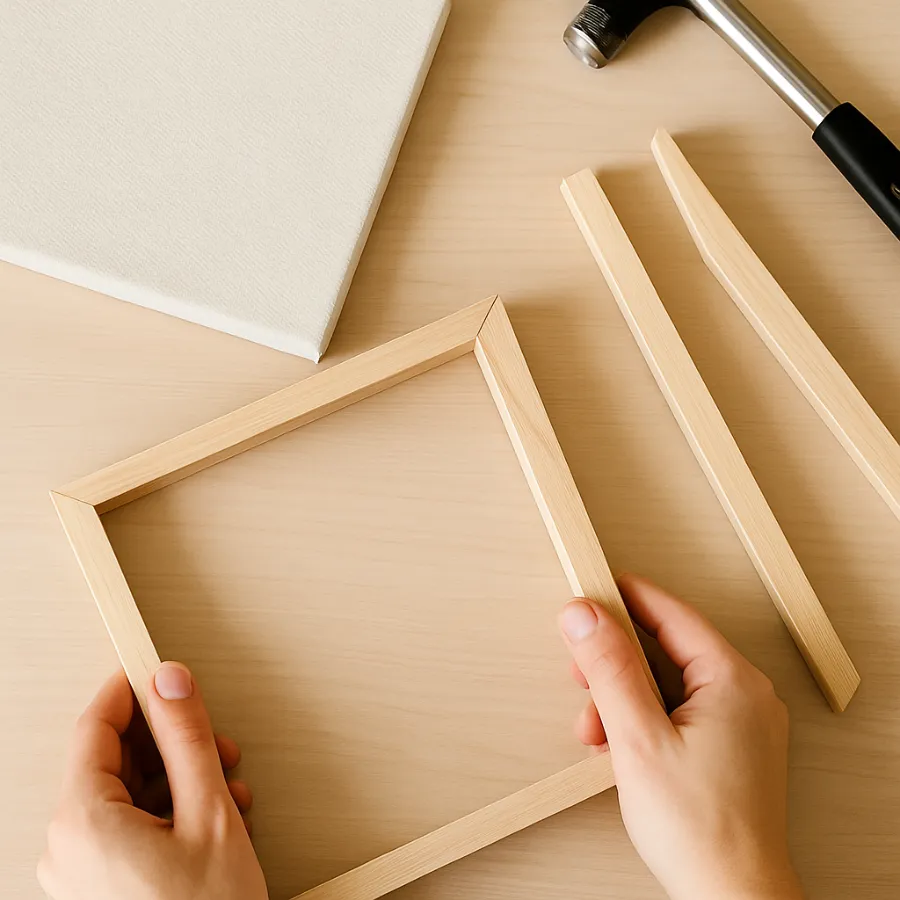
Step 3: Cut and Assemble the Frame
Now it’s time to bring your frame to life.
- Cut Your Boards
Use your measurements to cut four pieces of wood. If you’re going with mitered corners, set your saw to 45 degrees. If you prefer butt joints, cut square edges. - Dry Fit the Frame
Before attaching anything, lay out your pieces on a flat surface to make sure they align properly. - Assemble
- For mitered joints: Apply wood glue, clamp, and nail together.
- For butt joints: Overlap the edges, glue, and secure with nails or screws.
- For extra stability: Add small corner braces on the back of the frame.
Step 4: Attach the Canvas to the Frame
There are a few different attachment methods depending on your canvas and frame style:
- Brackets or Offset Clips: Screw into the back of the frame and over the stretcher bars of the canvas.
- Panel Method: Secure small pieces of paneling to the back corners of the frame and attach the canvas to those.
- Direct Nailing: Nail the frame directly to the sides of the canvas. Quick, but permanent.
If the canvas feels loose, use cardboard spacers behind it to tighten the fit.
Step 5: Finishing Touches
This is where your frame really comes alive.
- Sand the Edges: Smooth out any rough spots.
- Paint or Stain: Choose a finish that complements your art. Black, white, or gold works for modern looks, while walnut or natural wood suits rustic decor.
- Fill Gaps: Use wood filler to cover nail holes or imperfections.
A clear protective coat of polyurethane will add durability and keep your frame looking fresh.
Step 6: Hanging Your Framed Canvas
Now that your frame is built and finished, it’s time to hang it up.
- Sawtooth Hangers: Good for smaller canvases.
- D-Rings with Wire: Better for larger, heavier pieces.
- Placement Tips: Hang at eye level (around 57–60 inches from the floor to the center of the artwork) for best impact.

Cost-Saving Tips
- Repurpose Wood: Old trim, lattice, or pallet wood can make beautiful rustic frames.
- DIY vs. Professional: Reserve professional framing for delicate or valuable works. DIY is perfect for everyday art.
- Buy in Bulk: If framing multiple canvases, buy wood in longer lengths to save money.
Troubleshooting & Common Mistakes
Even with careful planning, things can go wrong. Here’s how to fix them:
- Frame Doesn’t Fit: Double-check measurements. Sand or trim down the pieces if needed.
- Gaps at Corners: Fill with wood filler and sand smooth before painting.
- Canvas Too Thick: Use deeper trim or floating frame design.
- Uneven Finish: Apply stain or paint in thin, even coats.
Conclusion
Learning how to frame a canvas isn’t just about saving money. It’s about giving your artwork the presentation it deserves. With a few tools, some wood, and a bit of patience, you can create frames that look custom-made at a fraction of the cost.
The best part? Each frame is a reflection of your style. Whether you go sleek and modern, rustic and warm, or bold and colorful, you’ll know that the frame itself is part of the story your art tells.
So grab your canvas, pick up some wood, and start framing. You’ll be amazed at how much more finished—and striking—your artwork will look.


")


")

