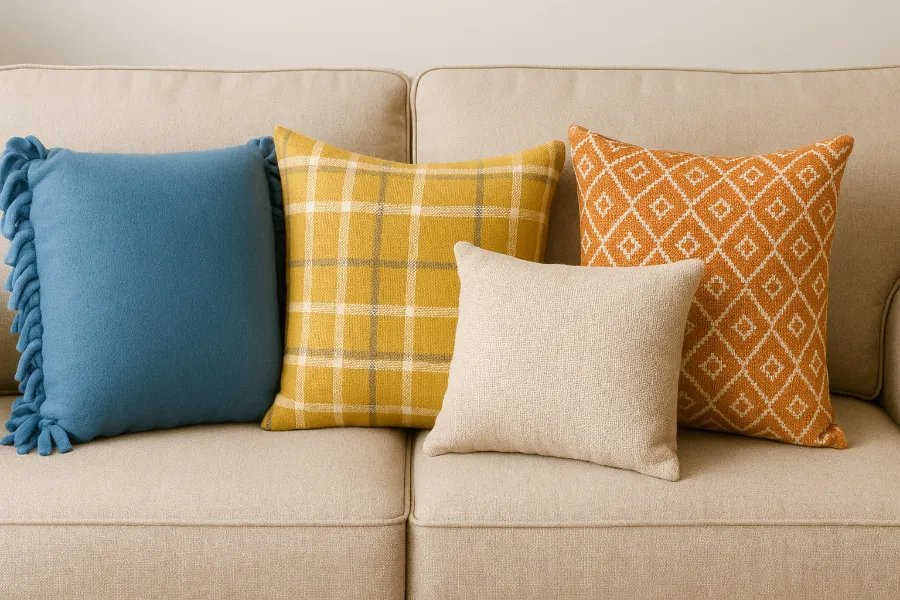
When it comes to home décor, few things transform a room faster than pillows. They’re cozy, colorful, and instantly make a couch, bed, or chair look styled and inviting. But here’s the catch—store-bought throw pillows can be shockingly expensive, and if you’re not a sewer, the idea of making your own may seem impossible. That’s where no sew pillows come in. With the right supplies and a little creativity, you can make beautiful, custom pillows without touching a sewing machine. And honestly? It’s addictive once you start.
I’ve gathered all the best techniques—from fringe-and-tie to glue-and-go—so you can create no sew pillows that look polished, last, and actually save you money. Whether you’re decorating a dorm room, sprucing up your porch, or simply swapping styles with the seasons, these projects are quick, fun, and completely doable.
Supplies You’ll Need
The beauty of no sew pillows is that you don’t need much. In fact, you probably already have half of these supplies lying around.
- Fabric
Options include fleece, napkins, tablecloths, thrifted fabric, or even an old blanket. Choose fabrics that are soft, durable, and complement your style. - Pillow Forms/Inserts
These can be bought at craft stores, or you can recycle old throw pillows. - Cutting Tools
Sharp scissors or a rotary cutter for clean edges. - Adhesives/Alternatives
- Fabric glue
- Hot glue gun
- Iron-on adhesive tape (like Steam-A-Seam or Stitch Witchery)
- Safety pins or decorative knots
- Optional Extras
Pompom fringe, piping, tassels, or decorative trims for added personality.
Four Foolproof No-Sew Pillow Methods
There’s no one way to make no sew pillows. That’s the fun part—you can choose the method that fits your style, skill level, and how long you want the pillow to last.
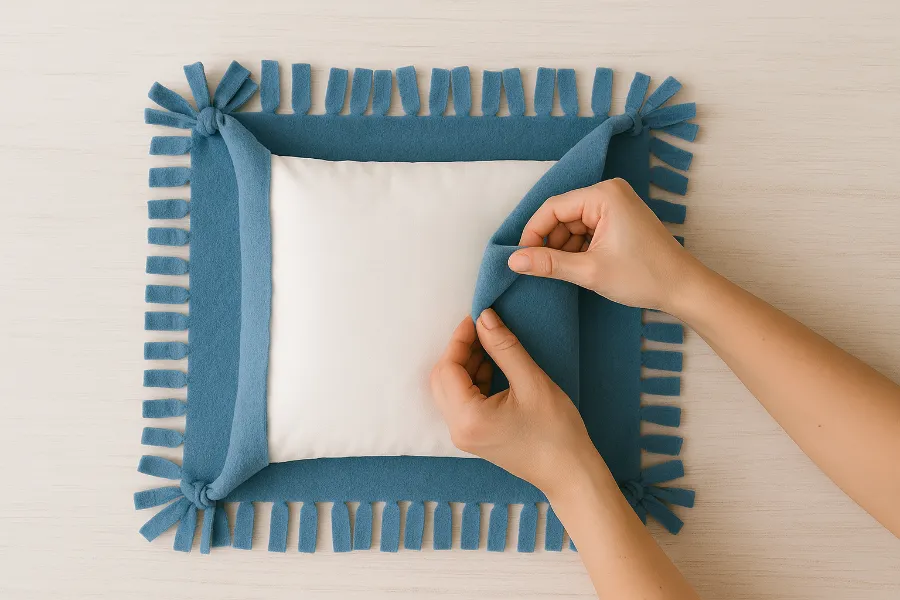
The Fringe & Tie Method
This is the classic. Perfect if you’re working with fleece or other non-fraying fabrics.
- Cut two squares of fleece a few inches larger than your pillow form.
- Trim out small squares at the corners.
- Cut fringe around all four edges—about 3–5 inches long and ½ inch wide.
- Lay the two pieces together and tie the fringe strips into knots around three sides.
- Insert the pillow form and tie the last side shut.
- Trim fringe for neatness.
The result is a super cozy pillow with a soft fringe border. It’s casual and great for family rooms or kids’ bedrooms.
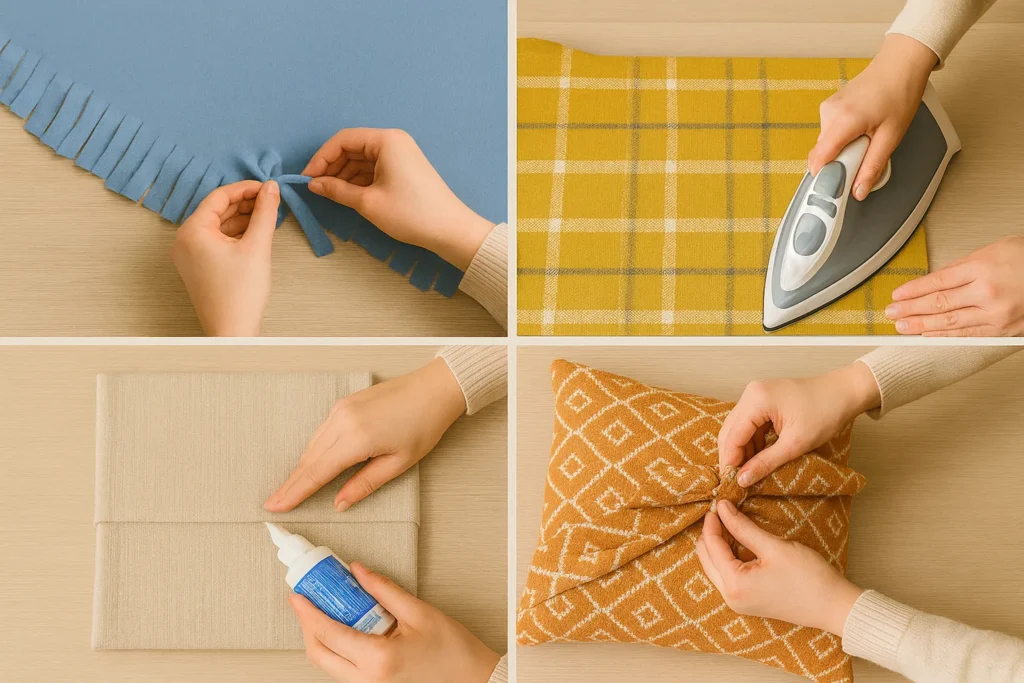
The Fabric Glue or Hot Glue Method
If you want a sleek, no-fringe look, glue is your best friend.
- Place two napkins, placemats, or fabric squares with the right sides facing out.
- Run a line of fabric glue or hot glue along three sides, leaving one open.
- Let it dry (clothespins help hold it together while setting).
- Insert your pillow form.
- Glue the final side shut.
This is especially fun if you use bold printed napkins or vintage fabric. The edges look crisp, and you can easily embellish with pompoms or fringe.
The Iron-On Tape Method
This is the most durable option without sewing, giving you nearly the same result as a stitched seam.
- Lay fabric squares inside out.
- Position iron-on fusion tape between the edges.
- Iron the seams together on three sides.
- Turn the cover right-side out, insert the pillow, and seal the final edge with more tape.
This technique works best with cotton or linen fabrics and gives you sharp, professional-looking corners.
The Wrap & Tie Method
Think of this as “gift-wrapping” a pillow with fabric.
- Lay a square of fabric on a flat surface.
- Place the pillow diagonally in the center.
- Pull opposite corners together, knot them, and repeat with the other two corners.
- Tuck and adjust until it looks neat.
You can leave the knots on display for a boho vibe, or flip the pillow over so the smooth side faces up. Bonus: you can unwrap and reuse the fabric later!
Design and Style Ideas
One of the biggest perks of making no sew pillows is complete creative freedom. No store dictates your options—you do.
- Mix Patterns and Textures
Pair stripes with florals, velvet with linen, or solids with bold prints. - Add Trim
Pompom fringe, tassels, or piping can be glued or taped in place for an upscale finish. - Go Seasonal
Use cozy flannel or plaid for fall, bright tropical prints for summer, or metallic fabrics for the holidays. - Repurpose Materials
Old sweaters, tablecloths, and even thrifted curtains can become chic pillow covers.
Tips & Tricks for Success
- Always cut fabric slightly larger than your pillow form to allow for edges and glue.
- Use sharp scissors—ragged cuts will make your pillow look messy.
- If using glue, allow plenty of drying time before stuffing the pillow.
- For outdoor pillows, choose weather-resistant fabrics and waterproof adhesives.
- Don’t be afraid to experiment with trims—just make sure to attach them before sealing your final edge.
Common Mistakes to Avoid
Even with simple projects, things can go wrong. Here’s what to watch out for:
- Cutting fabric too small → You won’t have enough room to close the edges.
- Using the wrong glue → Hot glue can stiffen fabric, while weak craft glue won’t hold. Stick with fabric glue for best results.
- Forgetting about washability → If you plan to wash your pillow covers, avoid trims that fray easily and use washable adhesives.
- Overstuffing → Trying to cram a large pillow form into a small case can tear seams or pop glue lines.
Why No Sew Pillows Are Worth It
There are plenty of reasons to skip store-bought and go DIY:
- Budget-Friendly: Most no sew pillows cost a fraction of retail prices.
- Quick: Each pillow takes under 30 minutes.
- Customizable: Choose fabrics, trims, and sizes that perfectly match your home.
- Beginner-Friendly: If you can cut and glue, you can make a pillow.
Conclusion
At the end of the day, no sew pillows are one of the easiest, fastest, and most satisfying DIY home projects you can tackle. Whether you’re making cozy fleece pillows with tied fringe, stylish napkin covers with glued edges, or funky wrap-and-tie creations with thrifted fabric, the possibilities are endless. And the best part? You don’t need a sewing machine—or even sewing skills—to make them.
So go ahead, grab that fabric you’ve been hoarding, pull out the scissors, and make your own collection of no sew pillows. Your couch, bed, and porch will thank you. And trust me, once you make one, you’ll be hooked.


")


