When it comes to backyard upgrades, nothing draws people together quite like a fire pit. The warmth, the glow, the chance to sit around with friends—it’s an outdoor centerpiece that never goes out of style. But if you want your fire pit to look polished and last for years, there’s one detail you can’t skip: fire pit cap stones. These stones don’t just finish off the structure, they transform a basic pit into a safe, sturdy, and stylish feature in your outdoor living space.
In this guide, I’ll walk you through everything you need to know about fire pit cap stones. From why they matter, to the best materials, to a step-by-step process you can follow to build your own. I’ll also share creative customization ideas and important maintenance tips that will keep your fire pit looking amazing for years to come.
Why Fire Pit Cap Stones Matter
Cap stones are the crowning feature of a fire pit. They sit on top of the walls and act as both a protective shield and a design accent. Think of them as the frame on a great painting: without them, the piece just feels unfinished.
Here’s what they do:
- Safety – Cap stones stay cooler than the inner walls, which makes it safer to rest your hand or set a drink nearby. They also help contain sparks and embers.
- Durability – They protect the structural walls from direct heat, rain, and snow.
- Comfort & Functionality – A wide, flat cap stone doubles as seating space or a ledge for snacks and drinks.
- Style – The right cap stone material adds a custom, finished look that elevates your entire backyard.
Without cap stones, a fire pit looks rough, feels less safe, and won’t last nearly as long.
Best Materials for Fire Pit Cap Stones
One of the first decisions you’ll face is choosing what type of cap stones to use. The material you pick impacts not only the look but also the performance of your fire pit. Let’s break down the most popular options:
Concrete
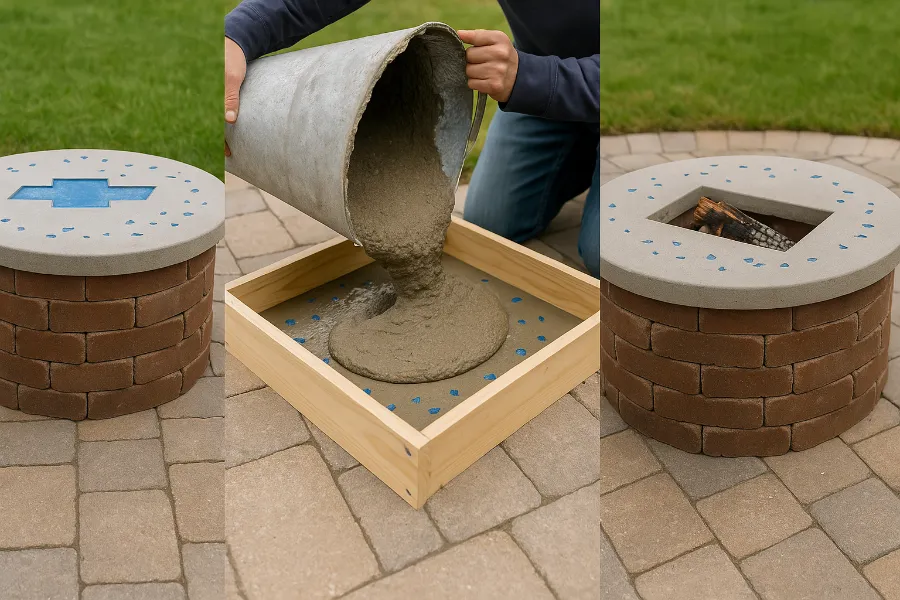
Concrete cap stones are the most customizable choice. They can be poured into molds, shaped with miters, and finished with grinding or staining. With reinforcement, they’ll last for decades.
- Pros: Affordable, highly customizable, can embed designs or objects (like glass or shells).
- Cons: Can crack if not reinforced or sealed.
Natural Stone
Natural stone cap stones like granite, sandstone, or slate give a timeless, rustic look. They hold heat beautifully and blend perfectly into a garden setting.
- Pros: Stunning appearance, heat retention, long-lasting.
- Cons: Heavy, may require sealing to prevent water damage.
Pre-Cut Blocks
Manufactured concrete blocks designed specifically for fire pits are a quick-install option. Many come with rounded edges to fit a circular pit.
- Pros: Easy to install, uniform look, widely available.
- Cons: Less customizable, standard appearance.
Combination
Some builders use a steel insert for the inner pit and surround it with concrete or natural stone cap stones. This gives maximum safety while keeping the outer look elegant.
Tools and Materials You’ll Need
If you’re planning to build cap stones yourself, here’s a basic checklist:
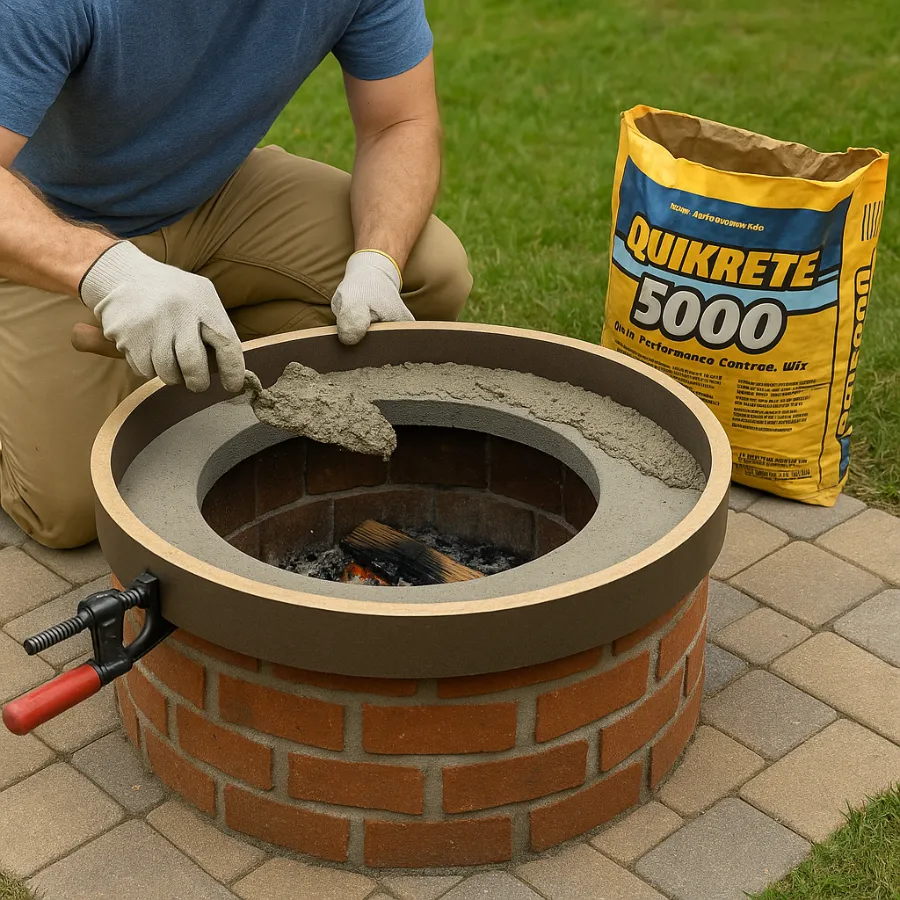
- Quikrete 5000 (for poured cap stones)
- Bags of mortar
- Bricks or pavers (for pit walls)
- 2x4s for forms
- Miter saw or circular saw
- Drill with wood screws
- Trowel and mixing tools
- Silicone caulk (for sealing forms)
- Rubber mallet
- Grinding wheels and sandpaper (for smoothing)
- Optional décor: glass chips, shells, emblems, or stones
Step-by-Step: Building Fire Pit Cap Stones
Now let’s dive into the process. This method blends classic masonry with DIY customization.
Step 1: Plan and Design
Start by sketching your fire pit layout. Measure the diameter of the pit and decide how wide you want your cap stones. If you’re pouring concrete, create blueprints for your forms. A CAD program or even simple graph paper works fine.
Step 2: Build the Foundation
Excavate the area about 6–8 inches deep and twice the width of your pit. Add a gravel base for drainage and tamp it down. Then pour a concrete foundation using 2×4 forms. Screed the top flat and let it cure for 48 hours.
Step 3: Lay the Brick or Stone Walls
Using mortar, lay bricks or stones around the foundation, staggering the joints for strength. Make sure the top course is level—this is critical for setting the cap stones properly.
Step 4: Create Cap Stone Forms
For poured concrete, cut strips of melamine board to size. Use 45° miters on the inside corners to avoid swelling and caulk all seams with silicone. This prevents water from seeping into the wood and helps create smooth edges.
Step 5: Pour the Cap Stones
Mix Quikrete 5000 to a slightly wet consistency and fill the forms, layering slowly to avoid dislodging décor pieces. Tap the outside with a rubber mallet to release air bubbles. Overfill slightly and screed flat.
Step 6: Cure, De-Form, and Grind
After 48 hours, remove the forms carefully. Flip the cap stone and begin grinding to expose aggregates or embedded decorations. Work through sandpaper grits from 60 up to 600 for a smooth, polished finish.
Step 7: Set the Cap Stones
You can mortar them in place for a permanent installation or dry-stack them if you want easier access to the interior barrel. Dry-stacking is especially useful if you’ve used a metal liner inside.
Step 8: Seal and Finish
Apply high-temp sealer or epoxy to protect the surface. For the inner edge, use high-heat grill paint. Cure the coating by gradually building up fire sizes over a few days.
Customization Ideas for Fire Pit Cap Stones
This is where your creativity shines. Some unique options include:
- Embedded décor – broken glass bottles, marbles, or shells set in the concrete.
- Logos and emblems – car emblems or family initials for a personal touch.
- Stained or colored concrete – use tints to match your outdoor furniture.
- Texture – instead of polishing smooth, leave a rugged, natural look.
- Multi-layer caps – wider stones create natural seating ledges.
Maintenance and Safety Tips
Like any outdoor feature, fire pit cap stones need care to last.
- Clean regularly – brush off ash and soot after use.
- Seal every 1–2 years – especially for concrete or natural stone.
- Avoid waterlogging – drill drainage holes in the base to prevent water damage.
- Check stability – make sure cap stones stay level and secure.
- Mind the wind – avoid using the pit on extremely windy days to prevent embers from blowing out.
Bringing It All Together
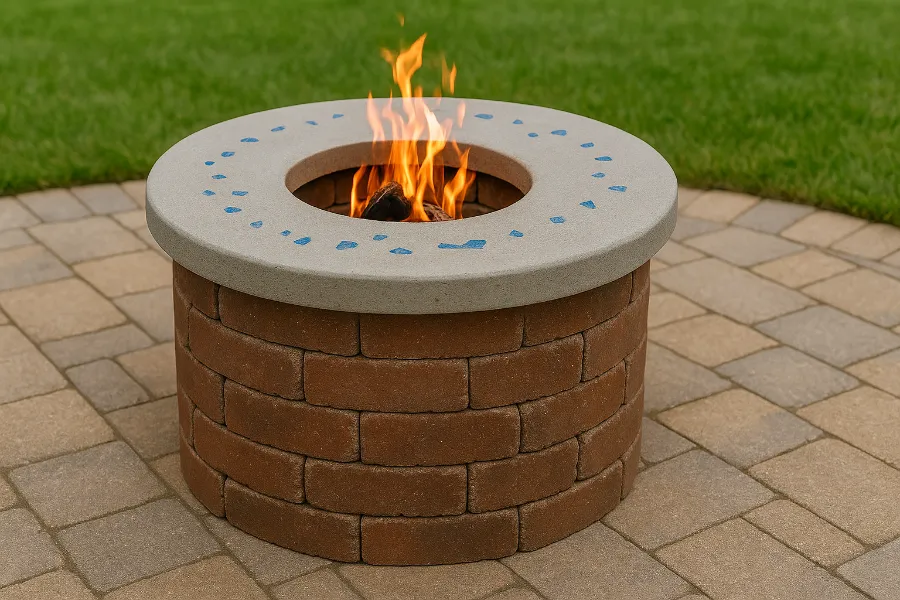
Adding fire pit cap stones isn’t just about function—it’s about transforming a plain brick circle into a centerpiece that feels designed, polished, and inviting. With the right planning and materials, you can create a custom look that balances durability with personal flair. Whether you pour your own decorative concrete cap or go for timeless natural stone, the result will be a fire pit that’s not only safe but a true reflection of your style.
So grab your shovel, mix some concrete, and let your creativity loose. With cap stones crowning your fire pit, your backyard is about to become the ultimate gathering spot.


