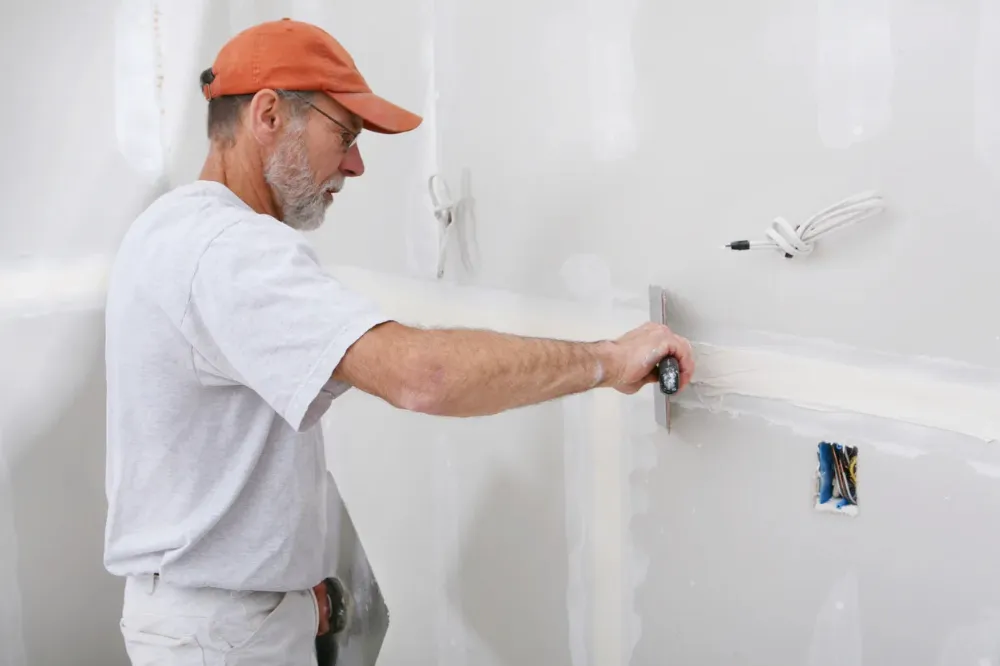
Drywall damage is a common issue in many homes. The causes can range from water leaks to rodents to aging. Fortunately, drywall repair can be a relatively simple do-it-yourself project that can save you money.
This will guide you with clear instructions for handling small to medium size drywall repairs, ensuring a smooth, professional-looking finish.
Materials Needed
These are the tools that you will need.
- Drywall patch or scrap drywall
- Putty knife
- Sandpaper
- Utility knife
- Drywall tape
- Drywall screws
- Screwdriver or drill
- Primer or paint
- Measuring tape and pencil
- Safety glasses
- Dust Mask
Step 1: Assess The Damage
Examine the damaged area to determine the tools and amount of materials that you will need.
- Use joint compound to fill small holes or dents.
- Medium size holes that are between 1-6 inches will require a patch and joint compound.
- Large holes that are over 6 inches will require a drywall patch and reinforcement.
- Cracks usually require taping and mudding.
Clean the area by removing any loose debris with a utility knife.
Step 2: Prepare The Area
- For small holes, lightly sand the area to create a smooth surface.
- For medium or large size holes, cut a clean square or rectangle around the damage using a utility knife.
- For cracks, widen the crack slightly with the utility knife to create a groove for the joint compound and tape.
Step 3: Apply A Patch
Apply these steps to medium to larger size holes.
- Measure the hole and cut a piece of scrap drywall slightly larger than the hole.
- Cut two pieces of cardboard or thin wood slightly larger than the hole. Thread a string through the center of one piece for easy handling, place it inside of the hole and secure it with drywall screws. Pull the string to hold it in place, then tape or screw it to the surrounding drywall.
- Place the drywall patch over the backing and secure it with drywall screws, making sure that it is flush with the wall.
Step 4: Tape And Mud
- Apply drywall tape over seams or cracks over holes that have patches or cracks.
- Use a 4-inch putty knife to spread a thin layer of joint compound over the tape or directly into small holes. Smooth them out to avoid lumps.
- Let the compound dry for about 24 hours.
Step 5: Sand And Apply Additional Layers
Once the area is dry, begin the following steps:
- Lightly sand the area with a 120-grit sandpaper to smooth out any imperfections.
- Apply a second layer of joint compound with a 6-inch putty knife, feathering the edges to blend with the surrounding wall.
- Let it dry, then sand again with a 220-grit sandpaper for a finer finish.
- Repeat with a third layer if you need to.
Step 6: Prime And Paint
- Apply a coat of primer to the repaired area to seal the joint compound.
- Once the primer is dry, paint the area to match the rest of the wall. It is a good idea to use a small roller for a consistent texture.
Safety Tips During Drywall Repair
Drywall repair is simple but does create dust and requires sharp tools. Taking a few precautions will help you avoid injury and keep your home clean.
- Protective Gear
- Safety glasses → shield your eyes from dust and debris.
- Dust mask or respirator → prevents inhaling fine drywall particles.
- Gloves → protect your hands from cuts when handling drywall sheets.
- Work Environment
- Keep the room well-ventilated by opening windows or using a fan.
- Lay down a drop cloth or old sheet to catch debris and dust.
- Keep pets and children away from the work area until cleanup is complete.
- Tool Safety
- Always cut away from your body with a utility knife.
- Use a steady ladder or step stool when working on higher sections of drywall.
- Unplug power tools when not in use.
Common Mistakes to Avoid
Even small drywall repairs can look messy if done without the right approach. Here are some frequent mistakes and how to avoid them:
| Mistake | Why It’s a Problem | How to Avoid |
|---|---|---|
| Applying too much joint compound | Creates lumps and uneven surfaces | Use thin, even coats and feather edges outward |
| Skipping sanding between layers | Results in rough patches | Lightly sand with fine-grit paper after each coat |
| Ignoring primer before painting | Paint absorbs unevenly, making repair noticeable | Always apply primer before painting |
| Cutting irregular holes | Makes fitting a patch difficult | Cut neat squares or rectangles for easy patching |
| Rushing drying time | Causes cracks or peeling | Allow full 24 hours for compound to dry |
Cost Savings of DIY Repairs
Hiring a pro can be convenient, but the savings from DIY add up quickly.
- Average Professional Costs
- Small hole repair (under 6 inches): $75–$150
- Large hole or multiple patches: $200–$500
- Full drywall replacement: $1,000+
- DIY Costs (one-time purchase of tools and supplies):
- Joint compound: $10–$15
- Drywall patch: $5–$10
- Sandpaper: $5
- Putty knife: $8–$15
- Primer/paint: $20–$40
- Total: $50–$80 (covers multiple repairs)
Tip: Once you buy the tools, future repairs cost almost nothing—just a little joint compound and paint.
When to Call a Professional
DIY works well for most small to medium issues, but there are times when professional help is worth it.
- Situations Requiring a Pro:
- Extensive Water Damage → signs of mold, stains, or sagging drywall.
- Structural Issues → cracks wider than 1/4 inch that may indicate foundation settling.
- Electrical/Plumbing Behind the Wall → cutting into walls with wiring or pipes should be handled carefully.
- Ceiling Repairs → gravity makes ceiling patches tricky, and safety risks increase.
- Benefits of Hiring a Pro:
- Ensures the problem is fixed correctly the first time.
- Saves time for large-scale or urgent repairs.
- Access to professional-grade tools and materials.
Pro Tips for a Seamless Finish
Even if you follow all the steps, the little details make the difference between a patch that looks “good enough” and one that disappears into the wall.
- Feather the Edges → Always spread joint compound slightly wider than the last coat, so the repair blends smoothly into the wall.
- Use the Right Sandpaper → Start with 120-grit for smoothing rough areas, then finish with 220-grit for a polished look.
- Check With Light → Hold a work light at an angle across the patch; shadows will highlight bumps or uneven spots that need extra sanding.
- Match Wall Texture → If your wall has texture (orange peel, knockdown, etc.), use a spray texture or sponge technique to mimic the finish before painting.
- Color Matching Paint → Even with the same brand, old paint on the wall may look different; take a sample to a paint store for the best match.
- Patience Pays Off → Let each layer of compound dry fully before sanding or adding another coat—rushing can ruin the finish.
Conclusion
With a little time, patience and attention to detail, drywall repair can be a do-it-yourself project, or projects, that you can do yourself. This is one of those relatively simple home improvements that you can easily learn to do on your own, or you can contact a professional company such as Little Fisherman Co and take a look at the residential and commercial painting services that they offer to get the job professionally done for you.


