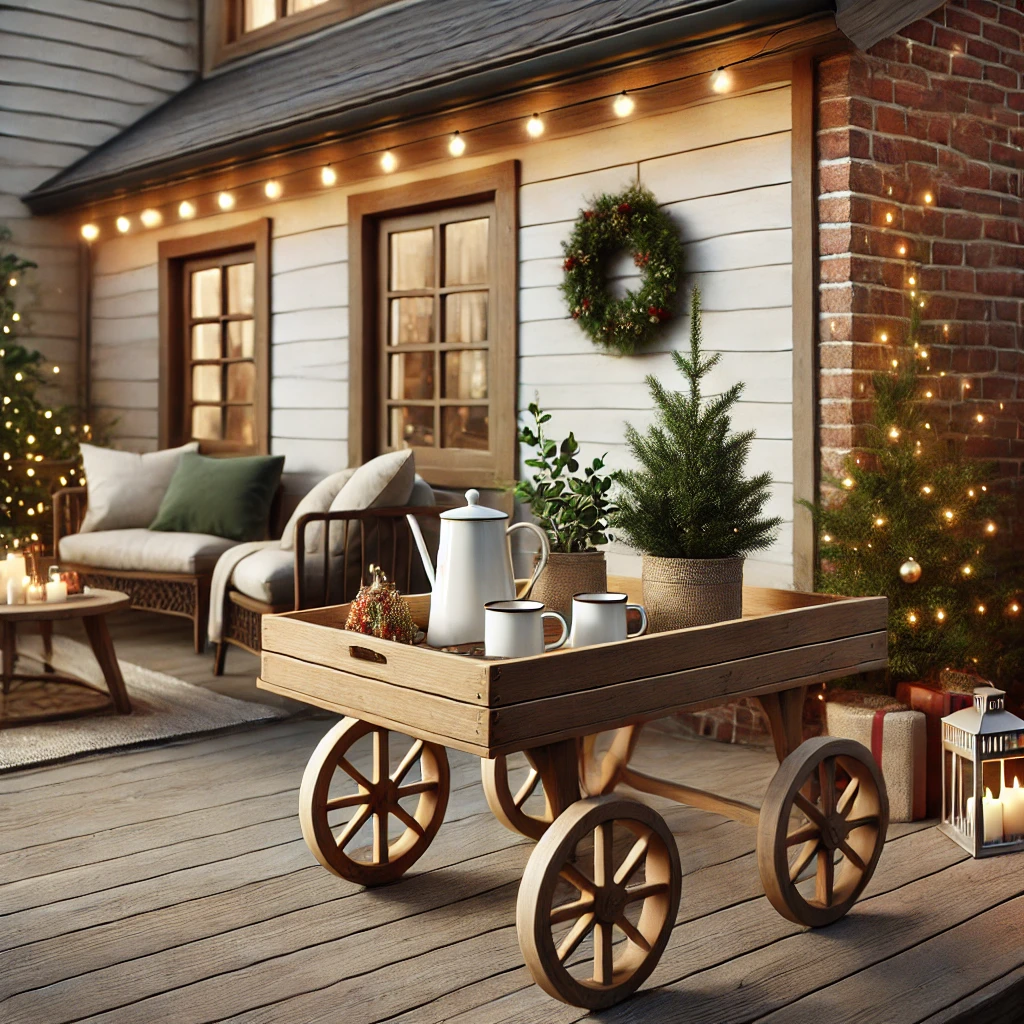
Christmas is all about creating warm, inviting spaces, and while decorating the indoors is a priority, let’s not forget about sprucing up the outdoor areas! Whether it’s a cozy corner on the porch or a deck ready for entertaining, a functional and stylish cart can be the perfect addition for festive gatherings. That brings us to a recent project—Mark’s Deck Cart, a DIY transformation that turned a simple yard sale find into a charming and practical piece for entertaining.
From Art’s Market Table to Mark the Shark
Some of you might remember the Art’s Market Table project, but now, we have Mark the Shark stepping into the spotlight!
Not too long ago, I had to part with my beloved changing table-turned-bar-cart due to space constraints. I had grand plans for it on our deck, imagining summer evenings filled with refreshing drinks and good company. However, once we installed the bookcases indoors, there was no longer enough room to store it when not in use. Sadly, it had to go.
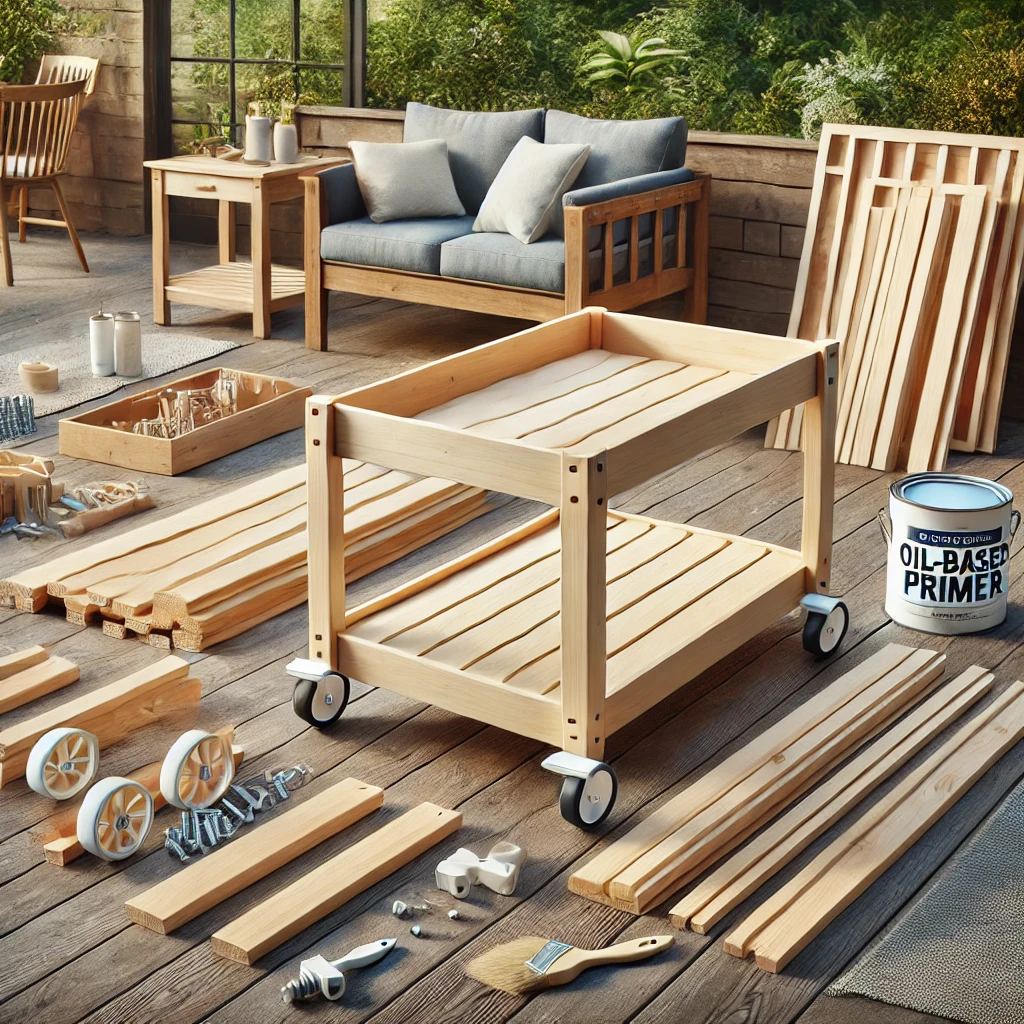
But you know how fate works I soon stumbled upon a charming little cart at a yard sale. It was the perfect size for our deck during the summer and compact enough to tuck away in the garage when the colder months rolled in. The only problem? It was completely unfinished.
Prepping the Cart for the Outdoors
Since this cart would be spending a lot of time outside, I knew it needed a durable seal to withstand the elements. And let’s be honest—a blank wooden cart is practically begging for a creative makeover!
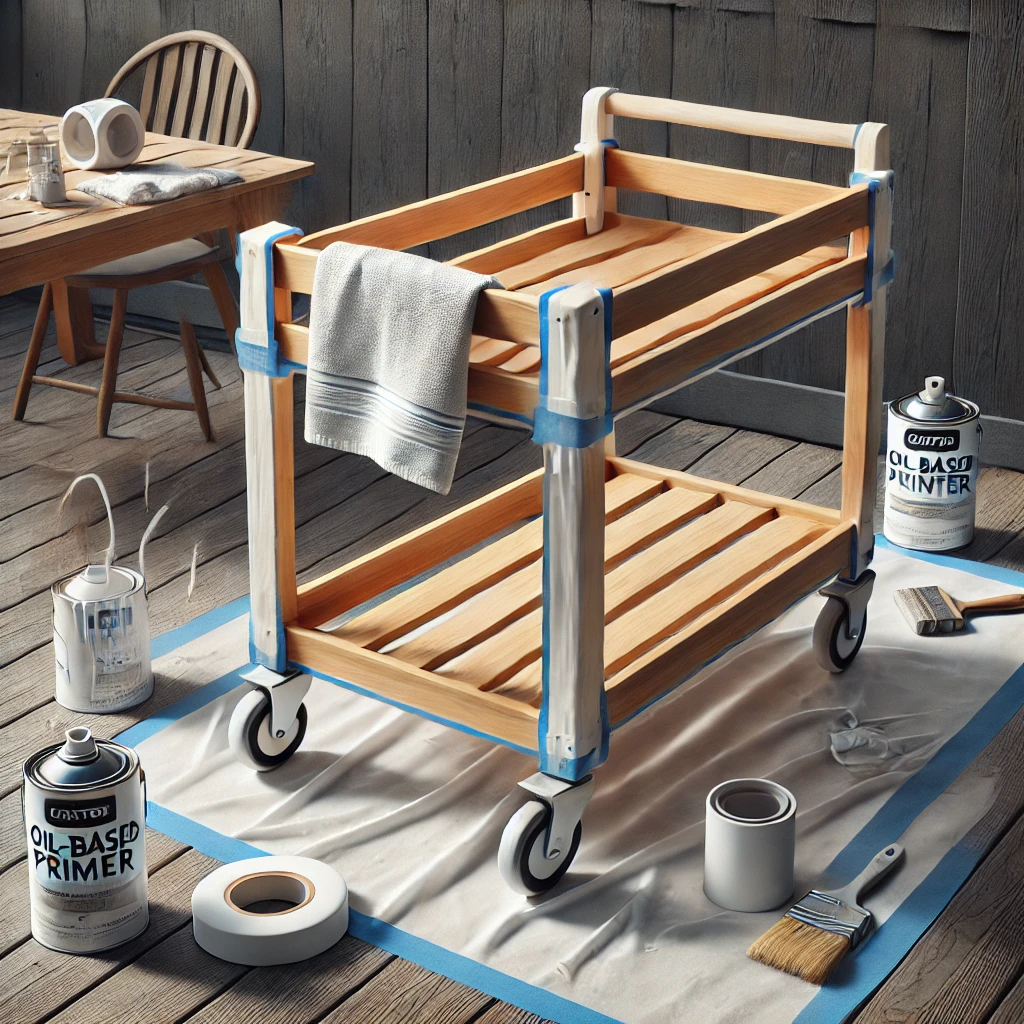
The first step? Taping off the casters and the top before priming every nook and cranny. Whenever you’re working with bare furniture, a good primer is essential, especially if it will be used outdoors. I went with an oil-based primer to ensure the finish would stand up to changing weather conditions.
After priming, I applied several coats of latex paint using my Critter spray gun—a tool I’ll be sharing more about soon. It made the process smooth and efficient, giving the cart a professional-quality finish.
The Fun Part Adding a Personalized Graphic
With the base paint complete, it was time to give this cart a personality!
Initially, I envisioned it as a beverage station where guests could help themselves to drinks. But Mark had a different idea he wanted to use it next to the grill as a place to set platters of burgers, hot dogs, and other grilled favorites. That’s when inspiration struck!
I decided to create a custom graphic that incorporated both a “BAR & GRILLE” theme and a personal touch: Mark’s nickname, Mark the Shark.
Using PowerPoint, I experimented with different shark images and fonts until I landed on a design I loved. To enlarge it for the cart’s surface, I uploaded the graphic to Block Posters, which allowed me to print it out in sections. If you’re trying this at home, you can also enlarge images using Microsoft Word.
Transferring the Design
To transfer the design onto the cart, I used my tried-and-true chalk method:
- Rub chalk on the back of the printed graphic.
- Place the paper chalk-side down on the cart’s surface.
- Trace over the design with a pencil, transferring the chalk outline onto the wood.
This method works like a charm and makes it easy to follow the design when painting or inking the details.
Inking the Design with a Sharpie
Once the outline was in place, I went over it with a black Sharpie. Pro tip: Use a fine-tip Sharpie for detailed areas. Unfortunately, I couldn’t find mine and had to use a standard marker, which made some lines look a bit uneven.
My first attempt at writing “Mark the Shark” didn’t go as planned. The font I chose was too irregular, and once traced, it looked like I had downed three glasses of sangria before attempting it. (Honestly, maybe I should have it might have turned out better!)
So, back to the drawing board. I made a second attempt, this time simplifying the lettering for better clarity. If you’re working on a similar project, remember that smaller fonts need more definition, and using a Sharpie on bare wood can cause some bleeding. A fine-tip marker helps control this.
Sealing the Design for Durability
Once the ink had dried for a couple of hours, I applied a coat of Minwax Provincial stain to the top. This added warmth and depth to the design while enhancing the natural wood grain.
To finish, I distressed the painted areas slightly for a weathered look, then sealed the entire cart with oil-based Spar Urethane—the same sealer I use on my outdoor teak furniture.
- Two coats of urethane ensured full protection.
- Light sanding between coats helped achieve a smooth finish.
- Clear Satin Spar Urethane by Minwax was the perfect choice—it starts off super shiny but settles into a softer sheen over time.
The Final Look—A Functional Cart with Personality

In the end, this little yard sale cart transformed into a stylish, functional piece that’s perfect for entertaining!
I love how the custom graphic turned out—it gives the cart a fun, personal touch while still being practical. The sealer not only protects the cart but also helps smooth out minor imperfections. (For example, the first failed attempt at “Mark The Shark” is now completely hidden under the protective finish!)
Font Lovers, Take Note!
If you’re a font junkie like me, here’s the breakdown of the fonts used in the design:
- “Mark” and “Shark’s” – FoglihtenNo07
- “The” – Bergamot Ornaments (lowercase “z”)
(Check out this handy printable Bergamot Ornaments guide by Rachel Myers!)
- “Bar & Grille” – Buffet Script
- The first “Mark the Shark” (which didn’t make the final cut) was in a font formerly known as Cracked now amusingly called Crackhouse. While it’s a fun font, I don’t recommend it for image transfers!
A Matching Set for the Whole Crew?
Since Mark now has a personalized cart for grilling, I think the rest of us should have matching “Mark The Shark” T-shirts for backyard gatherings what do you think?
Wouldn’t it be fun to have a full themed BBQ setup with coordinating elements? Maybe some custom drinkware and shark-themed décor to tie it all together?
Bringing Holiday Cheer Outdoors
As we link up our Christmas home décor this season, don’t forget about outdoor spaces! A charming, personalized cart like this could be repurposed for holiday entertaining imagine it decked out with festive garland, twinkling lights, and a selection of holiday drinks for guests to enjoy.
Whether it’s summer BBQs or winter holiday gatherings, Mark’s Deck Cart has become a staple for entertaining, proving that with a little creativity, even the simplest yard sale find can turn into something special and practical.
Happy decorating, and don’t forget to Link Up Your Christmas Home! 🎄

")


")
")
")
")

")
")
