A little over a year ago, I made a commitment right here on this blog to tackle a specific home improvement project. Do you remember this one?
Fast forward to today, and I can finally say it’s done! It took longer than I anticipated, but the result was worth it.
Now, I’m well aware that there are exactly 184,987 upholstered headboard tutorials floating around the internet. So here I am, adding the 184,988th to the mix, at the risk of making you doze off in front of your screen. Should I grab you a cup of coffee?
I’m not here to reinvent the wheel, but I do want to share some valuable insights I gained through trial and error while working with nailhead trim on an upholstered headboard. Hopefully, these tips will help you avoid some of the frustrations I encountered along the way.
The First DIY Headboard We Made
About eight years ago, long before I even knew what a blog was, Mark and I built our first upholstered headboard for our previous home. We took a simple approach—just a piece of plywood from Lowe’s, cut to match the width of our king-sized bed. We wrapped it in batting and then covered it with a neutral-colored coverlet I had found on clearance. The design was simple: a classic rectangular shape with a clean, no-fuss finish.
Here’s a look at our bedroom when we were selling the house, all de-personalized and staged for potential buyers.

And here’s what the back of the headboard looked like nothing fancy, just a practical DIY solution that worked for us at the time.
If you’re looking for a straightforward way to make an upholstered headboard, I highly recommend this method. It’s easy to execute, and as long as you take care to square off the corners neatly, the final product looks polished. One thing to note: this method does require more fabric than a headboard with legs. However, the dimensions of a standard plywood sheet are perfect for using a sheet or a coverlet as fabric.
We didn’t attach the headboard to the bed frame; instead, we simply propped it up behind our mattress and bed frame. Alternatively, if you prefer a more permanent installation, you could mount it to the wall using D-rings or a Hangman bracket. For us, the headboard was tall enough that we could sit up comfortably in bed while leaning against it, making it a practical and cozy addition to our bedroom.
The Need for an Update
We loved our upholstered headboard for years, but as time passed, it began to show signs of wear and tear. With three little ones regularly climbing in and out of bed, the fabric inevitably became a bit grungy. Cleaning an upholstered headboard is tricky—you can vacuum and spot clean, but a deep clean usually requires removing the fabric, washing it, and then reattaching it.
Since I was already going to remove the fabric to wash it, I figured I might as well take the opportunity to switch things up a bit. And that’s when this project took an unexpected turn. The culprit? Nailhead trim.
The Challenges of Nailhead Trim
What I initially thought would be a simple update turned into a much more involved process. It actually took me three attempts before I achieved a professional-looking finish. Here’s what I learned:
- The Nailhead Trim Dilemma If you’re driving nails through multiple layers of fabric and batting, you’ll quickly realize that getting each nail to go in at the same angle is nearly impossible. The result? A wavy, uneven trim that makes the whole project look amateurish. To avoid this issue, minimize the layers the nails have to go through.

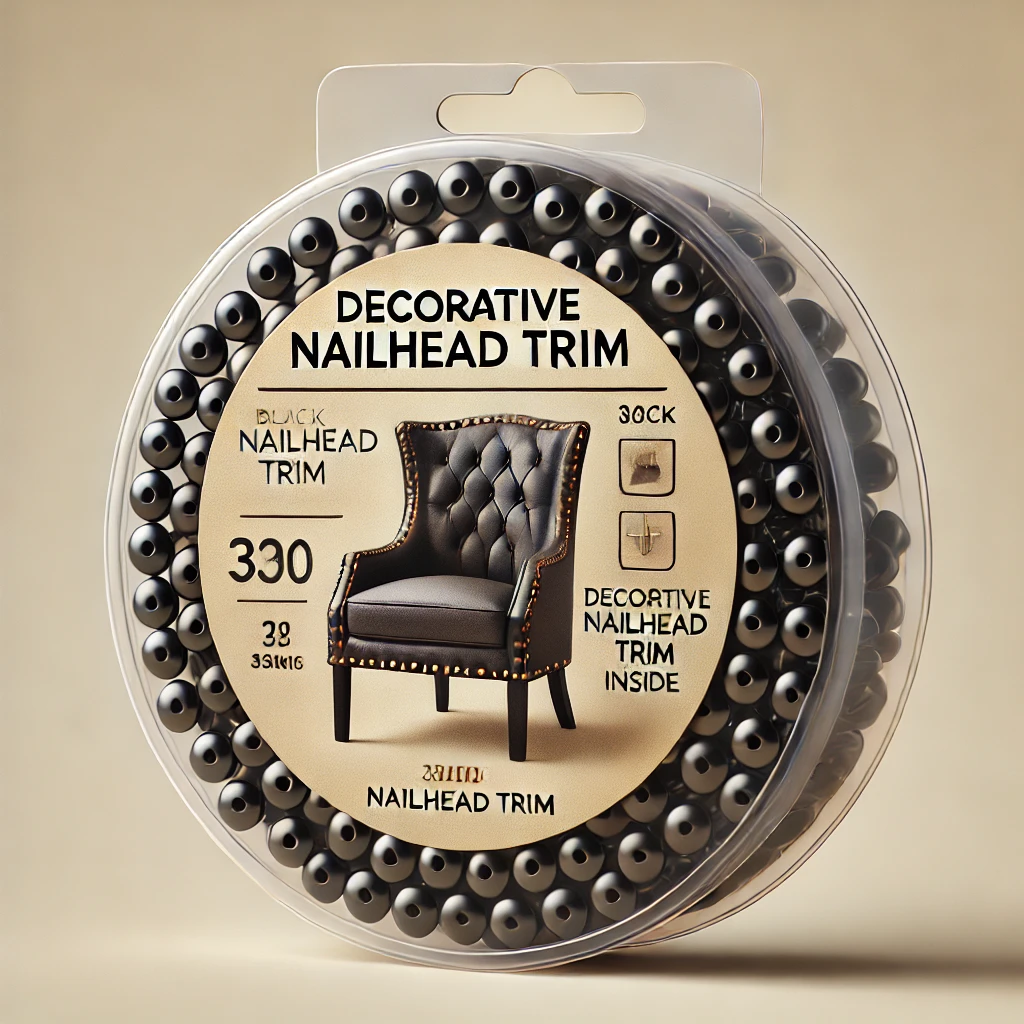
- Choosing Between Loose Nailheads and Nailhead Trim Kits I experimented with both individual nailheads and a nailhead trim kit like this one (which allows you to attach every fifth nail).  Unfortunately, in both cases, my final result was a disappointingly wavy line. No matter how many times I tried to straighten them out, I just couldn’t get that crisp, professional look I was aiming for. To make matters worse, the nails in the trim kit didn’t perfectly match the trim itself, making them all too obvious.
- The Trick to Straight Nailhead Trim I wanted my headboard to look high-end and custom-made, without the price tag. However, the wavy trim made it look more like a DIY fail. So I searched for solutions and discovered an effective trick:
- Before attaching the fabric, staple the batting to the front of the plywood, leaving a 1-2 inch border of exposed wood along the top and sides.
- When it’s time to attach the nailheads, they’ll only go through a single layer of fabric into the wood, giving you much more control over their placement and angle.
Pro Tips for Working With Nailheads
- Many tutorials suggest holding each nailhead with pliers while hammering it in with a rubber mallet. I found this cumbersome, especially when working alone.
- Instead, I discovered a handy trick: placing the tip of a flathead screwdriver under one side of the nail as I hammered it in. For some reason, this helped keep the nails even.
- Measure and mark where your nails should go ahead of time. Eyeballing it might seem tempting, but trust me—you’ll regret it later when you step back and see a wobbly trim line.
A New Approach: Wrapping the Edges in Fabric
For my final attempt, I took inspiration from Kristin at The Hunted Interior. She wrapped a piece of fabric around the edges of her headboard for a beautifully finished look. It reminded me of the professional edge detail you’d see on Pottery Barn headboards.

[via]
Here’s what I did:

- I cut long strips of fabric, ironed a crisp crease into them, and used FabricTac glue to attach them to the top and edges of the headboard.

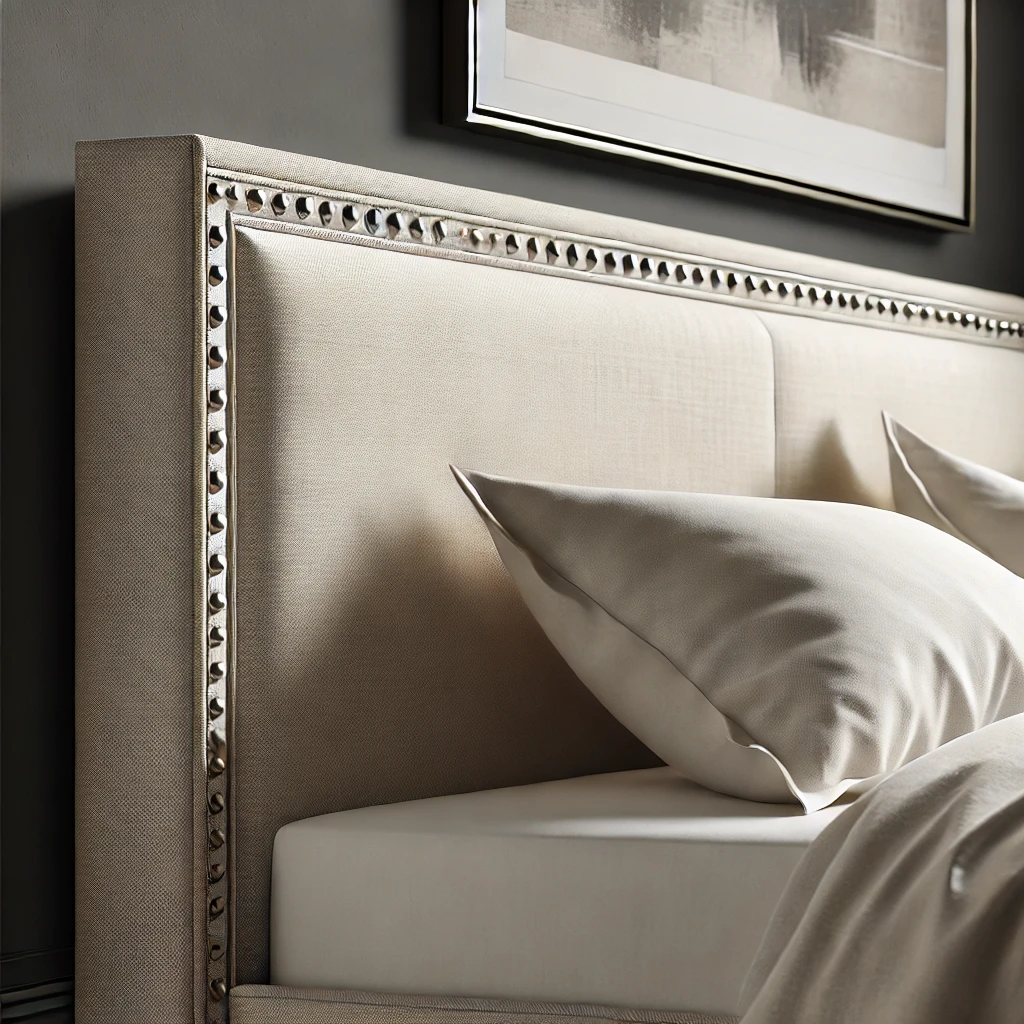
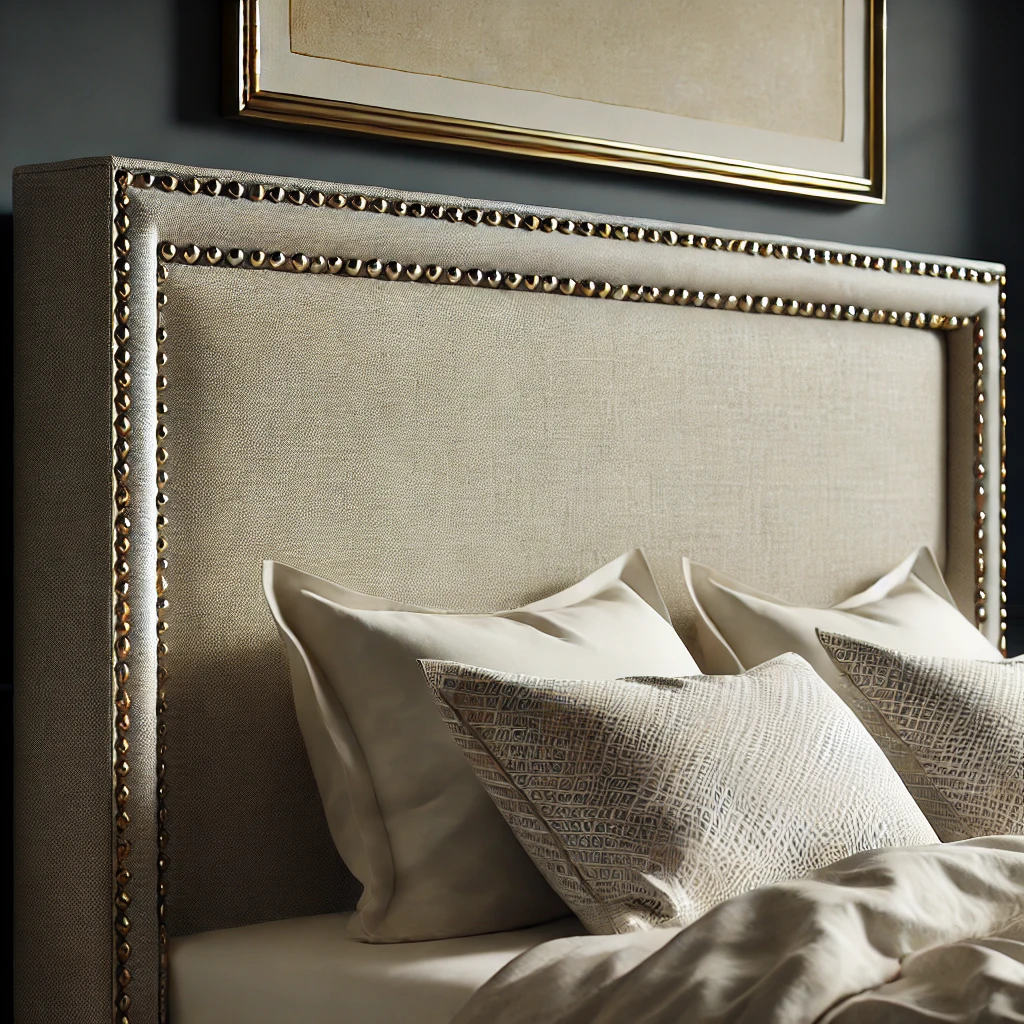
- Instead of placing the nailheads on the front, I secured them along the sides, which made any slight imperfections far less noticeable.
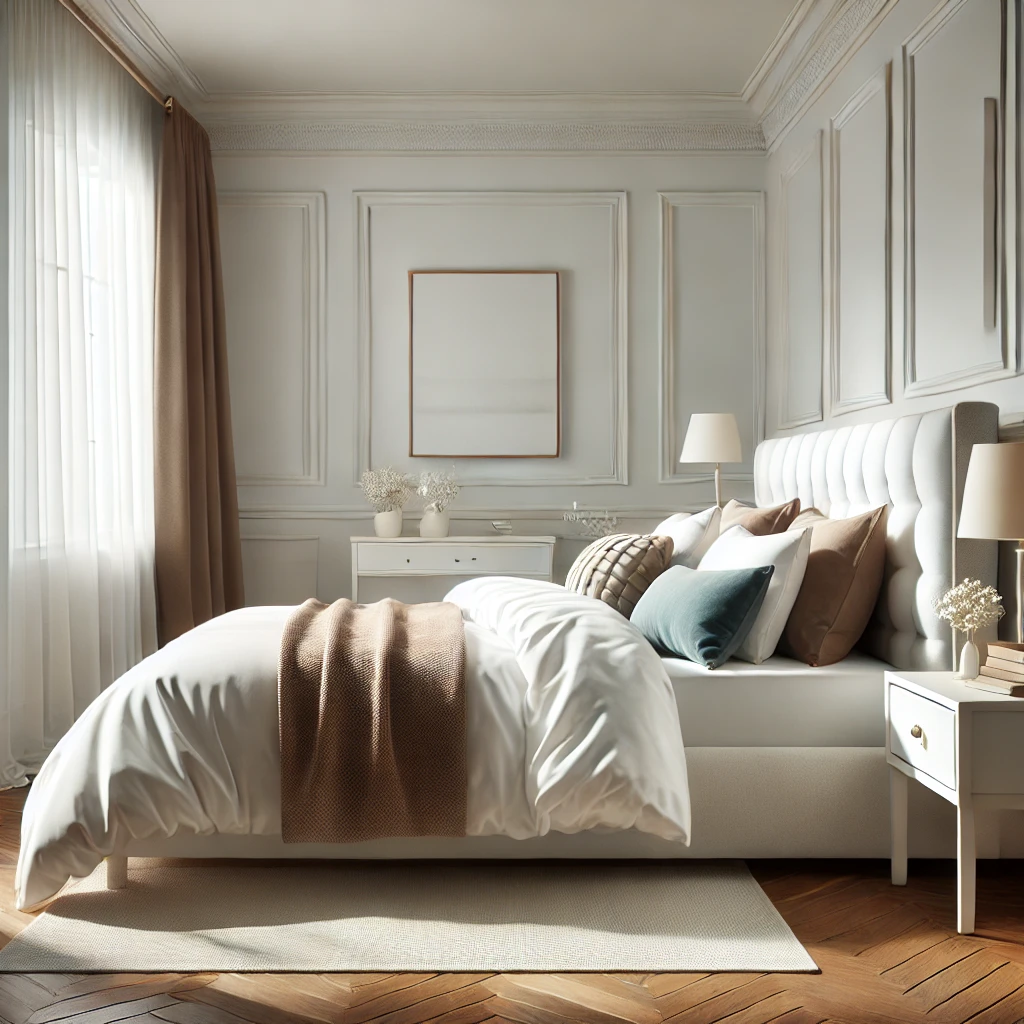
The Final Result
Finally, success!
What I love about this new design:
- The nailhead placement on the sides subtly enhances the headboard without drawing attention to minor misalignments.
- The fabric strips underneath add a clean, polished look.
- For the corners, I folded the top strip’s raw edge under and glued it to the side piece using plenty of FabricTac glue. Those corners are rock solid but completely invisible.
I also decided to mount the headboard to the wall this time using a Hangman bracket. It gives the headboard a more anchored, substantial feel what Sherry from Young House Love would call “presence.” She used that term in her ORC final reveal, and it made me realize that my headboard needed that finishing touch too!
Final Thoughts
This headboard may be simple, but I love how it turned out. It’s a cozy backdrop for reading in bed, and aside from the challenge of getting the nailhead trim just right, the project was easy and budget-friendly.
I even used the leftover fabric to make a custom bed skirt—stay tuned for that tutorial next week! And tomorrow, I have another fabulous kitchen renovation to share, so be sure to stop by!
Have a wonderful day, friends!


