A neglected garage is the most undervalued square footage in many homes – yet it can become a bright, organized, and truly useful extension of your life when designed with intention. This guide walks through a practical, step-by-step approach to planning, lighting, storage, and finishes, plus how to know when it’s time to bring in a Denver-based design-build partner for a custom remodel or new build.
Why the Garage First (No. 1)
- It’s the closest “new room” you can create without an addition, often unlocking storage, a project bay, a micro gym, or a creative studio within the existing footprint.
- Lifestyle-first planning and layered lighting turn a utility area into a daily convenience hub, improving flow between the driveway and kitchen or mudroom.
- For Denver homeowners, professional upgrades can address structural loads, insulation, egress, and permitting—areas where expert guidance saves time and rework.
Step 1: Declutter With Decisions
- Sort by function: daily essentials, seasonal, tools, hobbies, keepsakes; label and assign zones before buying storage. Visible systems (open shelves, pegboards) beat deep cabinets for maintenance.
- Keep a clear 36-inch circulation path door-to-door; flow is what keeps a space alive and used.
Step 2: Plan Around Real Routines
- Create a “launchpad” near the house door: hooks, charging shelf, key tray, and a narrow bench to ease mornings.
- Dedicate a project bay: fold-down workbench, power strip, magnetic tool strips, and a cork strip for measurements and notes.
- Build a family gear wall: adjustable rails for bikes/skis and clear, labeled bins so gear gets used, not buried.
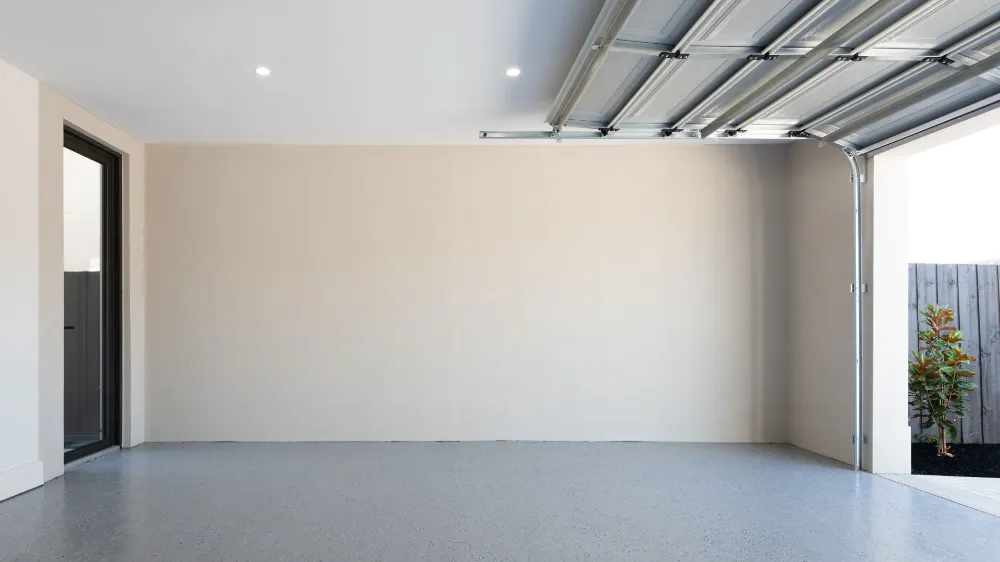
Step 3: Light Changes Everything
- General: bright, uniform LED fixtures overhead for safe, even illumination. Aim for 4000–5000K to balance clarity and warmth.
- Task: under-shelf strips, a gooseneck lamp at the bench, and separate switches per zone to only light what you use.
- Daylight: consider a half-lite side door, transom, or swapping a solid door for glazed—small moves with big impact on perceived space.
Step 4: Smarter Storage, Floor to Ceiling
- Ceiling racks above the garage door rails for labeled seasonal totes; walls get French cleats or slat systems for modularity.
- Lockable cabinets for chemicals/sharps, plus a small fire extinguisher by the interior door as a calm default.
Step 5: Finishes That Earn Their Keep
- Walls/ceiling: light-reflective neutral paint to lift brightness and mood; it’s the fastest, most affordable transformation.
- Floors: if budget permits, 2-part epoxy or polyaspartic for easy cleaning and spill resistance; interlocking tiles are a smart, flexible alternative.
When DIY Meets Its Ceiling
Some visions cross from “weekend wins” to bona fide builds: dormers for daylight, raising ceilings for a lift, a new bay, or converting part of the footprint into conditioned, code-compliant space with proper insulation, HVAC, and egress. In Denver, that’s where a design-build partner who manages design, permits, inspections, and HOA approvals can de-risk the project.
Arch Design & Build guides homeowners from first sketch to final walkthrough, tailoring garage remodels and custom builds to your routines while handling the hard parts—permits, inspections, and scheduling—so the result feels like a true extension of your home. Explore their garage construction services in Denver to map your upgrade the right way from day one: https://www.arch-db.com/services/garage-construction


