The rustic industrial desk has become one of the most sought-after furniture pieces for home offices, creative studios, and modern workspaces. Why? Because it’s more than just a desk—it’s a statement. It blends warmth and character from rustic design with the raw, edgy vibe of industrial style. The result is furniture that feels timeless, practical, and endlessly stylish.
In a world where remote work and home offices are now the norm, your desk should do more than hold your computer. It should inspire creativity, provide storage and durability, and tie into your home’s overall aesthetic improvement. And that’s where the rustic industrial desk truly shines.
Let’s explore everything you need to know—why it’s popular, how to build one yourself, what materials to choose, and even where to buy one if you’d rather skip the DIY route.
Why Choose a Rustic Industrial Desk?
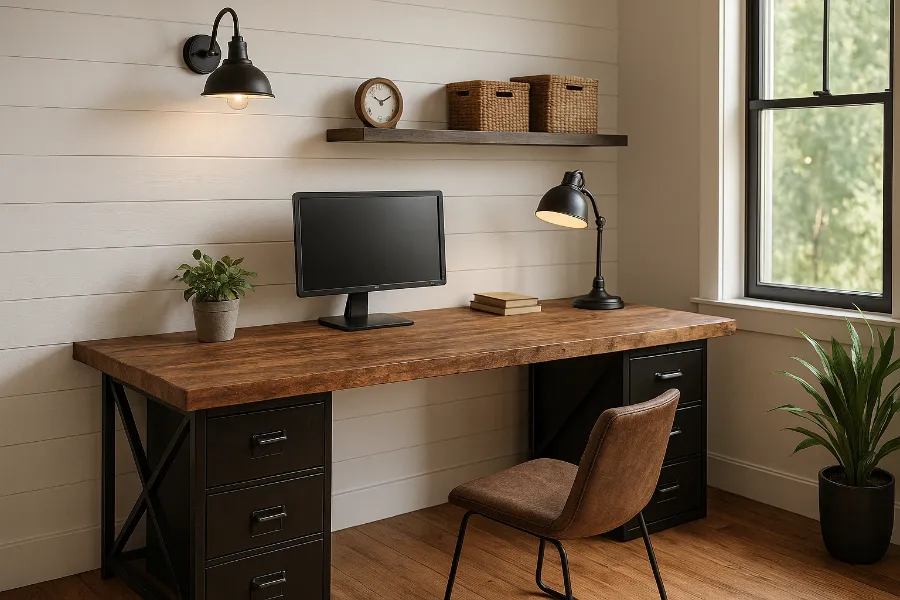
A rustic industrial desk isn’t just about looks. It’s about balance. This style takes the natural warmth of wood and pairs it with industrial elements like steel, iron, and exposed bolts. The combination gives you a desk that is:
- Durable: Industrial-inspired materials like steel and reclaimed wood can last decades.
- Functional: Built with work in mind—sturdy, strong, and often customizable.
- Stylish: It fits seamlessly in rustic, farmhouse, loft, and modern interiors.
- Affordable (if DIY): You can build a rustic industrial desk for a fraction of the price of store-bought options.
It’s the perfect mix of comfort and edge—inviting but professional.
DIY Rustic Industrial Desk Ideas
If you’re handy—or just adventurous—you can build your own rustic industrial desk. In fact, many of the best rustic desks you’ll see online started as DIY projects. Here are a few of the most popular methods:
Desk with Hairpin Legs and Reclaimed Wood
One of the easiest (and most stylish) ways to build a rustic industrial desk is by combining reclaimed wood planks with hairpin metal legs. The contrast of raw steel and warm wood screams industrial chic.
- Find a thrifted table with hairpin legs, or buy legs online.
- Use pallet wood, barn wood, or reclaimed planks for the tabletop.
- Stain the wood in rustic tones like weathered gray or walnut.
- Finish with a matte polyurethane for durability.
The result? A one-of-a-kind piece that looks expensive but costs very little.
Desk with File Cabinets as Bases
Another genius idea is to use file cabinets as desk supports. This way, you get storage and a sturdy base without having to build from scratch.
- Buy two or three matching file cabinets.
- Place them apart to fit your desired desk width.
- Top them with stained wood planks cut to size.
- Secure with braces underneath.
This method works especially well for large home offices where you need both storage and lots of desk space.
Mixing New Wood with Pallet Trim
If you want the rustic vibe without sacrificing smooth functionality, you can build a desk with new wood planks for the surface and pallet wood as trim. The result is a clean, sturdy workspace with rustic edges that give character and charm.
Choosing the Right Materials
When it comes to building—or even buying—a rustic industrial desk, the materials matter most.
Wood Options
- Reclaimed wood: Adds history and authenticity. Think barn beams, pallets, or salvaged flooring.
- Solid wood planks: Pine, oak, and walnut are great choices.
- Stained wood: Weathered gray, walnut, espresso, or natural oil finishes give depth.
Metal Accents
- Hairpin legs: A classic industrial feature.
- Pipe legs and bases: Plumbing pipes are strong and create a raw industrial look.
- Metal brackets: Black or raw steel braces add detail and stability.
Styling Your Rustic Industrial Desk in a Home Office
A rustic industrial desk can be the centerpiece of your home office—but styling it properly makes all the difference.
Color Schemes and Finishes
- Neutral base colors: White, off-white, gray, or taupe walls let the desk shine.
- Moody tones: Deep green, navy, or charcoal walls add contrast for a dramatic look.
- Natural accents: Leather, linen, or cotton upholstery complements the rustic wood.
Storage Solutions
- Floating shelves: Perfect for smaller spaces; they provide storage without bulk.
- File cabinets: Metal or wood cabinets keep clutter out of sight.
- Rustic boxes or baskets: Ideal for storing office supplies while keeping the look cohesive.
Accessories
- Lighting: Use Edison bulbs, metal pendants, or a vintage-style desk lamp.
- Plants: Add greenery for freshness and balance against the raw industrial look.
- Chairs: Choose leather office chairs, rustic wood chairs, or modern ergonomic seats with industrial finishes.
Rustic Industrial Desks for Different Spaces
The beauty of this desk style is that it fits almost anywhere.
Small Home Offices
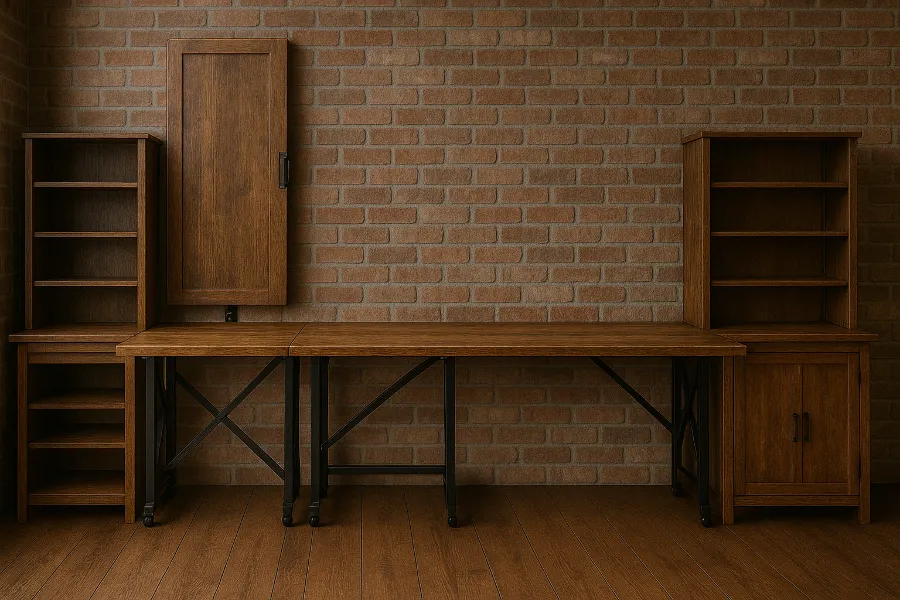
- Wall-to-wall desks supported by shelves or cabinets.
- Floating wood shelf desks for laptop work.
- Compact industrial desks with slim profiles.
Large Shared Spaces
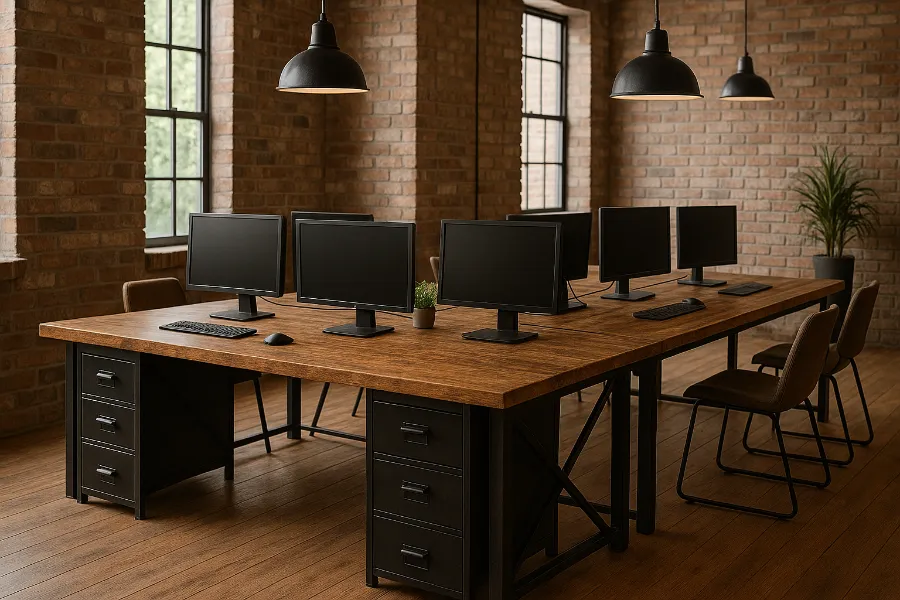
- Oversized rustic industrial desks with double seating.
- Storage-heavy desks with built-in shelving.
- Desks paired with large rustic mirrors to amplify light.
Multipurpose Rooms
- Foldable rustic industrial desks with casters.
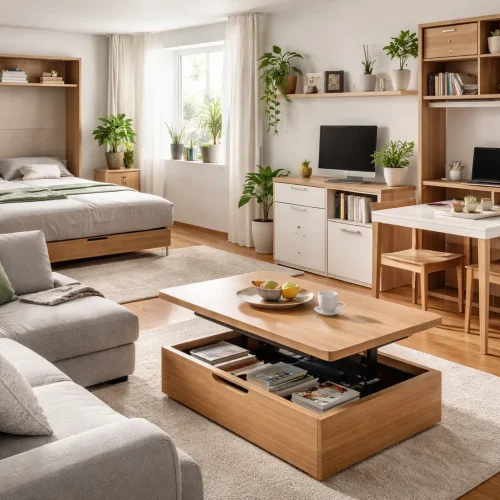
- Sofa beds paired with slim desks for guest rooms.
- Minimalist floating desks that disappear when not in use.
Where to Buy Rustic Industrial Desks
If DIY isn’t your style, there are plenty of retailers offering rustic industrial desks.
- IKEA: Affordable, minimal, and hack-friendly pieces.
- Joss & Main: Wide variety, often budget-friendly.
- FROY: Dedicated industrial furniture collections.
- Arhaus: High-quality, sustainable, and built to last.
- Autonomous: Great ergonomic options with industrial flair.
- Thrift stores: Unique finds with hairpin legs or vintage metal accents.
Final Thoughts
A rustic industrial desk is more than just a workspace—it’s a centerpiece of your home office. It’s functional, stylish, and customizable. Whether you build your own using reclaimed wood and metal accents, or buy one from a trusted retailer, the end result is a desk that inspires productivity and creativity.
If your goal is to create a home office that feels warm yet professional, rustic yet modern, then a rustic industrial desk may be exactly what you need.


