Hello, lovelies!
Today, I want to share with you an inspiring story of transformation both for a living space and for a wonderful family. When Kim and I worked on our Bloggers Heart Habitat project, we faced two key challenges:

- Stretching a modest budget to furnish and decorate a spacious room.
- Breathing new life into outdated furniture to create a fresh, stylish, and inviting atmosphere.
This post contains affiliate links for your convenience. Read about affiliate links here..
The Starting Point: Embracing Existing Pieces
To bring this vision to life, we first took stock of what we had. The foundation of the room was a couch and loveseat generously donated from an estate sale. While they weren’t the most up-to-date styles, they had several things going for them:
- Neutral color (which makes it easy to refresh with accessories!)
- Clean and well-maintained condition
- Classic shape that could blend well with new elements
Instead of splurging on brand-new seating, we decided to enhance these existing pieces with modern accents, ensuring that they would fit seamlessly into the refreshed space.
Strategic Budgeting for Maximum Impact
With the generous support of Hometalk, we prioritized our budget toward high-impact items that would make the biggest difference. This included:
- A TV – A heartfelt wish from the family, and we were thrilled to make it a reality!
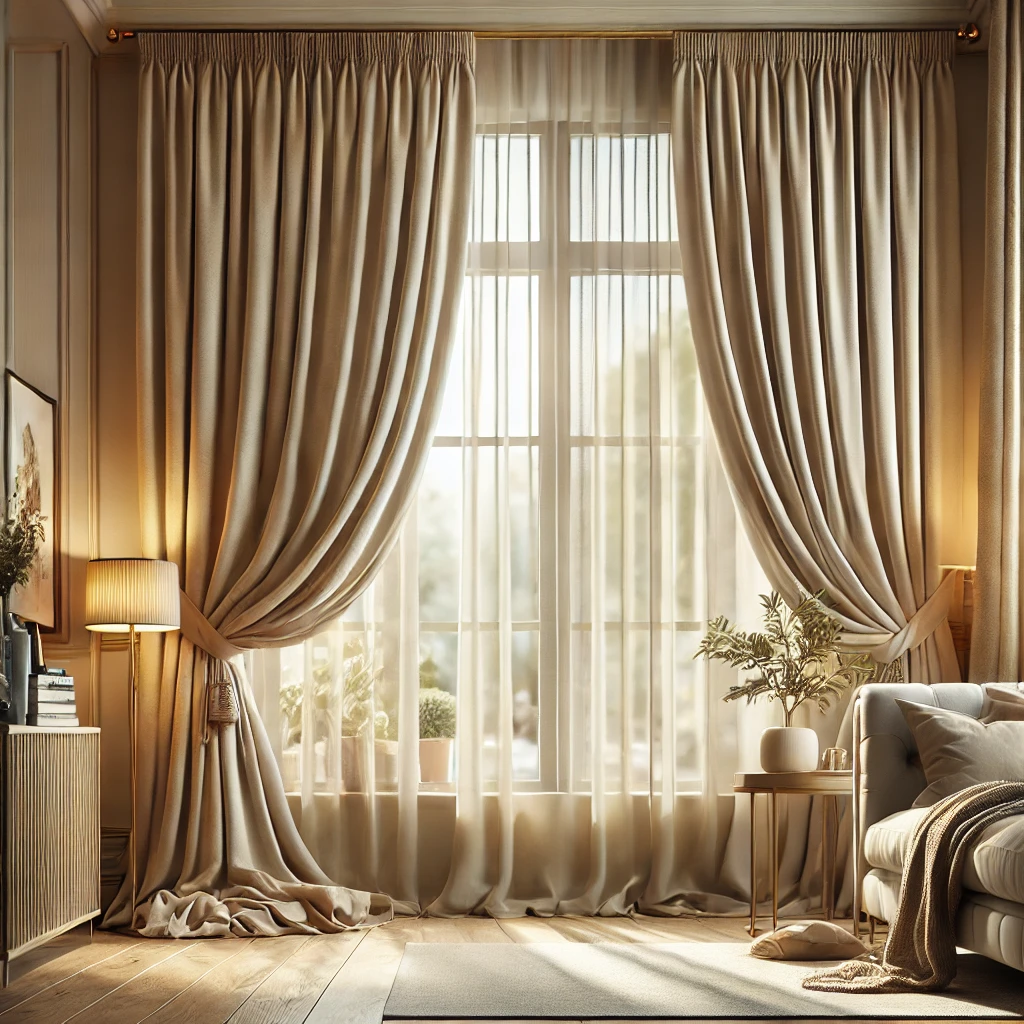
- Window treatments – We selected these curtain panels and rods, which added both privacy and a soft, cozy feel to the room.
- Accent chairs – We found adorable and affordable purple chairs, chosen to reflect the homeowner’s favorite color.
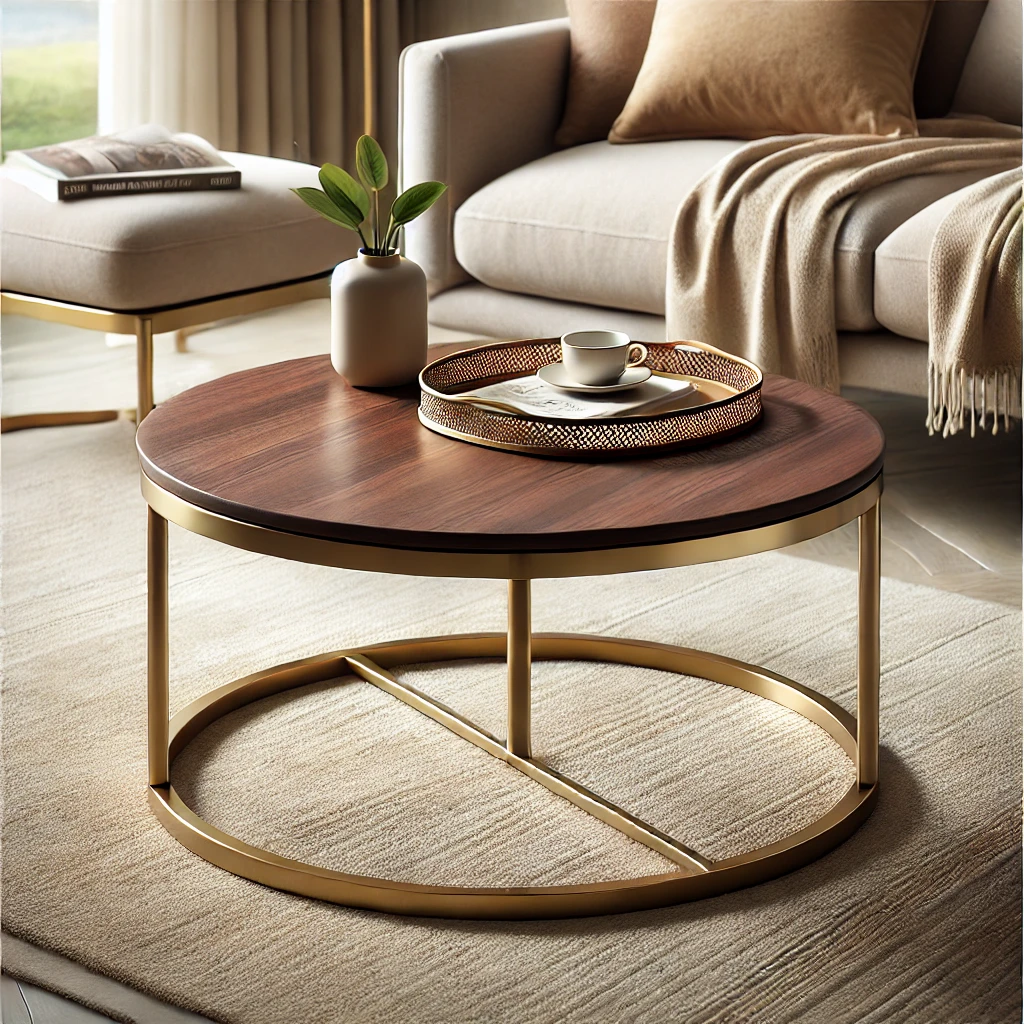
- Unique finds from HomeGoods – A charming small wooden table with hairpin legs, artwork, and accessories to pull everything together.
Roadside Treasures Turned Stylish Accents
One of the most exciting aspects of this project was the incredible furniture finds. Kim, with her keen eye for potential, spotted two round end tables in excellent condition—left on the side of the road!
Rather than leaving them as-is, we decided to refresh these outdated pieces to align with our vision for the space. Though they were structurally sound, the traditional look didn’t quite fit the airy and casual aesthetic we were going for. So, we took a creative leap and painted them. (I know, this might make some of you cringe, but trust me—this transformation was worth it!)
The original tables weren’t high-end (a discount store sticker was still inside the drawer), so we had no hesitation in giving them a modern facelift. To suit the homeowner’s love of rustic elements (as seen on her Pinterest board), I lightly distressed the tables after painting them, ensuring they retained some of their vintage charm.
DIY Transformation: From Outdated to Elegant
For the tables, I used Amy Howard At Home One Step Chalk Paint in Bauhaus Buff, the same shade I previously applied to the base of my newly limed oak table. Though I initially hoped to get away with two coats, the tables needed a third to achieve a smooth, consistent finish. Thankfully, the drying time was quick.
To add durability, I skipped wax and opted instead for clear satin Polycrylic . This finish not only enhances longevity but also ensures the tables withstand daily wear and tear without needing frequent touch-ups.
Upcycling a Coffee Table for a Second Life
Next, we needed a coffee table. As luck would have it, I had one sitting in my basement that wasn’t being used anymore. You may remember this piece—it was a Salvation Army find that I originally bought for about $25 and repurposed for our basement family room. Over time, we replaced it with a large ottoman coffee table that better suited our needs.(You can read the significance of “Art’s Market” here.)
Since this coffee table was sturdy, well-built, and brimming with character, it was the perfect candidate for a fresh coat of chalk paint to fit into the Habitat home’s updated decor. Once again, I finished it with satin Polycrylic, which offers durability without yellowing over time.
Now, this once-forgotten piece will serve a new purpose—hosting board games, movie nights, and cherished family moments for years to come!
Key Takeaways: How to Refresh Outdated Furniture on a Budget
If you’re working with older furniture and want to refresh your space without spending a fortune, here are some simple yet effective strategies:
1. Update Upholstered Furniture with Textiles
Instead of replacing a couch or chair, refresh it with a solid, light-colored throw blanket and decorative pillows. This instantly gives an outdated piece a more contemporary look without any major expense.
2. Opt for White Walls for a Clean, Modern Look
White walls are not only on-trend but also make a space feel fresh and new. This simple update can completely transform a room and provide a neutral backdrop for any style of furniture.
3. Unify Mismatched Pieces with Paint
If you have a mix of furniture styles, consider painting them the same color. This technique helps create a more cohesive, intentional look rather than a hodgepodge of unrelated pieces.
4. Use a Satin Polycrylic Finish for Durability
For furniture that will see frequent use, sealing it with clear satin Polycrylic instead of wax can enhance its durability and make it easier to clean.
Final Touches and the Big Reveal
After all the refinishing, styling, and accessorizing, the space came together beautifully light, welcoming, and tailored to the family’s personal taste. Seeing their joy as they walked into their newly refreshed home was truly heartwarming!
More Inspiration for Your Own Furniture Makeovers
If you love transforming furniture as much as I do, check out the Furniture Projects Gallery for more incredible before-and-after makeovers. And stay tuned—on Thursday, I’ll be sharing an easy DIY art project that complements Kim’s rug and ties the whole room together!
Hope you have a great day, and happy decorating!


