Removing nails from wood seems simple, right? Just grab a hammer and yank them out. But if you’ve ever tried pulling old, bent, or rusted nails, you know it’s rarely that easy. Nails can split wood, leave dents, or refuse to budge altogether. That’s why knowing how to remove nails from wood the right way can save you from a frustrating experience—and preserve the wood you’re working with.
Whether you’re reclaiming pallet wood for a rustic project, pulling nails from baseboards during renovation, or just fixing a mistake, this guide covers the safest, most effective techniques. Let’s dig in.
Tools and Safety Gear You’ll Need
Before you start, gather the right tools. Using the wrong one can damage your wood—or worse, your hand.
- Claw hammer – the go-to tool for exposed nail heads.
- Pry bar (Wonder Bar) – provides leverage for stubborn, large nails.
- Cat’s paw – a carpenter’s favorite for deeply embedded or rusted nails.
- Pliers – includes needle-nose for precision, vise-grips for strong grip, and end-cutting pliers for flush nails.
- Reciprocating saw – best for demolition or cutting through multiple nails at once.
- Pneumatic nail remover – powerful, air-driven tool for bulk nail removal.
And don’t forget your safety essentials:
- Protective gloves (to guard against cuts and splinters)
- Safety goggles (nails can fly out unexpectedly)
Tip: Always keep a scrap piece of wood nearby to place under your tools. This prevents dents and protects your surface.
Methods for Removing Nails
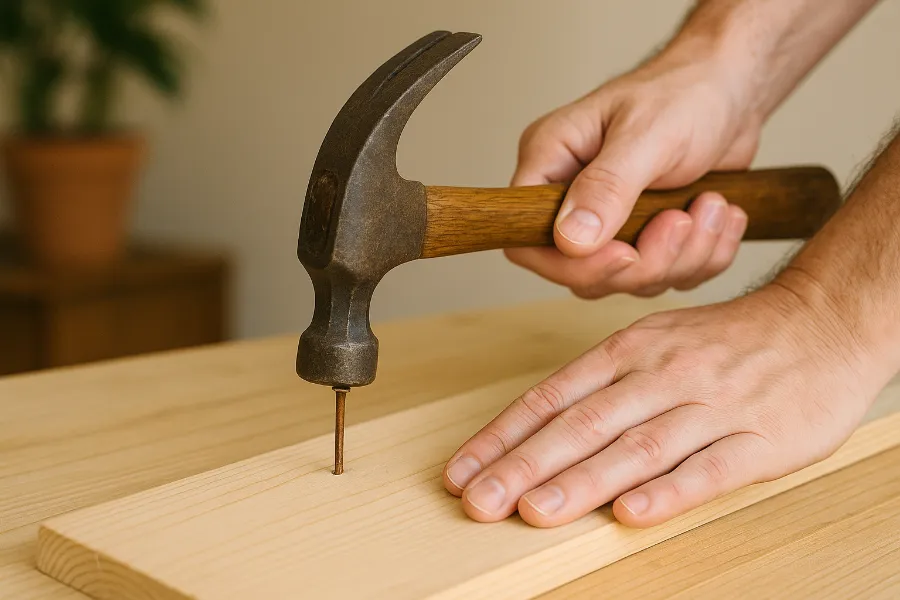
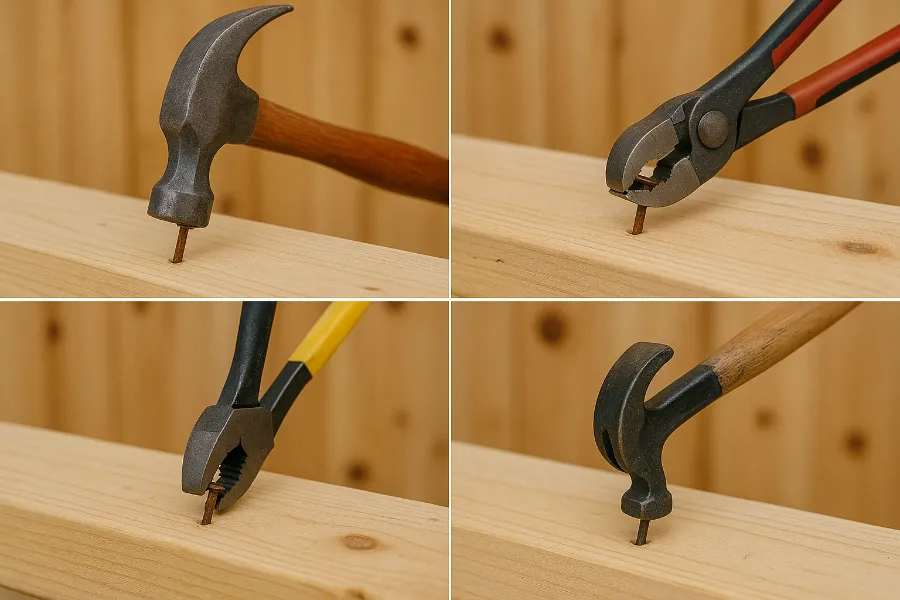
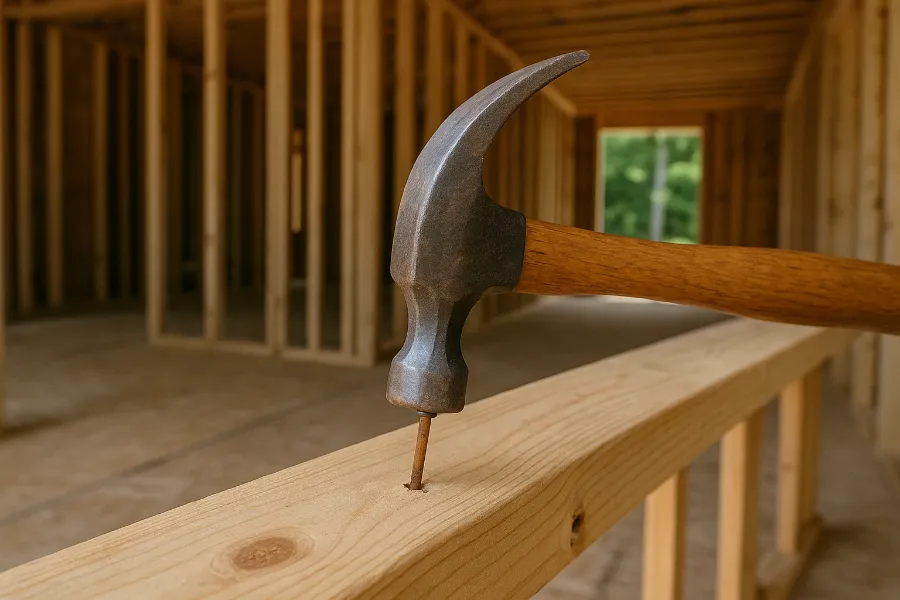
Using a Claw Hammer
The claw hammer is a classic for a reason—it works well when the nail head is visible.
- Wedge the claw under the nail head.
- Rock the hammer back gently for leverage.
- Use a block of wood under the hammer to avoid damaging the surface.
This method works best for finishing nails, trim nails, and other small fasteners.
Using a Pry Bar (Wonder Bar)
For large nails driven deep into boards, a pry bar provides better leverage than a hammer.
- Select the right slot on the bar for the nail size.
- Position it under the nail and press down.
- If the nail resists, switch slots or wiggle it free slowly.
This is especially handy for removing nails from flooring or baseboards.
Using a Cat’s Paw
A cat’s paw is designed specifically for tough nails.
- Place the claws beside the nail head.
- Tap the tool with a hammer to drive it into the wood.
- Rock back to lift the nail head, then pull it free.
Be warned: this method often leaves marks on the wood, so it’s better for structural lumber than for surfaces you want to keep pristine.
Using Pliers
Sometimes a nail is too small, broken, or awkwardly placed for a hammer. That’s when pliers shine.
- Needle-nose pliers – great for tiny finishing nails.
- Vise-grips (locking pliers) – perfect for stubborn, half-broken nails.
- End-cutting pliers – grip close to the wood surface to pull out flush nails.
Pro tip: Always pull steadily rather than jerking. If the nail bends, straighten it with a hammer before trying again.
Using a Reciprocating Saw
When the goal isn’t to save the nail but to preserve the wood, a reciprocating saw is your friend.
- Equip the saw with a metal-cutting blade.
- Slide it under the wood and cut through the nails.
- Sand or grind any leftover metal flush with the surface.
This method is perfect for pallet wood projects.
Pneumatic Nail Remover
If you’re removing dozens or hundreds of nails (like from a deck or pallets), this tool is worth the investment.
- Position the tool over the nail.
- Fire the trigger, and compressed air pushes the nail out.
- Collect nails safely in a bucket.
It’s the fastest way to handle bulk jobs with minimal wood damage.
Extra Tips and Tricks
- Protect the wood surface – place a putty knife or scrap board under your tool.
- Lubricate stubborn nails – apply WD-40 or even a bit of cooking oil to loosen rusted nails.
- Use heat for painted nails – a heat gun softens paint or adhesive around the nail, making removal easier.
- Unusual tricks – some DIYers swear by soaking nails with soda or hydrogen peroxide before removal. Both help weaken rust.
Common Scenarios
Removing Nails from Baseboards
Baseboards are often nailed tightly to walls, making them tricky to remove without damage. Use a pry bar or end-cutting pliers. Protect drywall by inserting a thin piece of wood between the tool and wall.
Removing Nails from Pallet Wood
Pallet wood is popular for DIY projects, but it’s usually packed with nails. A reciprocating saw is the fastest method—cut through the nails and sand down the surface.
Removing Large or Rusted Nails
Large construction nails or rusted fasteners can be dangerous. Start with a pry bar or cat’s paw. If the nail is too weak to pull, cut it with a saw or grind it flush.
When to Call a Professional
If you’re working on historic wood, valuable furniture, or structural framing, it may be worth consulting a pro. Professionals have specialized tools and techniques to minimize damage while removing nails.
FAQs About Nail Removal
Can I reuse nails once removed?
Yes, but only if they’re straight and rust-free. For structural projects, always use new nails.
How do I avoid leaving holes?
You can’t completely avoid them. The best fix is filling holes with wood filler, sanding smooth, and refinishing.
What’s the easiest way to remove nails from pallets?
A reciprocating saw with a metal blade saves the most wood and time.
Is a cat’s paw better than a pry bar?
They serve different purposes. A cat’s paw is better for precision and rusted nails, while a pry bar provides maximum leverage for big projects.
Final Thoughts
Learning how to remove nails from wood isn’t just about brute strength—it’s about choosing the right tool and technique for the job. Sometimes a hammer is enough. Other times, you’ll need specialized tools like a pneumatic nail remover or a reciprocating saw.
The key is patience. Rushing often leads to cracked boards, bent nails, or even injuries. Take your time, protect the wood, and don’t be afraid to switch methods if one doesn’t work. With the right approach, even the most stubborn nails will come out cleanly.
And once you master these techniques, you’ll have the confidence to tackle any woodworking or renovation project head-on.


