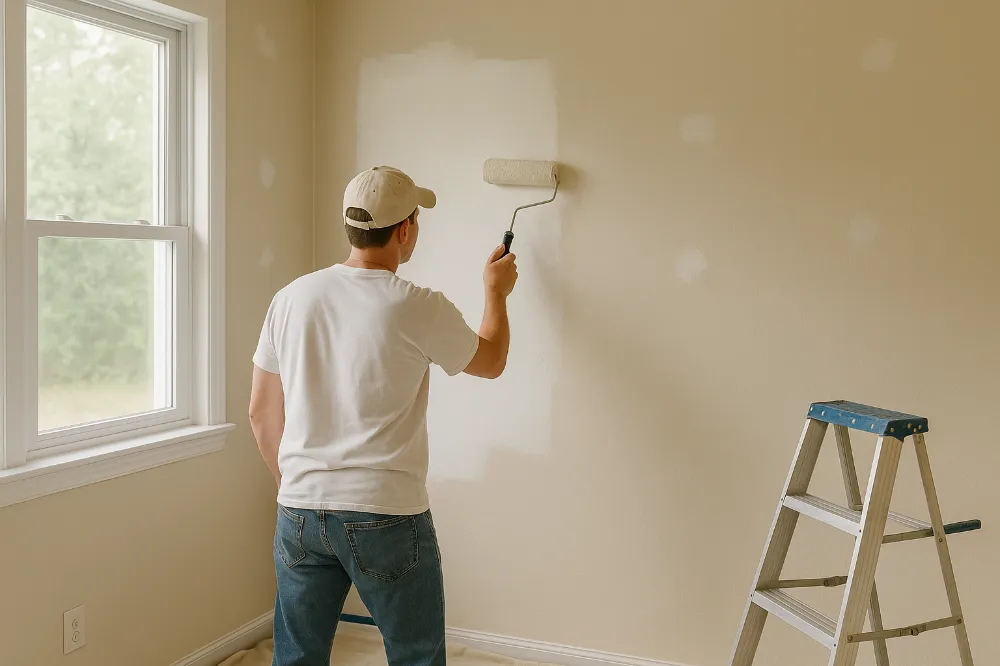
Repainting a bedroom seems like one of those easy, satisfying home projects you can finish in an afternoon until you’re standing there, roller in hand, staring at a wall that suddenly reveals every scratch, dent, smudge, and old patch you forgot existed. I’ve been there more times than I care to admit. Over the years, I’ve learned that a gorgeous, clean, smooth paint finish doesn’t come from the paint itself. It comes from everything you do before you ever open the can. Prepping the walls is the behind-the-scenes magic that makes the color look richer, the finish smoother, and the entire room feel like it belongs in a design magazine rather than a rushed weekend project.
The funny thing is, wall prep doesn’t get nearly as much credit as it deserves. It’s dusty, time-consuming, and not nearly as fun as rolling on that first coat of fresh color. But skipping it is like icing a cake you never baked no matter how perfect the frosting looks, the foundation underneath tells the real story. So, in true personal-blog fashion, I’m sharing everything I’ve learned (sometimes painfully) about how to properly prep bedroom walls before repainting, what mistakes to avoid, and how to make the process smoother and more rewarding.
Why Prep Work Matters More Than the Paint You Choose
If there’s one lesson I wish someone had drilled into me earlier, it’s that paint exposes everything. Even the smallest flaw you think no one will notice suddenly becomes glaringly obvious once fresh paint settles over it. I once painted a room without sanding the old brush marks left from a previous owner, thinking the new paint would “smooth everything out.” The result? You could see every streak from across the room. That’s when it finally clicked: paint does not hide imperfections it highlights them.
Proper prep ensures the paint grabs onto the surface, spreads evenly, and looks smooth and intentional. When your walls are cleaned, sanded, patched, and primed, paint glides in a way that feels almost effortless. The final result doesn’t just look newer; it looks more expensive, more finished, and more put-together. And in a bedroom arguably the most personal space in a home that difference matters. Something that helped me understand why prep matters so much was reading about adhesion and how paint physically bonds to a substrate. For example, the concept of cohesion and adhesion is explained in detail in the Wikipedia article on Thixotropy, which describes how certain fluids change behavior under stress. It’s not about paint specifically, but it gave me a bizarrely satisfying understanding of why smoother, cleaner surfaces allow coatings to behave more predictably.
It’s a complicated term but an interesting read one of those “ah, that makes sense now” moments.
Clearing the Space and Protecting What You Don’t Want Ruined
Every time I repaint a room, I think I’m going to be tidy and controlled, and every time a rogue drip or splatter proves me wrong. No matter how careful you think you’ll be, the room needs to be prepped for chaos. Moving the furniture away from the walls even better, removing as much as you can gives your arms and tools room to work. Pushing everything into the center and covering it creates a clear perimeter around the walls, leaving you free to patch and sand without tripping over your nightstand or accidentally flicking dust onto your bedding.
Floors need love too. Carpet is a paint magnet, and hardwood floors show every tiny splash. I like using canvas drop cloths because they don’t slip and they absorb small spills instead of letting them skate across the surface. Plastic works in a pinch, but it shifts around easily and traps wet paint, so you have to be more cautious. Before anything touches the wall, the outlet covers and switch plates come off. It takes seconds but makes a world of difference. I’ve learned to keep the screws and plates together in a little zip bag so I’m not tearing the room apart later looking for missing pieces. And of course, every hook, nail, poster strip, or tiny piece of wall décor has to come down as well. The wall has to return to “blank canvas” status before moving forward.
The Inspection Stage: Seeing the Wall for What It Really Is
Once the room is cleared and protected, I grab a flashlight and start inspecting the walls. This part always feels dramatic, like I’m examining evidence, but the angled light reveals things you simply can’t see otherwise. Little dents, uneven paint textures, hairline cracks, mystery smudges these all jump out when the light hits them from the side.
It’s amazing how much our eyes get used to seeing a wall in everyday lighting. But the moment you really look, you realize prepping isn’t optional. Identifying everything early helps you understand what you’re actually dealing with. Some bedroom walls only need minor patching; others need near-surgical attention. Either way, it’s better to know now than to discover an imperfection after the final coat of paint is dry.
Cleaning the Walls: The Step Most People Skip (But Shouldn’t)
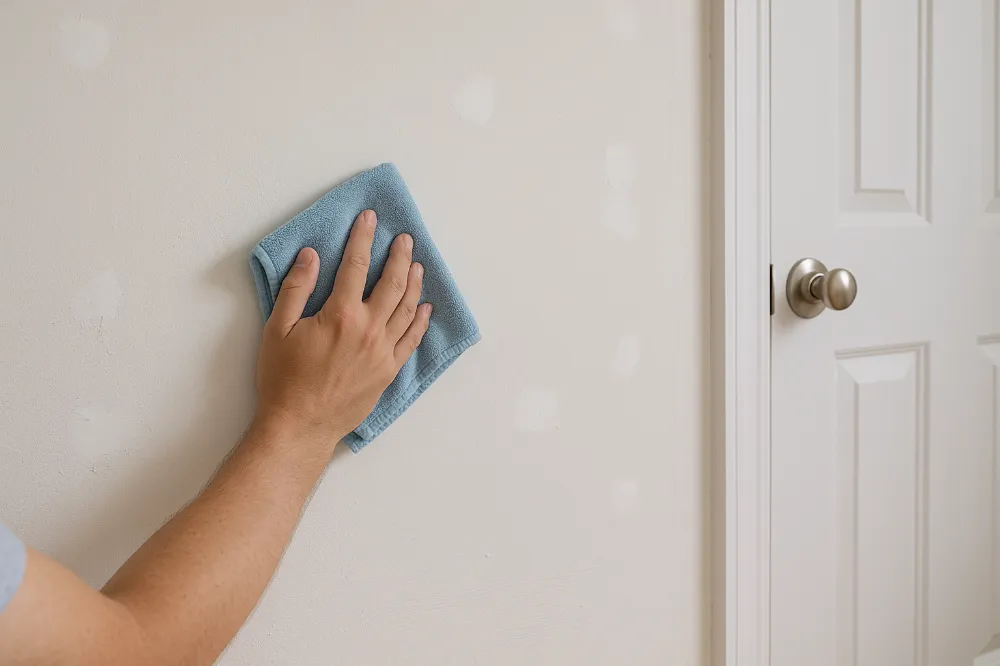
Cleaning walls doesn’t feel glamorous, but it solves half of the future problems you would’ve encountered. Bedrooms collect more grime than we realize fingerprints near switches, hairspray residue, dust from air vents, and even oils from simply brushing against the wall. When you paint over dirt or residue, the new layer of paint sticks to the grime instead of the wall, and eventually it begins to peel, streak, or bubble.
Warm water mixed with a little detergent works wonders. I usually do a wipe-down with the soapy mixture, then go back with clean water to rinse everything off. That second wipe makes all the difference and keeps the walls from feeling tacky or streaked when they dry. Starting with truly clean walls sets the stage for everything else. For people who like checking official guidance, the U.S. Environmental Protection Agency (EPA) offers a resource on household surface contaminants and indoor air considerations. It’s not directly about bedroom painting, but it reinforces why cleaning surfaces matters before sealing them with paint. You can find that info here:
Repairing the Damage: Holes, Dents, Cracks, and All the Little Things We Ignore
This step is where you transform your walls from “lived-in” to “ready for a fresh start.” I’ve learned not to underestimate the importance of proper patching. Even the tiniest nail hole needs attention because paint alone will not fill it. For small holes or dents, lightweight spackle is my go-to. A putty knife helps spread it smoothly, and I always slightly overfill the hole because the material shrinks a bit as it dries. For bigger holes the kind created by an overly enthusiastic door swing I rely on a drywall patch and joint compound. It takes a little more time, but the result is worth it.
Cracks are their own category. They almost always reappear unless you reinforce them properly, especially in corners or near windows where temperature changes or house settling tend to cause movement. Sometimes a simple spackle works, but other times a mesh tape layer prevents future cracking. It’s a small step that saves a big headache later. Peeling paint is something you can never ignore. Peeling edges need to be scraped and smoothed out completely. Painting over peeling paint only creates more peeling paint. This is a lesson I learned the hard way on a humid bathroom wall years ago, and it taught me to handle those edges like gold carefully, thoroughly, and with patience.
Sanding: The Step Everyone Underestimates Until They Learn How Much It Matters
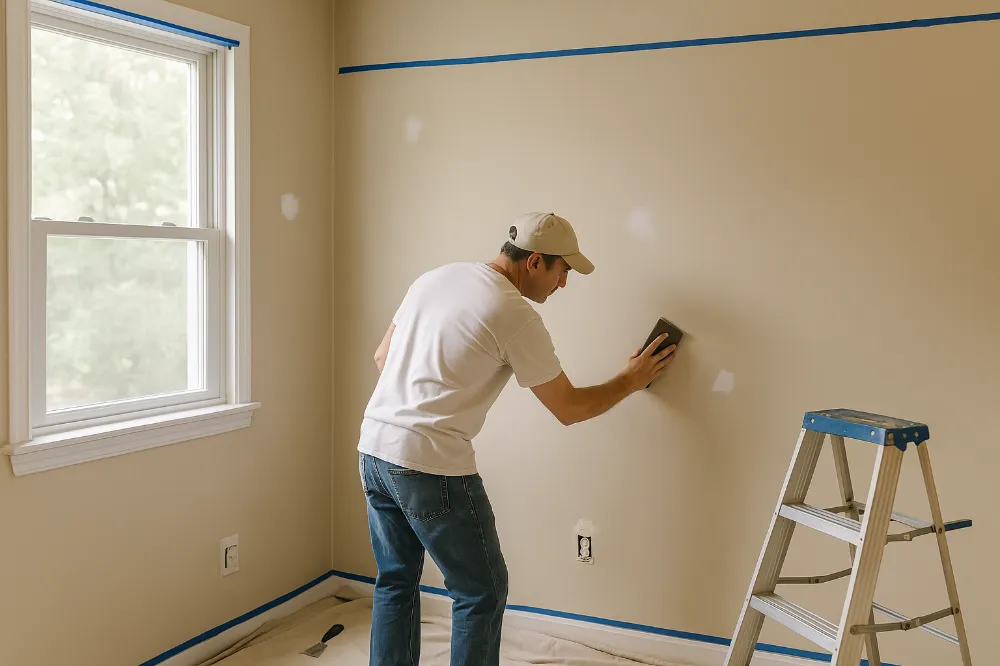
Sanding is the moment the wall starts transforming. It doesn’t matter how many beautiful paint colors you bought—if the wall feels gritty or uneven, that texture will show through even the most expensive paint. Sanding brings the surface down to one consistent level.
Using a medium grit helps dull down glossy spots and blend patched areas into the surrounding wall. This step always feels strangely therapeutic, almost like polishing away the wall’s history. I like to run my hand across the area as I go because my fingers catch imperfections more easily than my eyes do. After sanding patched sections, I switch to a finer grit for general smoothing. If you’ve never sanded walls before, be prepared for dust. It gets everywhere, but it’s a necessary part of the process. I’ve learned to accept the mess because the payoff is absolutely worth it.
Cleaning the Dust: A Boring Step That Makes or Breaks the Final Finish
Dust is the silent enemy of smooth paint. If you leave even a thin layer of it on the walls, the paint won’t adhere well and you’ll end up with a gritty texture that ruins the finish. After sanding, I always wipe down the walls with a microfiber cloth, then go over baseboards and corners where dust tends to gather. The difference in how the paint glides on afterward is noticeable. Taking a few extra minutes to remove dust saves hours of regret later. I learned this after repainting a wall where dust had settled during my lunch break. The paint dried with tiny bumps everywhere, and I had to sand it all down again. Never again.
Taping and Masking: The Secret to Clean, Crisp Edges
Once the walls are smooth and clean, it’s tape time. This is the step that makes your trim, door frames, and baseboards look professionally done. I’ve always found that the key to good taping is pressing the tape firmly along the edges, especially on textured walls. A tiny air gap can lead to paint bleeding underneath, which creates uneven lines that are much harder to fix afterward. I tape anything I don’t want touched by paint trim edges, corners, closet doors, even the edge of the ceiling when I’m not painting it. It’s one of those tasks that looks excessive at first but pays off every single time.
Priming: The Most Overlooked Step That Completely Changes the Final Result
Primer is like the quiet hero of the painting world. It doesn’t get much recognition, but the way it transforms the wall surface is undeniable. It seals patches, evens out absorbency, and creates a consistent base that makes the final color look richer. I’ve painted walls without primer before and instantly regretted it when the patched areas flashed through the paint or the color dried unevenly.
Using the right primer depends on the condition of the wall. For most bedroom walls, a standard water-based primer works perfectly. If the wall has stains or discoloration, a stain-blocking primer is my safety net. And for glossy walls especially in rooms previously painted with semi-gloss or enamel primer helps the new paint actually stick. Primer dries quickly enough that you can usually move into painting within an hour. It’s the last step before the fun begins, and it sets the tone for the entire painting process.
The Final Walkthrough Before Painting
Before I open the paint can, I always take a slow walk around the room. I check patched areas with my flashlight again, making sure they’re smooth and fully dry. I run my hand along the walls, checking for any texture I might have missed. I make sure my tape edges are still firm, that the floor protection is in place, and that no surprise imperfections are hiding behind corners. This walkthrough takes only a few minutes, but it saves a massive amount of frustration later. Once the paint goes on, every flaw becomes much harder to hide.
Creating the Right Painting Environment
A paint-ready room needs decent air flow, good lighting, and a comfortable temperature. I open windows or crack the door slightly to keep the air moving, but not so much that outdoor debris flies in. I also switch on overhead lights and even bring in a lamp if I need extra visibility. There’s nothing worse than painting in soft lighting only to wake up the next day and see uneven patches in daylight. Temperature matters too. Paint dries inconsistently if the room is too cold or too humid. Keeping things balanced helps the paint cure smoothly, which is how you get that soft, even finish.
Final Thoughts
Prepping a bedroom for new paint takes patience, but the results are absolutely worth it. When the walls are smooth, clean, repaired, and primed, painting becomes the easy part. The color goes on evenly, imperfections disappear, and the room begins to feel refreshed in the most satisfying way.
Every time I finish prepping a room, I get that sense of anticipation the feeling that the space is on the brink of becoming something new and beautiful. The act of preparing walls isn’t just about fixing damage; it’s about clearing the past and making room for the environment you want to create. Repainting a bedroom becomes so much more enjoyable when you know the foundation beneath the color is solid. And once you experience the difference that proper prep makes, you’ll never go back to rushing the process again.
FAQs
Yes. Dust, oils, and residue prevent paint from adhering properly and can cause streaks, bubbling, or uneven coverage.
Use warm water mixed with mild detergent, wipe with a sponge or microfiber cloth, then rinse with clean water to remove soap residue.
Lightly sanding the whole wall helps paint adhere better, but the patched areas need the most sanding to ensure they blend into the surface.
Primer is essential if you have patched holes, stained areas, glossy paint, drastic color changes, or uneven wall texture.
Use 120–150 grit for dulling the surface and 220 grit for smoothing repaired areas. Coarse grit should be reserved for heavy imperfections.
Most lightweight spackle dries within 30 minutes to a few hours, but deeper repairs may need more time. Always check the product’s label.
No. Peeling edges must be scraped and sanded smooth. Painting over loose paint will cause the new coat to peel as well.
Yes. Removing covers creates cleaner lines and makes the painting process easier and more precise.
Hairline cracks can be filled with spackle, but recurring cracks often need mesh tape and joint compound to prevent them from reappearing.
Painter’s tape isn’t mandatory, but it makes achieving crisp edges around trim, ceilings, and baseboards far easier and more professional-looking.


