If you’ve got a pea gravel path, you probably know the dread when winter rolls in—suddenly, those stones can turn into a real slip hazard, especially near steps and entries where things get packed down and icy. One of the simplest tricks? Throw down a thin layer of coarse sand or some small crushed stone in the busiest zones. And honestly, keeping a lightweight mat or a bit of rubber tread at each doorway can make a world of difference for traction and cutting down on slips.
Here, you’ll find some practical winter tactics for pea gravel paths—everything from quick fixes for traction to longer-term approaches that help keep stones in place and stop ice from bonding. If someone does take a spill and gets hurt on your property, you might want to check in with New York City slip-and-fall lawyers about liability and what to do next.
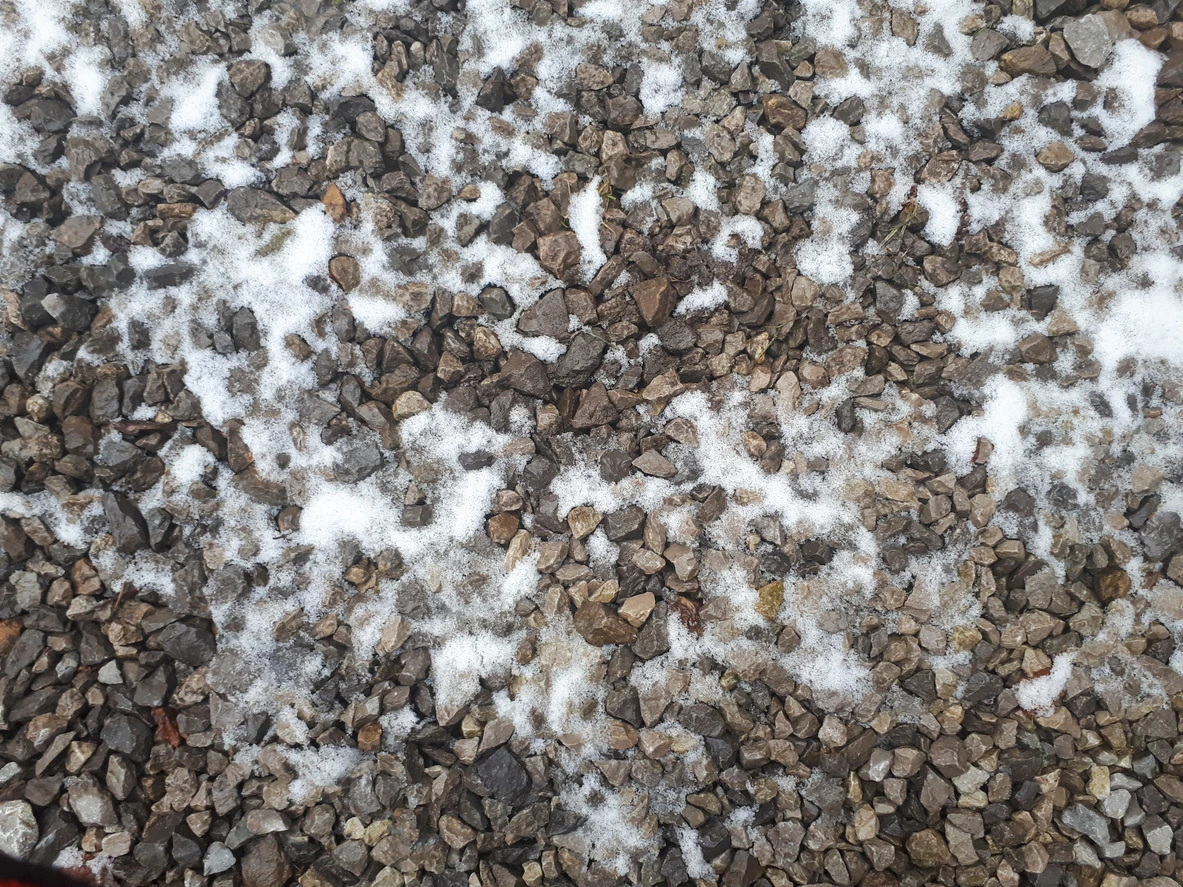
Winter Safety Strategies for Pea Gravel Paths Near Steps and Entries
Let’s get into the actual methods for keeping pea gravel walkways safer when it’s freezing out: quick traction ideas, how to clear snow without sending gravel everywhere, and where to really focus your efforts—think steps, doorways, and main walkways.
Immediate Traction Solutions for Icy Areas
Go for coarse stuff that’ll grip the ice but won’t mess up your surfaces. A thin layer of coarse sand or builder’s sand right on those slick spots works fast and won’t chew up your concrete. For tiny patches, you can use crushed stone or coarse grit that’s about the same size as your pea gravel, so it blends in and doesn’t scatter too much.
Don’t overdo it—just enough to get a grip, and then sweep the extra back into the gravel when things thaw out. Try to avoid rock salt directly on pea gravel; over time, it’ll wash away the fine stuff, and it’s not great for your plants either. At doorways, a sturdy rubber-backed mat or an outdoor traction mat will give you a steady spot to step and keep the gravel where it belongs.
Snow Removal Techniques Without Displacing Gravel
Choose your tools wisely! You want to get the snow up but leave the gravel behind. A poly or rubber-edged shovel, angled just a bit, will skim off the snow without digging into the stones. For bigger stretches, a snow blower with adjustable height and a rubber impeller can clear things up nicely—just set it so it floats right above the gravel layer.
When you’re shoveling or plowing, push the snow toward your lawn or any paved edges instead of dragging it across the path; it’s less likely to drag gravel along for the ride. After a big storm, rake lightly to pull any stray stones back in—a stiff leaf rake does the job. Marking the path edges with little stakes or reflective posts before winter hits can help guide you (or anyone helping) and keep you from losing gravel off the sides.
Prioritizing High-Risk Zones: Steps, Entries, and Approaches
Steps, entry landings, and the spots leading up from the driveway—these are your hot zones for winter maintenance. Keep a small bucket of coarse sand or crushed stone by each door so you can toss some down quickly when things get icy. On stairs, sprinkle traction material on the tread edges and maybe add some adhesive-backed anti-slip strips to wood or concrete steps so you’re not relying only on loose stuff.
Try to keep a clear, narrow strip right at the doorways and along the first few steps of the garden path—no loose stones there, less risk of tripping. Keep an eye on these areas when the weather goes back and forth between freezing and thawing, and reapply traction where people walk the most. It’s also smart to put out mats or temporary rubber runners where folks first step onto your property, so they can knock off snow and grit before hitting the steps.
Preventative Maintenance and Material Choices for Long-Term Safety
Good underlay, smart traction materials, and the right slope and edging go a long way toward keeping things safe year-round near entries and steps. Regular care and picking the right stuff can really cut down on slips and make snow removal a lot less of a headache.
Selecting and Maintaining the Right Pea Gravel
Look for rounded stones, around 1/4″–3/8″ across—they’re comfy underfoot and don’t track as much. Bigger chips or crushed stone won’t move around as easily, but can feel a bit rough; smaller pea-sized stones don’t pack down as tightly and sometimes roll. Lay about 3–4 inches of gravel over a compacted base to keep things from shifting, and use a solid border—metal, treated wood, or concrete—to keep everything contained around the edges and by steps.
Rake out low spots now and then and add fresh gravel where people walk the most, especially by doors. If you’re clearing snow, a plastic-bladed shovel is less likely to snag stones—try to lift instead of scrape, so you don’t pull gravel up. If you lose more than half an inch of surface over the winter, top it up before the next season.
Incorporating Sand or Alternative Traction Materials
Work a thin layer—maybe 1/4″ to 1/2″—of coarse, washed sand into the top of the gravel where steps and entries tend to ice up. The sand mixes in and gives a better grip without messing with drainage. Salt can be rough on plants and metal edging; if you absolutely need to melt ice, go for magnesium chloride, but use it sparingly, and sweep up any leftovers once things warm up.
If you’ve got spots where traction is a must, think about using coarse angular fines (screened crusher run) under a thinner layer of pea gravel. Portable traction mats or little grit boxes by the doors let you add more material only when you need it. And honestly, just keeping a small bucket of coarse sand or grit by the entry for those sudden refreeze mornings can save you a lot of trouble.
Drainage and Path Design Best Practices
Paths really should slope away from steps and thresholds—aim for at least a 1%–2% grade if you can swing it. Under the pea gravel, toss in a 2–4 inch layer of compacted sand or crushed stone; it’ll help keep things stable and let water run off a bit faster. If you’re in a spot where freeze–thaw cycles leave puddles (and honestly, who isn’t?), a perforated drain or a shallow French drain at the lowest points can make a surprising difference for keeping the top layer dry.
Set edges and stepping stones at more or less regular spots to guide foot traffic and save the rest of the gravel from getting kicked everywhere. It’s worth trimming back any nearby plants or soil, since melting snow creeping in can carve out annoying ruts. After storms, give things a quick once-over—sweep off slush with a broom or even a plastic shovel, and top up any low patches. Staying on top of it stops water from pooling and freezing into a slip-and-slide later on.
FAQs
Snow compacts the stones and melting water refreezes, creating an icy layer that reduces traction—especially near steps and entries.
Coarse sand or small crushed stone provides grip without damaging surrounding surfaces or plants.
It’s best to avoid rock salt because it can wash away fines, harm plants, and degrade edging over time.
Use a rubber- or poly-edged shovel angled slightly upward, or a snow blower set just above the gravel surface.
Steps, doorways, landings, and the approaches leading to them are the highest-risk zones and should be treated first.
Yes, rubber-backed or traction mats provide a stable surface at entries and help keep gravel from shifting underfoot.
Rounded stones between 1/4″ and 3/8″ strike a balance between comfort, stability, and reduced movement.
A depth of about 3–4 inches over a compacted base helps prevent shifting and improves drainage.
Proper edging, good drainage, a slight slope away from steps, and a stable base layer all significantly reduce icy buildup.
If you’ve lost more than about half an inch of surface depth, it’s a good idea to top it up before the next season.


