Paper marbling is one of those rare crafts that perfectly blends art, history, and even a touch of science. The swirling patterns, the organic flow of colors, the way every single sheet turns out unique—it’s mesmerizing. And here’s the thing: paper marbling isn’t as complicated as it looks. Whether you’re drawn to it for home décor, gift-making, or just a therapeutic afternoon project, there’s a way to start marbling paper right at your kitchen table.
In this guide, we’ll explore the history of paper marbling, different methods you can try, the best materials to use, and the practical steps that will help you get stunning results.
A Brief History of Paper Marbling
Paper marbling has been practiced for centuries across different cultures. Its roots trace back as far as the 10th century in Japan, where artists developed a technique called suminagashi, which literally means “floating ink.” Artists would drop ink onto water and blow or swirl it to create intricate floating designs before transferring them onto paper.
Later, in Turkey and Central Asia, another method emerged called Ebru. This technique used a thickened liquid bath (known as size) made from natural substances like carrageenan or starch, allowing water-based inks to float more easily and spread into complex patterns.
From Japan to Turkey, and eventually across Europe, paper marbling became an essential art form for bookbinding, stationery, and decorative design. Today, it’s just as beloved, though often embraced as a DIY craft project with endless creative possibilities.
Methods of Paper Marbling
There isn’t just one way to marble paper. Depending on the materials you have, your patience level, and your end goals, you can choose from several approaches.
Oil and Food Coloring
This is one of the simplest methods for beginners. You mix food coloring with vegetable oil and drop it onto water. The oil keeps the color floating, and when you lay your paper across the surface, the design transfers beautifully. The results are usually soft and organic, with a watercolor-like feel.
Nail Polish Technique
Using nail polish creates bold, vibrant marbled designs. You drip polish onto water and swirl with a toothpick before pressing your paper onto the surface. This technique works not just on paper but also on wood, ceramics, and other surfaces. The colors come out rich and glossy—perfect for statement pieces.
Shaving Cream and Food Coloring
This method is a fan favorite, especially for kids and beginners. You spread shaving cream into a tray, drip food coloring on top, and swirl it with a skewer. Press your paper onto the surface, then scrape away the foam to reveal the marbled design underneath. It’s low-mess, affordable, and endlessly fun.
Traditional Carrageenan and Alum
For those who want to experience marbling in its authentic form, the traditional approach is the way to go. It requires preparing paper with alum mordant so colors stick, thickening water with carrageenan to create the marbling bath, and using professional inks. With these, you can create patterns like stone, zig-zag, or nonpareil (fine combed designs). This method is more time-intensive, but the results are timeless and professional.
Best Materials for Paper Marbling
The right materials make all the difference in paper marbling. Here’s what to consider:
- Paper
- Mulberry paper: strong, flexible, and resistant to tearing.
- Printmaking paper (like Rives BFK): excellent for holding vibrant color.
- Watercolor paper: produces bright results but can wrinkle.
- Handmade papers: delicate but beautiful for one-of-a-kind pieces.
- Pigments and Paints
- Food coloring or watercolors for beginner-friendly methods.
- Nail polish for bold, glossy designs.
- High Flow Acrylics or professional marbling inks for traditional Ebru.
- Tools
- Baking trays, aluminum pans, or marbling trays.
- Droppers, spoons, or skewers for applying color.
- Combs for creating intricate designs.
- Sponges or brushes for prepping alum-treated paper.
Step-by-Step Process for Beginners
If you’re new to marbling, here’s a streamlined step-by-step guide using the shaving cream method:
- Spray shaving cream into a shallow tray and smooth it out.
- Drop food coloring across the surface.
- Swirl the colors gently with a skewer.
- Lay your paper flat on top and press lightly.
- Peel it off and scrape away the shaving cream to reveal the design.
- Let it dry flat.
For the traditional carrageenan method:
- Prepare your paper with alum solution.
- Mix carrageenan with water to create your marbling bath.
- Drop marbling inks and manipulate patterns with combs or skewers.
- Carefully lay your paper onto the surface and lift.
- Rinse gently and let dry for 24 hours.
Troubleshooting Common Problems
Even experienced marblers run into issues. Here’s how to fix them:
- Colors not spreading: Add a drop of surfactant (like gall) or thin your paint.
- Air bubbles and streaks: Lay paper smoothly in one motion.
- Paper wrinkling: Use stronger paper like mulberry or printmaking paper.
- Colors running during rinse: Make sure your alum mixture is strong enough.
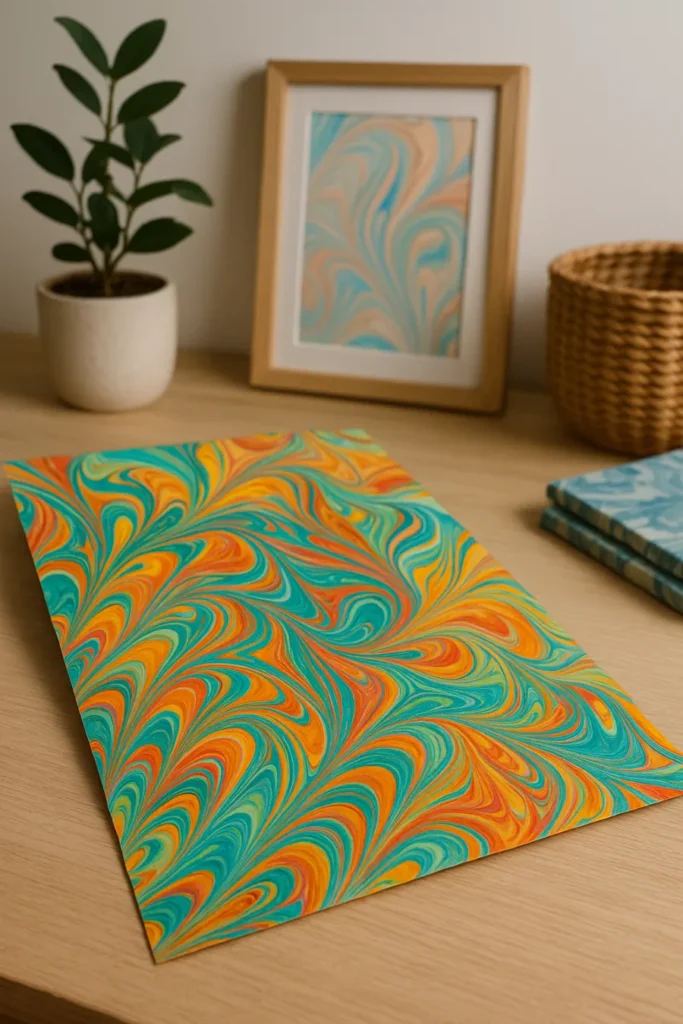
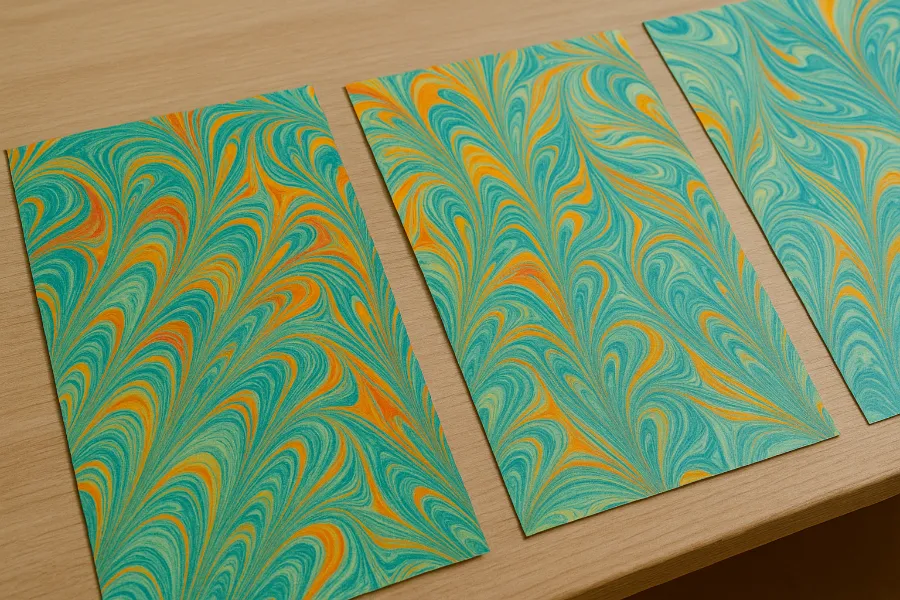
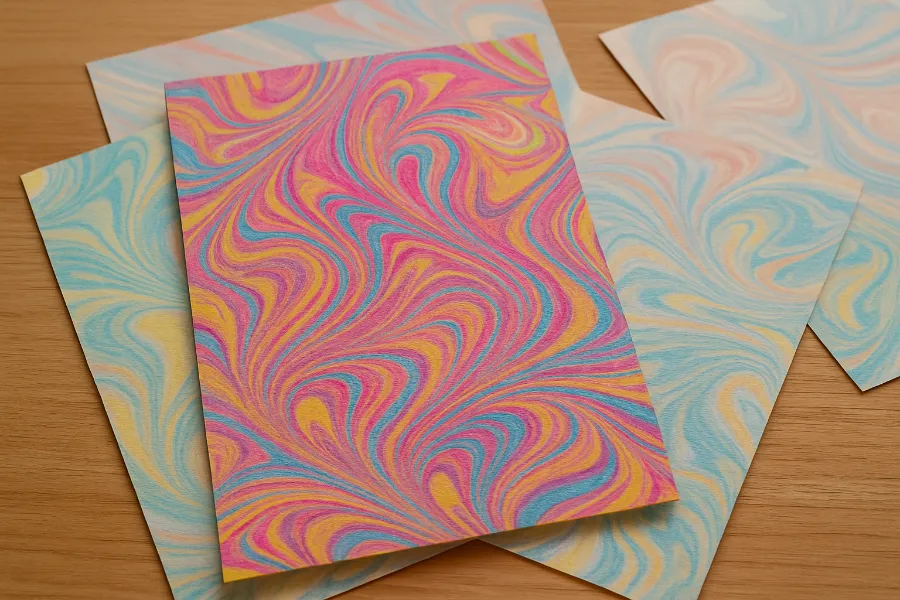
Creative Uses for Marbled Paper
Once you’ve created your marbled sheets, the fun doesn’t stop there. Here are a few ways to put them to good use:
- Handmade greeting cards
- Decorative gift tags
- Wrapping paper for small boxes
- Bookbinding covers
- Matting for framed photos or art
- Decoupage projects (frames, storage boxes, trays)
The Science Behind Paper Marbling
Paper marbling isn’t just beautiful—it’s also a fascinating example of chemistry in action.
- Hydrophilic vs Hydrophobic: Water-loving dyes spread differently than oil-based ones. That’s why oil floats instead of mixing.
- Surfactants: These special molecules help pigments spread by reducing water’s surface tension.
- Density and Surface Tension: Colors float because they’re less dense than the liquid underneath, allowing them to be manipulated before printing.
Understanding these principles makes experimenting even more exciting—you’ll start predicting how certain colors or additives will behave.
Tips for Success
- Work quickly—colors can start drying within minutes.
- Start simple with “stone” patterns before moving to more intricate designs.
- Keep your trays and tools clean between prints.
- Always test small sheets before moving on to larger projects.
Conclusion
Paper marbling is more than just a craft. It’s history, science, and artistry rolled into one. From the ancient traditions of Japan and Turkey to today’s playful DIY methods, this art form has captivated creators for centuries. And the best part? Each sheet you make is a one-of-a-kind masterpiece.
So whether you’re using shaving cream with your kids or mixing carrageenan for professional designs, paper marbling invites you to explore, experiment, and enjoy the unpredictable beauty of color floating on water.


")


