Hello lovelies! What a funky week with the 4th of July smack dab in the middle of it, right? I hope you enjoyed the holiday and found some time to rest, relax and celebrate with friends and family!
Today I wanted to chat with you about the painting from our family room makeover. This is more of sharing a concept than an actual tutorial, and this piece and my art hack are sure to get some eye rolls and criticism, however, some of you said the seascape was your favorite part of the makeover (which is VERY kind!) and I know many of you love art project ideas. So what the hey. Let the eye rolling commence 🙂
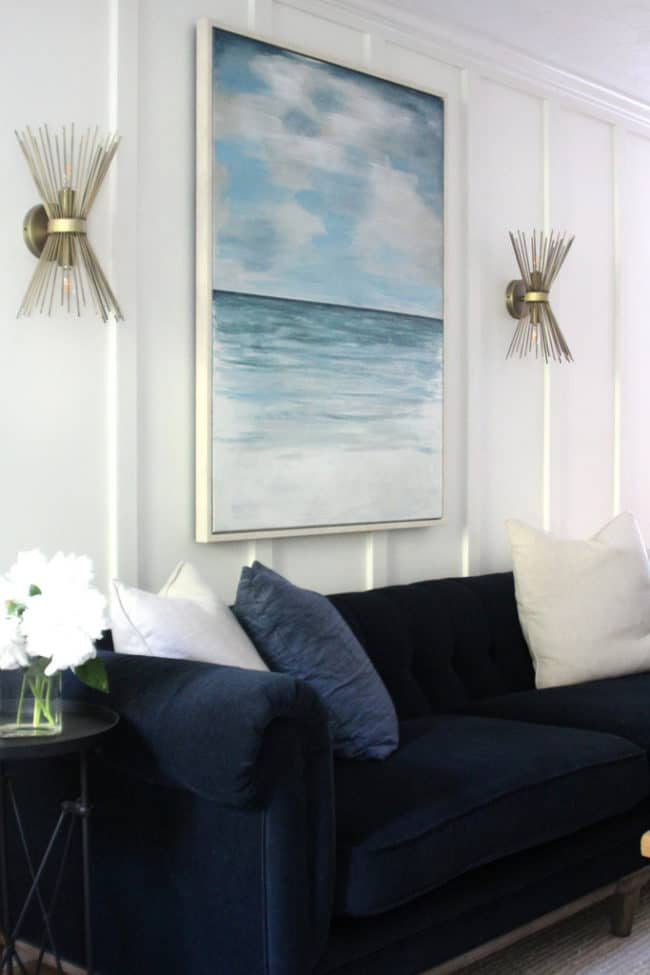
For our family room I really wanted to find a big piece of abstract art for the wall over our sofa. It’s the first thing you see when you enter the house from our garage, which we do all the time, and it would set the tone for the whole room. Oh so sadly, after I custom ordered a canvas-wrapped print on Etsy, I realized it would be way too small with the low back of chesterfield sofa of my dreams (you can see more of the hits and misses of making over a room here!)
I had to come up with another piece of art after depleting my budget, so off I went in search of something AMAZING, large, framed, and affordable. Not a big deal right? HA! I found a lot of half-way decent pieces, but nothing quite right, so I bought the best option, brought it home and turned it into a piece that is perfect for our family and this room, inspired by a photo that I took on our trip to Hawaii.

I am by no means an artist – you know I love making interesting or meaningful pieces for the walls of our home (like the “shower curtain” art with a photo from my phone or the block art in my teenaged son’s room), but my painting skills are definitely stuck somewhere around the preschool level!! That being said I still love to break out my college art supplies, mess around with paint and try different techniques. It’s just FUN!
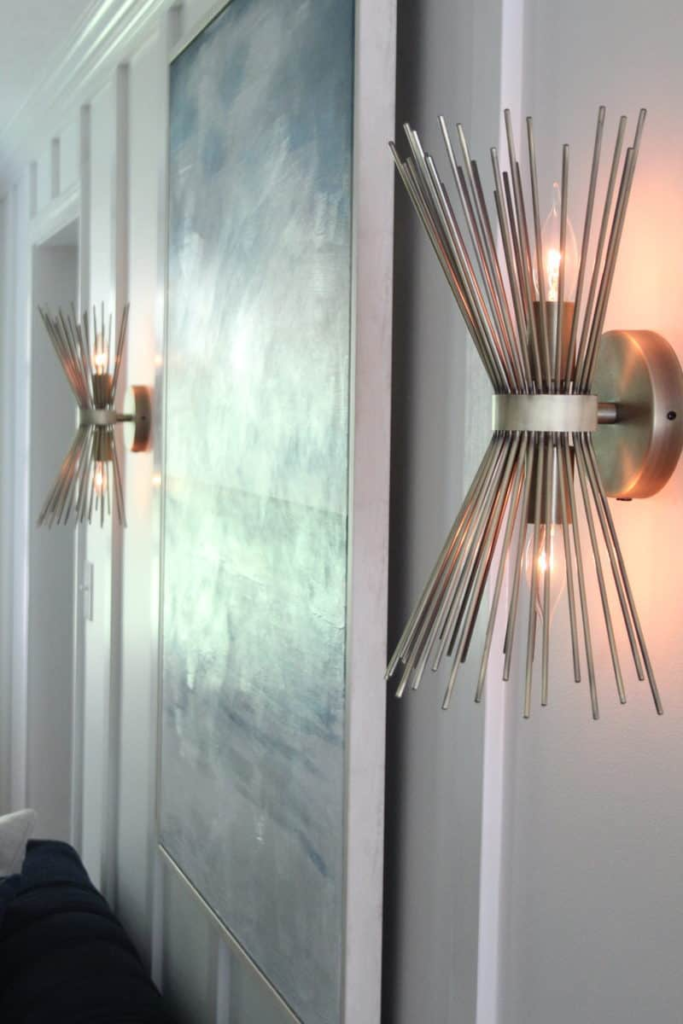
Here’s the print I bought during the One Room Challenge, mostly for it’s size and the fact that it was framed (excuse the phone photo):
and after I painted over it – it now has decidedly less artistic value 🙂 but I like it so much more with the brighter hues. And hey! It’s an original!!
It reminds us of beachy places we love like Cape Cod and the Islands and our trip to Hawaii – which makes it more meaningful – and it also brings some visual PEACE to our loud, crazy, sometimes messy abode!
So here we go – a sort-of-tutorial……
PAINTING OVER A GENERIC CANVAS PRINT TO MAKE SOMETHING YOU LOVE
FIRST UP, WHY USE A CANVAS PRINT?
FOR THE FRAME. You can find mass-produced framed canvas prints everywhere – Homegoods, Marshalls, TJMaxx, Christmas Tree Shop, Big Lots. Thrift stores. Or currently on your walls! Unframed canvas art is fine too – many original works of art in galleries are unframed – but a frame can definitely help to elevate a canvas print. See this tutorial to add your own simple frame if your canvas print is unframed.
BECAUSE SOMETIMES THEY ARE LESS EXPENSIVE THAN A BRAND NEW STRETCHED CANVAS. Look for those red clearance tags!
BECAUSE YOU LIKE SOME PARTS OF THE PRINT. Maybe a canvas print isn’t bad overall but you don’t love the cheesy finish on it, or wish it had a bit more blue, or you like a field in a landscape but are not crazy about the grey sky.
My feeling is that any mass-produced canvas print is fair game to modify. I’m not worried about keeping the integrity of a print or offending the original artist if it’s being sold at Homegoods.
WHAT TO PAINT WITH
Oil paints are beautiful to blend with and you can build up texture on a canvas with them, but they take a long time to dry (sometimes days or weeks) and are a bit more work to clean up after. Artist-grade acrylic paints give you a similar blend-ability and are water soluble for quick clean up, and they dry much quicker (minutes to hours instead of days), plus they are affordable, so for the amateur artist acrylic paint is a good place to start. Golden or Liquitex are affordable brands that are considered artist grade – I have bought some generic acrylics and sometimes they do not have the same consistency or coverage as the better ones.
If you’re just starting out consider a kit that has lots of little tubes like this one. I found that I went through some of the colors REALLY fast (for me, obviously blues and white). I bought big tubes of white and cerulean blue and then used the little tubes to make different shades. (I also tried adding some land to my painting with various shades of green but ended up painting over that.)
It’s SO much fun to blend and create different hues!! Playing with the paint and adding a bit of this, a bit of that and seeing what you come up with is kind of magical.
In addition to paint, you’ll need some brushes, and again, a variety pack is great to start with. A wide bristle brush is great for covering an expanse of the canvas with a base color. I have plastic palettes to blend paint on, but I find paper plates give you a lot of space to work on and are easy for clean up.
Now to time to paint your masterpiece!! Play around a bit, and….
FIND YOUR OWN STYLE!
With the print I was working on, I liked the sky and the water in the original print, but not the red boat or the amount of grey, so I painted over it all. The original sky and water are 100% better than my version, but I’m okay with that – my amateur skills were never going to compare to the artist.
Before you begin, if your canvas print is framed tape it off with painter’s tape, making sure to wrap the tape around the inside edges where it meets the canvas.
I brightened up the sky with variations of white and lighter blues and made the clouds more wispy by dragging a brush with just a bit of paint on the tip across whole sections. For that I used the same wide bristle brush I mentioned above that is great for applying a base color. I basically used the clouds that were there as a template but made them much lighter and brighter and added more blue sky.
For the sea, I created a new horizon line with painter’s tape on the dry canvas to get a nice clean line, then I painted over and recreated the entire bottom. The water has more of a brushstroke look to it created by continuously blending colors to add depth and value and also give it that choppy multidimensional look. I intentionally kept the forefront of the painting white – on one of the Hawaiian beaches we visited, the water was so clear and the sand so white that you almost couldn’t tell where the water began.
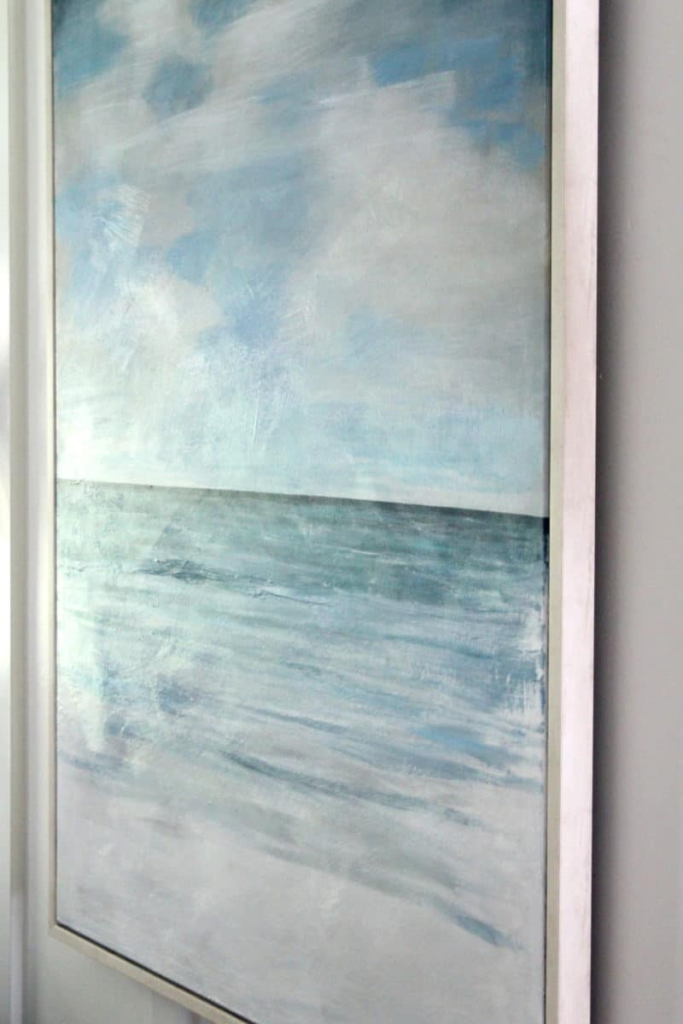
While my painting is quite rudimentary, there are tons of different color variations going on here – the white areas are not just straight-up white out of the tube, but have been tinted with blue or black or burnt umber. This is what gives dimension to a painting.
The final step was to brush matte gel medium over the entire painting. This also lends depth to the finished product. I liked that the original print had gel medium brushed at all different angles in short strokes so I did that – if you look closely you might see how the light is reflected off of this transparent layer.
Clearly I have a pretty basic knowledge of painting, but my hope is that this post may encourage you to try something a little out of your comfort zone and have fun – and maybe even make something that you enjoy having in your home!
A couple of great reads on art for your home –
I love this post by Nicole at Making It Lovely about original vs. mass-produced art
and this post by Emily Henderson on generic art provoked a lot of thought and discussion in the comments!
I say go decorate your house with things that you LOVE or make you think or remind you of a place or time or person that is meaningful to you! If you can afford original art that speaks to you, that’s amazing! If it’s right off the shelf from Homegoods and you LOVE it, awesome!! If you have to doctor up a canvas print you kind of like, or already own and are tired of, then go for it!!! Life is too short to have things hanging on your walls that you want to light on fire 🙂
The purpose of art is washing the dust of daily life off our souls. -Pablo Picasso
To see more of this room makeover visit the family room reveal post, or if you’re looking for a specific item from the room you can find all the sources right here.
For more art projects and hacks check out the DIY wall art gallery!
Hope you have a wonderful day, I’m so glad you stopped by!