Okay, long-time readers (all three of you!), I know this topic might make you dry heave, but I have to bring up the foyer board and batten project one last time. I swear, after this, I will ZIP IT about this project! You will never hear me say FOYER BOARD AND BATTEN again. Foyer board and batten, foyer board and batten, foyer board and batten, foyer board and batten—okay, it’s out of my system now.
I promised a tutorial of sorts a couple of months ago, but the truth is, I learned as I went, making plenty of mistakes along the way. So, instead of attempting to act like a professional carpenter, I’ll leave the full-blown tutorials to the experts. What I can offer you are some practical tips, tricks, and resources that helped me survive this project with my sanity (mostly) intact.
The Good, the Bad, and the “Why Did I Do This?”

Day 1: Feeling Like Wonder Woman
Installing board and batten in the foyer, where there were no tricky angled cuts, was SO easy. Seriously, I felt like I had superpowers! That first day, I was practically strutting around like I had conquered the world.
{via}
Day 2: The Crash and Burn on the Stairs
Then came Day 2. I thought, “Hey, why not extend this to the stairs?” Big mistake. My confidence evaporated after about an hour, thanks to countless wrong cuts, frustration, and a full-on argument with my saw (which was obviously to blame). This was easily the most frustrating day of my DIY existence.
Moral of the Story:
- If you have little carpentry experience, installing board and batten in a standard room (without angled cuts) is totally doable.
- However, attempting to install it along a stairwell? That’s a whole different beast. If you don’t have experience, get help from someone who does. Trust me, your sanity will thank you.
Board and Batten: Essential Resources & Must-Read Tutorials
Before jumping into a project, it’s crucial to read and bookmark tutorials. These were lifesavers for me:

Basic Board and Batten Installation:
Board and Batten for Staircases:
- Thrifty Decor Chick’s Staircase Board and Batten Tutorial
- This Old House’s Wainscoting on Stairs Article
- Ask the Builder: Stair Trim Molding
Tools You Absolutely Need
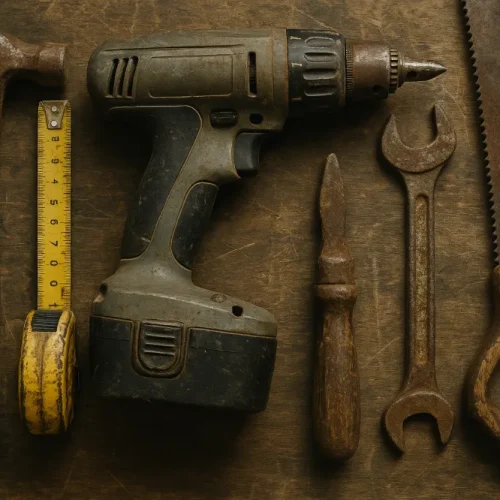
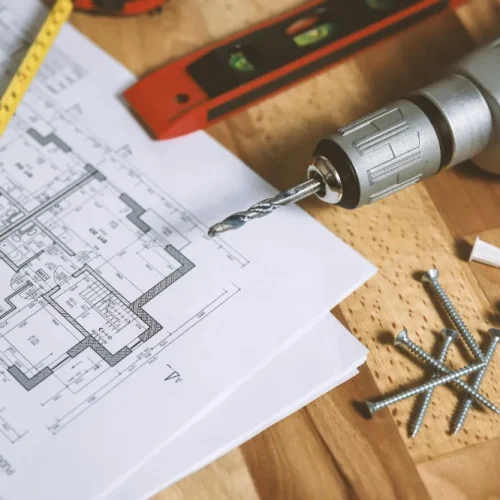
You can use a handsaw and miter box if you don’t have an electric saw, but consider buying, renting, or borrowing a real deal electric saw. Trust me, you won’t regret it.
The MVP Tool for Stairs: Sliding T-Bevel Square
If you’re installing board and batten on stairs, do yourself a favor and get a sliding T-bevel square to measure angles accurately. It’s only about $6 but will save you hours of frustration and incorrect cuts. This Old House’s tutorial covers how to use it in detail.
Tips I Wish I Knew Before I Started

- Check for Level
- The last thing you want is to nail up a board only to realize it’s crooked. I became obsessive about checking every single board before securing it. It may seem excessive, but it saves you from fixing wonky boards later.
- Brush Up on Geometry
- If two pieces of trim are cut at different angles, they will end up being different lengths. Yes, this sounds basic, but if you’re anything like me (who didn’t pay enough attention in ninth-grade math), this realization will hit you at the worst possible time.
- Use Scrap Pieces for Templates
- Before making actual cuts, test tricky angles with scrap wood. This prevents you from wasting expensive boards due to misjudged angles.
- Cut Each Board as You Go
- My husband’s golden rule: don’t pre-cut everything. I stubbornly ignored this, thinking it would save time. Nope! Turns out, walls aren’t always perfectly even, and cutting boards ahead of time led to some being off by up to 1/4″. I had to redo several pieces because of this. Lesson learned: Measure, cut, check, repeat.
- What to Do if You Mess Up a Nail Placement
- If you accidentally shoot a nail through the trim at an angle and it comes through the wall (ahem, like I did), don’t panic! Instead of pulling it out and damaging the trim, take a flathead screwdriver, place it over the nail, and tap it with a hammer to bend it back into the wall. Once you caulk over it, you won’t even know it’s there.
- Caulk and Wood Filler Are Your Best Friends
- Tiny gaps? No problem. Use a paintbrush to push caulk into small cracks. The final result looks so much better when you don’t skip this step.
- Dress Code: Pajamas Required
- Because why not? And if you can get your hands on a compressor & nail gun, do it. It makes the job so much faster.
Choosing the Right Trim Design

There are many ways to customize board and batten. In a model home, I saw a version where a small piece of trim was added to the top of the baseboard, between the battens, creating a subtle but customized effect. I loved it and copied it for my own space.
Other options:
- Add a ledge to the top for leaning artwork.
- Trim inside the batten boxes for a more decorative touch.
- Keep it simple with clean, straight battens for a modern look.
Need inspiration? Check out my Wainscoting and Molding Pinterest Board for ideas!
Final Thoughts
Board and batten is a fantastic way to add character to a space, even for beginner DIYers. If you get stuck, feel free to email me with questions! I’m happy to help however I can.
And don’t forget! Mark your calendars and join the Before & After Link Party this Friday, February 3 to share your projects! Read all about it here.
Happy DIYing!


