Hello friends!
This month, I am taking on the challenge of completely transforming our quirky garage mudroom as part of the $100 Room Challenge. Yes, you read that right—I am attempting to overhaul this space for under $100! While I shared some early progress pictures last week, I’ve been holding back because, quite honestly, this renovation has been a total mess.

The truth is, home improvement isn’t always about pretty transformations it’s about problem-solving, trial and error, and embracing the chaos. Since the big reveal is coming up next week, I’m taking a deep breath and showing you the good, the bad, and the downright ugly before this space finally comes together.
The Mudroom’s Original State: A Functional but Overwhelmed Space
I originally gave this mudroom a mini-makeover about six years ago. At the time, it served as a gift-wrapping station for my kids, who were attending birthday parties every other weekend. It was cute and practical until our needs changed, and the space became a dumping ground for everything that didn’t have a designated home.
Somehow, I expected this one small room to handle way too many functions:
- Mudroom storage for coats, shoes, and boots
- Arts & crafts storage
- Utility storage (mops, buckets, and vacuums)
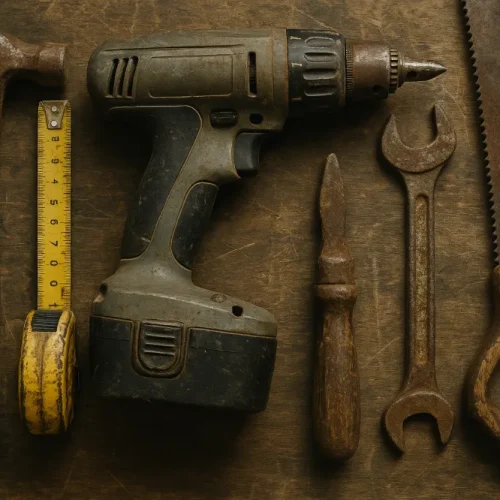
- Tool storage
- Overflow storage for random household items
On top of that, the room’s layout was awkward, with a mix of plywood and sheetrocked walls, exposed plumbing, and an ill-placed outlet. It wasn’t just cluttered—it was chaotic.
The Demolition Phase: Clearing the Clutter
The first step? Tearing out the shelves to make room for a better layout. I wanted to create a functional built-in bench for shoes and boots, utilizing the plywood from the removed shelves instead of buying new materials.

Of course, this wasn’t as simple as I had hoped. Behind the shelves, I discovered more unfinished drywall, exposed pipes, and an oddly positioned electrical outlet. At this point, I questioned whether I should rip everything out and start from scratch—but I reminded myself that this is a budget-friendly makeover, not a full renovation.
Creative Problem-Solving: Making the Best of What I Have
On the opposite wall from the bench, I have a utility sink with shallow shelves above it. It once looked organized with labeled storage bins, but over time, it became another clutter magnet. I planned to use leftover plywood from the shelves to build cabinet doors to hide the mess, but then I remembered an abandoned art project—a huge photo mounted on MDF that didn’t quite turn out as planned. Instead of wasting it, I decided to repurpose the MDF board into cabinet doors!

And if that wasn’t enough upcycling, I also found a broken keyboard shelf I had removed from an old desk. You guessed it—I chopped it up and repurposed it into trim for the cabinet doors.
My garage workshop has been my DIY headquarters, though working in winter has been brutal. With temperatures hovering around 26 degrees in Massachusetts, I had no choice but to stain wood inside my kitchen. Talk about making do with what you have!

Tackling the Most Awkward Storage Spots

To the right of the sink, I removed old shelving, which left behind a weird, tall open space with a single shelf above it. I debated what to do with this spot but ultimately decided it would be perfect for storing my mop and broom. The upper shelf will get a cabinet door to keep things looking tidy, while the tall open section will remain accessible for easy reach.
After assessing my scrap wood pile, I pulled together materials to frame this awkward nook into a practical, well-organized storage area.
The Good, the Bad, and the Beautiful Potential
At this point, you’re probably wondering what this disaster zone actually looks like. Trust me—it’s not pretty right now. Picture exposed drywall, stacks of wood scraps, and half-finished projects everywhere. If your eyeballs are hurting just thinking about it, imagine living in it!
But let’s talk about what’s going well: ✔ The bench frame is built, and I’m thrilled with how sturdy it is. ✔ The cabinet doors are coming together beautifully. ✔ I have a vision for how to cover the drywall mess and create a polished look. ✔ I found tons of trim pieces in my garage that will make everything feel custom and high-end.
The Final To-Do List Before the Big Reveal
With just a few days left before the final reveal, here’s what still needs to happen:
- Install the bench seat and shoe storage
- Finish installing baseboards and trim
- Trim the cabinet doors, paint, install hinges, and hang them
- Cover exposed drywall and hide the plumbing pipes
- Repaint the entire floor
- Paint every surface that needs it
- Add decorative finishing touches
Will I Finish On Time? Place Your Bets!
Considering how much is left to do, it’s going to be a race to the finish line. Am I crazy for thinking I can pull this off? Probably. Will I somehow find a way to make it work? Absolutely!
So, what do you think—will this mudroom makeover be a total win or a near disaster? Place your bets and check back next week for the final transformation!
Thanks for following along—I appreciate you all so much! Be sure to visit my $100 Room Challenge comrades and see how their spaces are coming together (they’re probably way ahead of me!).


