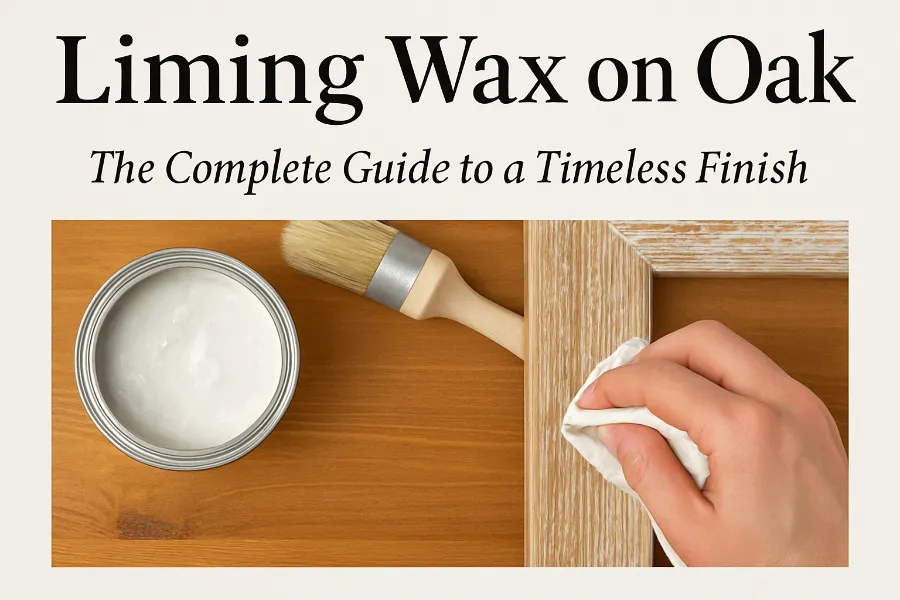
If you’ve ever admired the soft, whitewashed look of antique oak beams or the breezy, coastal charm of modern farmhouse furniture, chances are you’ve seen liming wax on oak in action. This finishing technique has been around for centuries, but it’s making a big comeback in home décor and DIY furniture projects. Why? Because liming wax highlights the natural grain of oak like nothing else, giving wood a bright yet rustic character that feels both modern and timeless.
Whether you’re working with a vintage oak table, a chest of drawers, or even just a picture frame, liming wax on oak can completely transform your piece with a beautiful, tactile finish. In this guide, I’ll walk you through what liming wax is, how to apply it step by step, what results to expect, and how to maintain your limed oak furniture so it lasts for years.
What is Liming Wax?
Liming wax is a finishing wax infused with white pigment. Traditionally, liming started as a limewash—a liquid made from slaked lime used in Europe as far back as the 17th century to protect and brighten wood beams. Over time, it evolved into a wax-based product that’s easier to apply and far less messy.
Today, liming wax is sometimes also called pickling or whitewashing, but the effect is the same: the white wax sinks into the open pores of wood grain, accentuating it and creating a subtle white-contrast look. The result? A finish that looks aged yet elegant, soft yet durable.
When applied correctly, liming wax produces that classic limed oak finish you see in rustic country homes, coastal interiors, and even contemporary minimalist spaces.
Why Oak is Perfect for Liming Wax
Not every type of wood works well with liming wax. The key is grain. Liming wax needs wood with open pores and a strong, visible grain—and oak is perfect for this.
Here’s why oak is the best candidate:
- Prominent grain pattern – Oak has dramatic grain lines that soak up the wax beautifully.
- Durability – Oak is a hardwood, so once treated, it withstands wear and tear.
- Versatility – Oak furniture can swing rustic, modern, or coastal depending on the finish.
While liming wax also works on other woods like ash or pine, nothing quite compares to the natural drama of liming wax on oak.
Tools and Materials You’ll Need
Before diving in, gather your supplies. Most of these are affordable and easy to find:
- Liming wax (popular brands: Briwax Liming Wax, Liberon Liming Wax, Annie Sloan White Wax)
- Clear wax (to adjust or seal the look)
- Wax brush or lint-free cloth (old cotton rags work fine too)
- Fine sandpaper (150–180 grit) or wire wool (optional, depending on prep method)
- Stripper or remover (if you’re taking off old varnish)
- Protective gloves and a well-ventilated workspace
Optional but recommended:
- Wood dye (for added richness before waxing)
- Shellac sanding sealer (if you’re using dyes)
Step-by-Step Guide to Applying Liming Wax on Oak
There are a few different approaches to liming oak, depending on whether you want to strip the wood bare or apply wax directly over an existing finish. Let’s go step by step.
Step 1: Prepare the Surface
How much prep you do depends on the look you’re after.
- For the strongest contrast: Strip off old varnish and sand the surface. This opens the pores of the oak, letting the wax really sink in.
- For a softer look: You can apply liming wax directly over existing polyurethane or varnish. It won’t be as dramatic, but it still settles into the grain.
Tip: If stripping, use fine wire wool to rub with the grain after applying remover. Always finish with a clean cloth to neutralize residue.
Step 2: Open the Grain (Optional but Recommended)
If your oak surface feels very smooth, you’ll want to open the grain. Use a wire brush or coarse sandpaper to lightly roughen the surface in the direction of the grain. The deeper the pores, the more wax will settle in, and the stronger the limed effect.
Step 3: Apply the Liming Wax
Now for the fun part. Using a wax brush, soft cloth, or even an old sock:
- Load a small amount of liming wax.
- Work it firmly into the grain in circular motions, making sure it penetrates all the open pores.
- Don’t be shy—it should look messy at first!
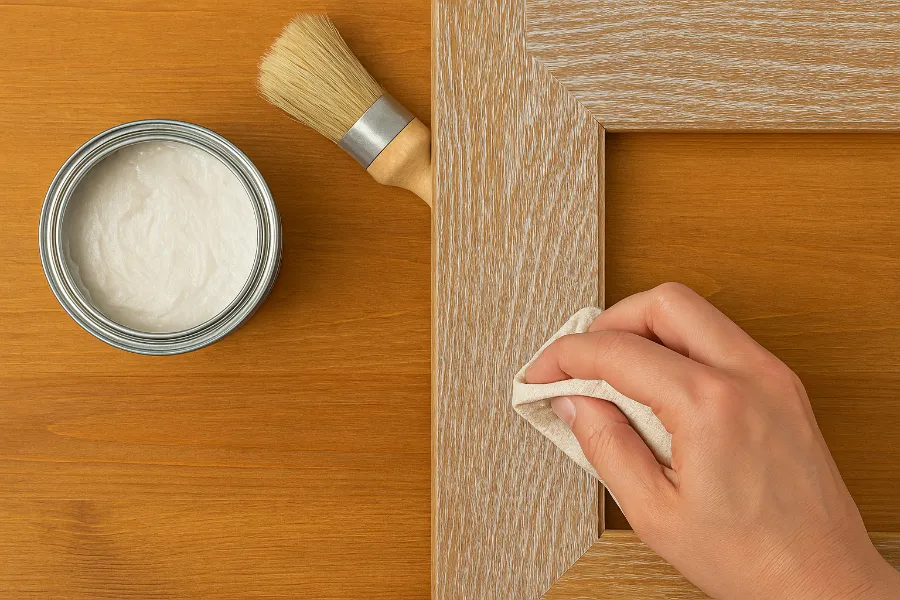
Step 4: Wipe and Buff
After a few minutes, use a clean lint-free cloth to wipe off the excess. The white wax will remain in the grain lines while the surface itself stays cleaner. Buff until you achieve the brightness you want.
Step 5: Adjust with Clear Wax
If you want to soften or erase areas, apply clear wax like an eraser. Rub gently, and it will lift off some of the white pigment. This is great for edges, corners, or when you want more control over the finished look.
Step 6: Let It Cure
Liming wax needs time to cure and harden. This can take between 5 and 21 days, depending on conditions. During this time, avoid heavy use of the piece. Once cured, it will feel smooth and solid, not tacky.
Variations and Style Options
One of the best things about liming wax on oak is its versatility. Here are a few ways to experiment:
- Rustic farmhouse – Apply heavily, leave more wax on the surface for a chalky, weathered look.
- Coastal style – Buff more thoroughly so only the grain is white, keeping the oak light and breezy.
- Modern contrast – Pre-stain the oak with a dark wood dye (like ebony), then apply liming wax for a bold white-on-dark effect.
Pros and Cons of Liming Wax on Oak
Like any finish, liming wax has strengths and drawbacks.
Pros
- Enhances natural oak grain
- Easy to apply, even for beginners
- Creates unique finishes (rustic to modern)
- Long-lasting with proper care
Cons
- Needs reapplication every few years on high-use furniture
- Not ideal for bathrooms or damp areas (wax doesn’t protect against moisture well)
- Limited compatibility with topcoats (you can’t apply polyurethane over wax)
Care and Maintenance of Limed Oak
Once your oak furniture is finished, you’ll want it to stay beautiful. Here’s how:
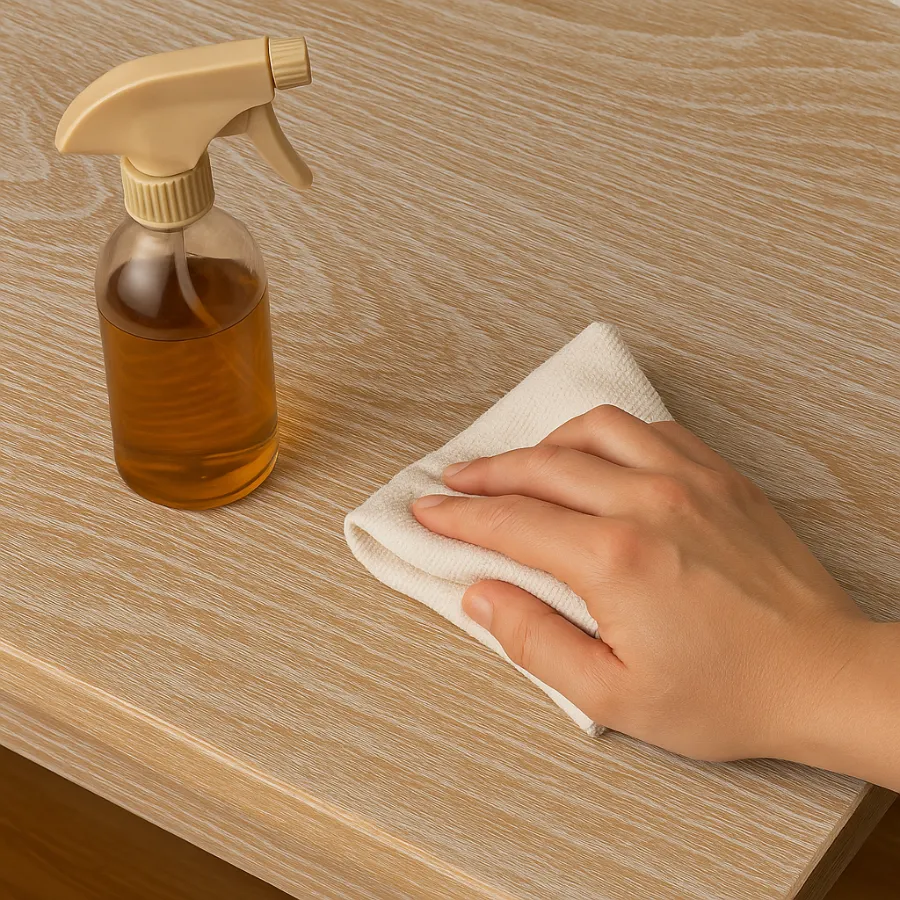
- Dust regularly with a soft cloth.
- Clean gently with a damp cloth—avoid harsh cleaners.
- Reapply clear wax every 6–12 months for protection and shine.
- Avoid direct sunlight if you used wood dyes underneath, since dyes can fade.
If your piece will get heavy use, like a dining table, consider adding a protective topcoat before waxing or use a grain filler instead of wax for durability.
Why Choose Liming Wax on Oak?
In the world of DIY furniture makeovers, liming wax on oak is a winner because it’s both easy and impactful. Unlike painting, it doesn’t cover up the wood’s character—it celebrates it. And unlike heavy staining, it lightens and modernizes oak without hiding its natural beauty.
Whether you’re aiming for a subtle coastal vibe, a rustic farmhouse feel, or a striking modern contrast, liming wax gives you the flexibility to get the look you want. It’s a centuries-old technique that still feels fresh in today’s interiors.
So if you’ve got an old oak table gathering dust or a dated oak dresser that feels too heavy and golden, grab some liming wax and try it out. You might just fall in love with your furniture all over again.

")


")
")
")

")
")

