Hello hello! This renovation is in the final stages and we’re finally seeing it all come together!
Doing the floors over along with the kitchen definitely added time and craziness to this situation, but it was the way to go – why live through two separate renovations of this magnitude? Our second floor and basement are FILLED with furniture, our kids’ bathroom has been turned into a dishwashing station (I closed the lid of the toilet and put a plant on it so no one would get any big ideas that it was usable!), and the entire contents of our old pantry and cabinets are stacked high on our oldest son’s bed and floor. We also have a toaster and coffee maker set up in there on his bureau, and a refrigerator in our garage for milk, cream and a few other perishables. The 20 year old microwave that was over our stove has been sitting under a heap of other demoed materials on the floor of the garage, waiting to be recycled, and this week we had a lightbulb moment and plugged it in – it works just fine!
As I told you last week, the cabinets are in and the hardwoods are installed, all ready to be stained and sealed. Mark and I spent all last weekend painting the ceilings of the whole first floor, and this weekend we painted most of the trim. We also made the last minute decision to replace the window over our sink at the recommendation of our contractor. The old window was original to our 33 year old house and showing it’s age (plus it wasn’t even square! How did we not notice that before?) Putting in the new window required Ken to trudge through the hardened snow, haul the window up on a ladder and install it from the outside – the fun of kitchen renovating in a New England winter! The new window is a bit bigger than the last one so we have a little more natural light.
Ken also has been working on installing crown moulding throughout the rest of the first floor, replacing old or damaged door frames and upgrading our baseboards in the rooms I haven’t done yet. This past week he installed our new pantry doors which leads me to today’s topic!
If you’ve been here since the beginning of this reno you know I had envisioned old salvage doors for our existing pantry closet. We could have replaced this whole closet wall with a bank of pantry cabinets, but the FUNCTION of these closets has worked pretty well for us. We figured if we removed that wall from between the two closets we would have more space and in the process could make this wall an interesting feature of the kitchen too.
I tried the look of weathered doors out here last year by giving the existing doors a weathered finish…..
….and then Mark and I went on the hunt all over New England and then online all over the country looking for doors we loved that would be perfect for this space. We saw tons of pretty doors but none were quite right. It was more challenging than we thought it would be to find two matching doors that would work with our 8′ ceilings and not need a ton of work.
When I first kicked off this renovation here on the blog a couple months ago, one of my very kind readers mentioned these French style pantry doors from a Fixer Upper episode (thank you Mary!!); Joanna had an antique mirror finish applied to the inside. We all know I am no stranger to DIYing “mercury” or antique looking mirrored glass (I’ve used this technique for bar cart shelves, my foyer and vanity table tops, a coffee table tray and Ikea lanterns) so I tucked that idea away.
When our floors were being done the installer temporarily placed some of our existing French doors in the cutout for the pantry to get them out his way, and I noticed how the leaning doors reflected the light from the adjacent slider. Right then and there I abandoned the idea of finding the perfect salvage doors in lieu of using glass doors, and decided to run with Mary’s suggestion to disguise the pantry contents with mirrored glass!
We special ordered French doors that optimize the space of the closet and open without hitting the end of the peninsula. Here are the doors installed, I love them! Even with plastic and primer on the panes this door on the left already reflects the natural light.
The space inside automatically feels twice as big without that original wall between the doors. The French doors came primed with plastic over the glass – I’ll spray them with our trim paint, then remove the plastic from the glass on the inside of the doors, cover and tape off the painted portions, and give each and every one of those 30 panes of glass the antique mirror finish!
Are you feeling like this is crazy and maybe a little too Liberace?? Like a whole lotta mirror going on in a kitchen? I mulled that over too but after seeing a few beautiful examples of antique mirror used on cabinet doors and even refrigerator doors in a kitchen, I’m sold!
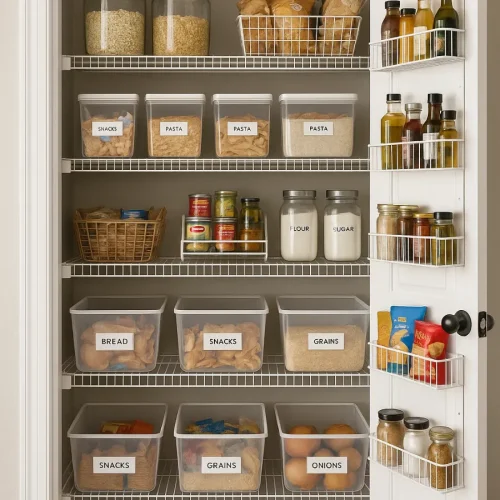
This week I’ll be sharing a ton of inspiration for pantry organization that I unearthed from fellow bloggers and at the end of the week I’ll be back to show you the floors – they are getting stained today!!
Thanks for following along on this crazy renovation – I’m looking forward to sharing the end result with you!
Have a great week friends!


