If you’ve ever wondered how to oil a cutting board, you’re in the right place. Wooden and bamboo cutting boards aren’t just functional—they’re an investment in your kitchen. But without the right care, they can dry out, crack, or even harbor bacteria. The good news? A few minutes of oiling can completely transform your board, keeping it looking stunning and extending its life for years.
In this guide, I’ll walk you through why oiling matters, which oils are best, step-by-step instructions, and pro maintenance tips you can use right away. Whether your cutting board is brand new or has seen years of chopping, this is the ultimate routine to restore it.
Why Oiling a Cutting Board Is Essential
Wood and bamboo are natural materials full of tiny pores and fibers. Over time, those pores absorb food particles and moisture. Left untreated, your cutting board can develop:
- Cracks and splits – from wood drying out too much
- Warping – when moisture gets trapped unevenly
- Mold and bacteria – in hard-to-clean areas
- Stains and odors – from food seeping into dry wood
The solution? Regular oiling. When you apply food-grade oil, it soaks into the wood fibers, filling those pores and creating a protective barrier. This keeps moisture out, reduces bacteria buildup, and makes the board far easier to clean.
And let’s not forget the aesthetic bonus: oiling brings out the natural grain of the wood, giving your board a rich, glossy finish.
Choosing the Right Oil
Not all oils are created equal. Some will protect your board beautifully, while others can turn it into a sticky, smelly mess. Here’s what you need to know:
Best Oils for Cutting Boards
- Food-grade mineral oil – The gold standard. Stable, odorless, and won’t go rancid.
- Beeswax – Often blended with mineral oil into “board cream” for an extra protective layer.
- Coconut oil (refined, not virgin) – Safe and effective when properly processed.
- Linseed oil (food-grade only) – A natural option that dries harder, adding durability.
Oils to Avoid
- Olive oil
- Canola oil
- Vegetable oil
- Walnut oil (unless processed food-safe)
These oils go rancid over time, leaving your board with an unpleasant odor and a sticky surface.
Here’s a quick reference table:
| Oil Type | Safe for Cutting Boards? | Notes |
|---|---|---|
| Food-grade mineral oil | ✅ Yes | Most recommended |
| Beeswax/Board Cream | ✅ Yes | Adds extra protection |
| Refined coconut oil | ✅ Yes | Avoid virgin coconut oil |
| Linseed oil (food-safe) | ✅ Yes | Creates harder finish |
| Olive oil | ❌ No | Goes rancid |
| Vegetable/canola oil | ❌ No | Goes rancid |
DIY Step-by-Step: How to Oil a Cutting Board
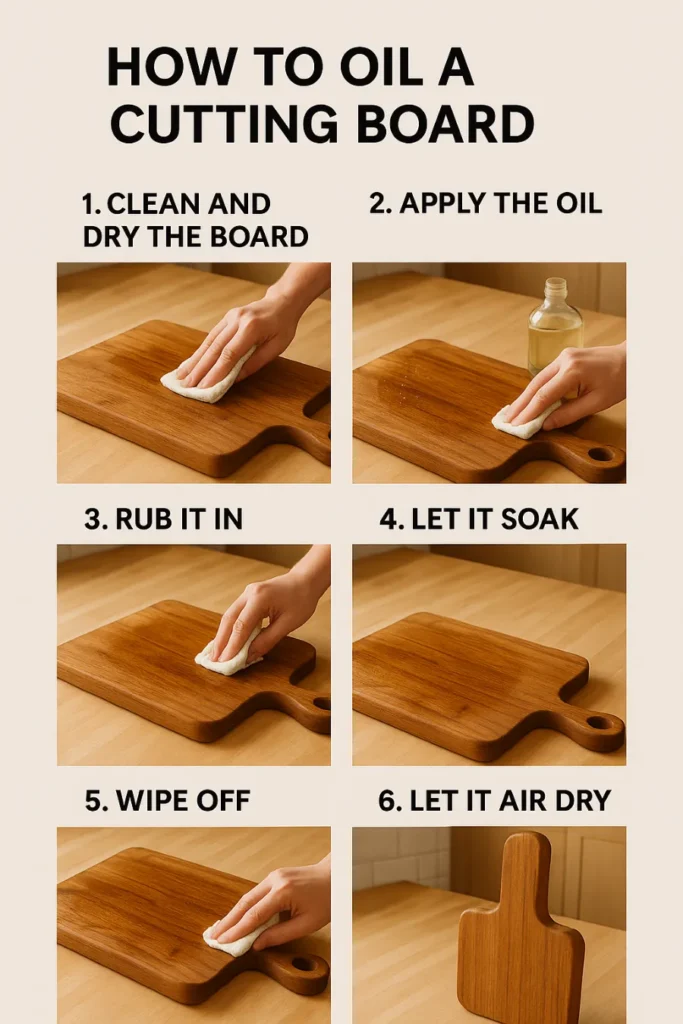
Now that you’ve got the right oil, let’s get into the exact process. Follow these six simple steps:
1. Clean and Dry the Board
- Wash with warm water and mild dish soap.
- Scrub gently to remove food particles.
- Dry thoroughly with a towel, then let it air dry.
- Never put it in the dishwasher—the heat and water will ruin the wood.
2. Apply the Oil
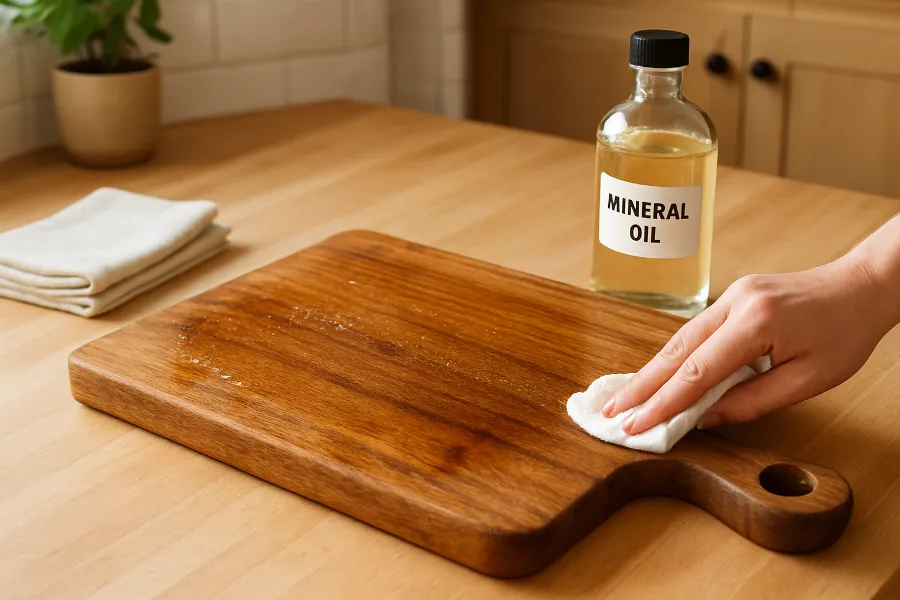
- Pour a generous amount of oil onto the surface.
- A few tablespoons is usually enough.
3. Rub It In
- Use a soft cloth or paper towel.
- Rub the oil in circular motions, covering all surfaces—including the sides and edges.
4. Let It Soak
- Allow the board to sit for a few hours, or even overnight.
- This gives the oil time to penetrate deep into the wood fibers.
5. Wipe Off Excess
- Use a clean, dry cloth to remove any leftover oil.
- The board should feel smooth, not greasy.
6. Let It Air Dry
- Stand the board upright or on a rack so air can circulate.
- Once fully dry, your cutting board is ready to use.
Pro Tips for Oiling and Maintenance
A little extra care goes a long way. Here are some of the most effective tips from kitchen experts:
- Oil monthly – Or more often if your board looks dry.
- Never soak your board – Prolonged water exposure causes warping.
- Avoid bleach – It dries out and damages wood fibers. Use vinegar or lemon juice for odors.
- Use both sides – This prevents one side from wearing down faster.
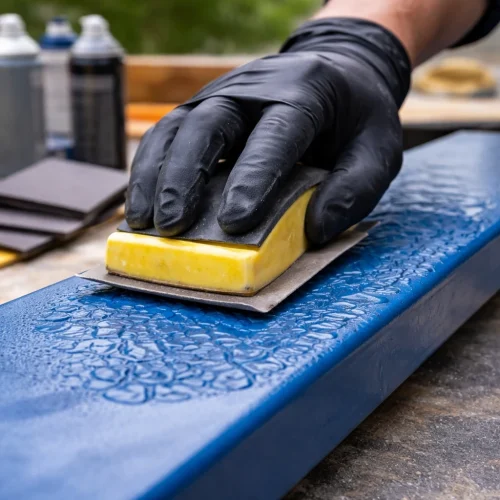
- Sand when needed – If your board has deep cuts, a light sanding followed by oiling will refresh it.
Here’s a quick checklist you can keep in your kitchen:
- Oil your cutting board monthly
- Wash with warm water + mild soap (never dishwasher)
- Stand upright to dry
- Use vinegar or lemon for stains/odors
- Sand + re-oil if surface is damaged
Can You Use the Same Method for Other Kitchen Tools?
Absolutely! The same oiling technique works wonders on:
- Wooden spoons
- Spatulas
- Butcher blocks
- Wooden rolling pins
- Bamboo kitchen utensils
Think of it as giving your kitchen tools a spa treatment. They’ll last longer, resist damage, and look stunning.
Common Mistakes to Avoid
Even if you know how to oil a cutting board, these common errors can shorten your board’s lifespan:
- Using the wrong oil (vegetable or olive oil)
- Forgetting to let the board dry completely before oiling
- Leaving excess oil on the surface (leads to stickiness)
- Storing the board flat while drying (can warp)
- Neglecting regular maintenance
How Often Should You Oil a Cutting Board?
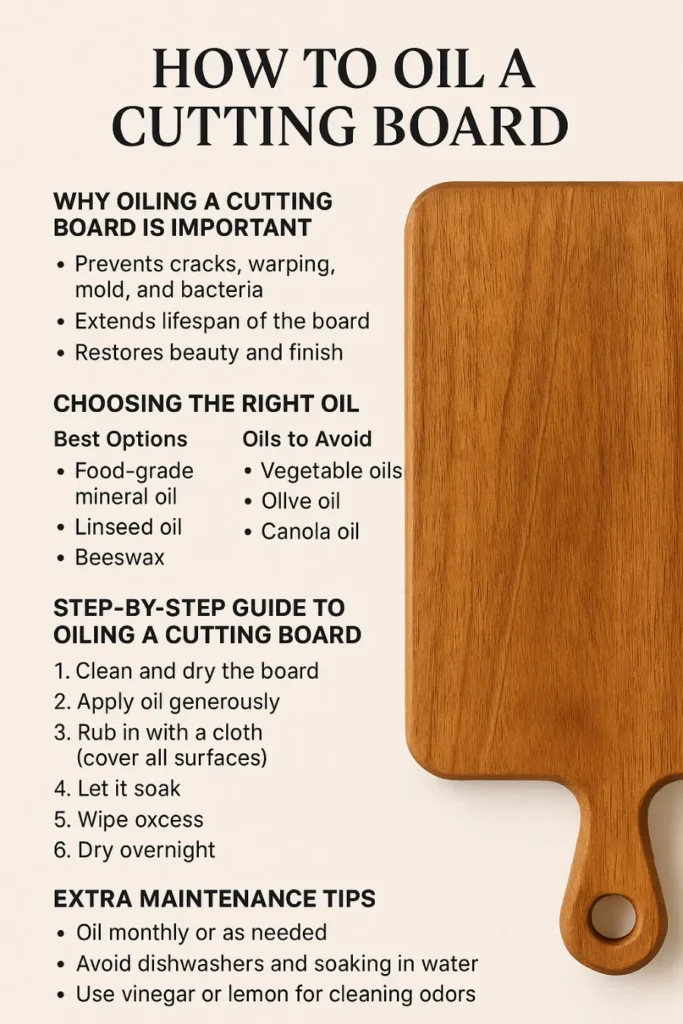
The frequency depends on how often you use it. A good rule of thumb:
- Every 3–4 weeks if you use it daily.
- Every 6–8 weeks if you use it occasionally.
- Immediately if it looks dry, dull, or rough to the touch.
The Payoff: A Cutting Board That Lasts for Years
Learning how to oil a cutting board isn’t just about keeping it pretty—it’s about protecting your investment. A well-oiled cutting board will resist cracks, repel bacteria, and stay in great condition for years.
It’s a simple routine: clean, oil, wipe, dry. Repeat monthly. In less than 10 minutes, you can transform a dull, lifeless board into a glossy, sanitary surface that makes meal prep a joy.
So grab that bottle of mineral oil, roll up your sleeves, and give your cutting board the love it deserves. Trust me—you’ll thank yourself every time you slice, chop, or dice on a board that looks brand new.


