Do you have a stash of broken jewelry sitting in a drawer, waiting to be fixed or repurposed? You’re not alone! Many of us have a “broken-jewelry box” filled with bits and pieces of old bracelets and necklaces that have lost their clasps or snapped over the years. While they might not be made of precious materials, these items often hold sentimental value or simply deserve a second life. Instead of letting them gather dust or taking them to a professional, why not learn to fix or remake them yourself?

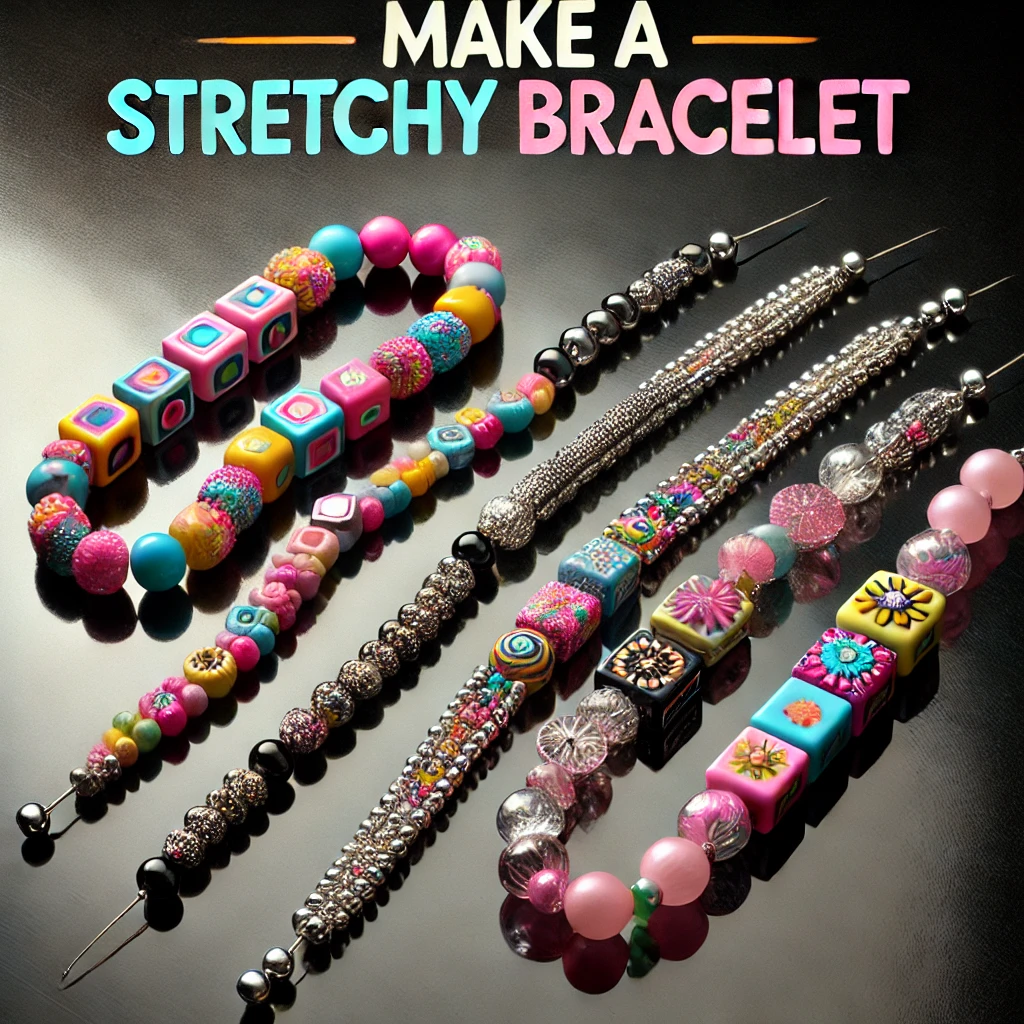
Making stretchy bracelets is a fun, easy, and rewarding DIY project that anyone can tackle. Even if you haven’t worked with beads since kindergarten, you can create durable, beautiful bracelets that won’t break easily—if you use the right techniques and materials. When one of my favorite bracelets recently broke, I decided it was time to dive in and learn how to restring it properly. Here’s everything I discovered along the way.
The Secret to Long-Lasting Stretchy Jewelry
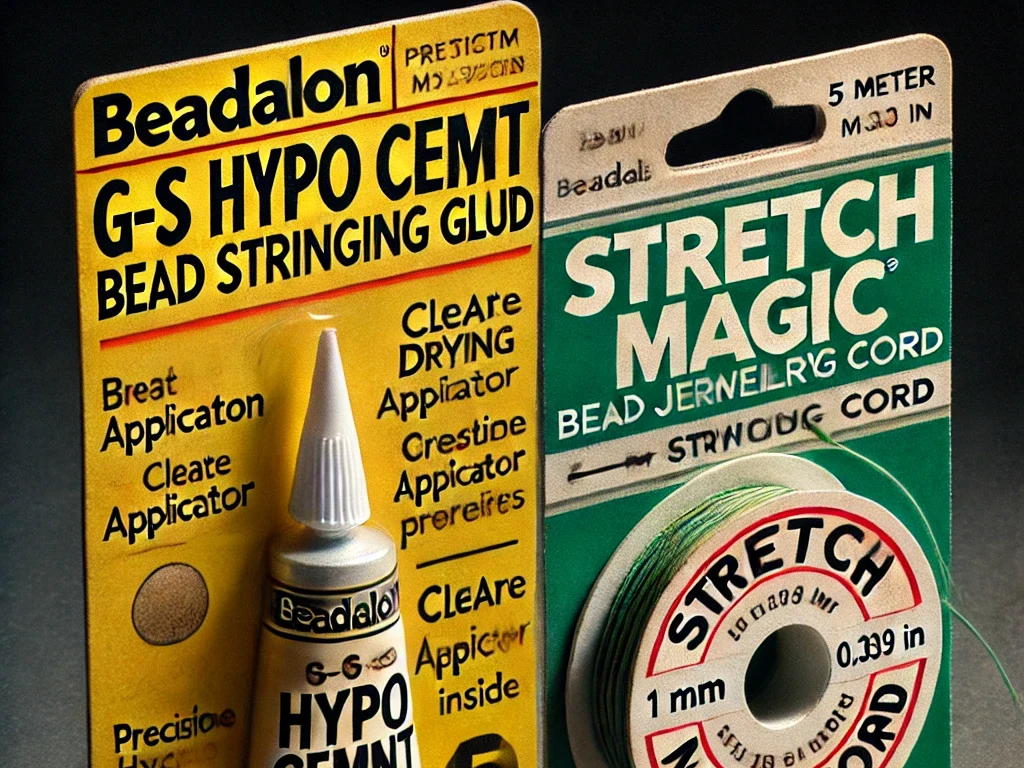
The key to making jewelry that lasts lies in the products you use. For stretchy bracelets, two materials stand out as must-haves:
- G-S Hypo Cement (a bead stringing glue)
- Stretch Magic Jewelry Cord
Both of these products are highly recommended by experienced jewelry makers. They are widely available at craft stores like Michaels or online retailers like Amazon, typically costing around $5 each. For most projects, a 1mm Stretch Magic cord is a versatile choice, but if your beads have very small holes, you might need a thinner cord.
Tools and Materials
To make your own stretchy bracelet, you’ll need:
- Beads of your choice
- Stretch Magic cord (1mm recommended for general use)
- G-S Hypo Cement or a similar jewelry glue
- Scissors
- A large sewing needle (optional, but helpful for finishing)
Step 1: Measure and Cut
Start by measuring a bracelet you already own to determine the right size for your wrist. Most bracelets measure around 6–7 inches, but adjust according to your preference. Once you know the length, cut a piece of stretchy cord that is a few inches longer than your desired bracelet size. For example, if you want a 6-inch bracelet, cut about 10 inches of cord to give yourself extra room for tying knots.
Step 2: Start Stringing
Tie a loose knot at one end of the cord to prevent your beads from sliding off while you work. Begin threading your beads onto the cord. It’s a good idea to start with a bead that has a larger hole, as you’ll use this bead later to hide the knot.
Continue adding beads until you reach your desired bracelet length. Slide the beads down the cord as you work to keep them organized and evenly spaced.
Step 3: Secure the Knot
Once your bracelet is strung, move the beads to the center of the cord, leaving enough room at both ends to tie a knot. Tie multiple knots, pulling tightly each time to ensure the beads are snug against each other. Be careful not to leave any slack, as this could cause the cord to show between the beads.
For added security, apply a small amount of G-S Hypo Cement to the knot. This glue dries clear and helps keep the knot from unraveling. Hold the knot away from the beads for a few moments to allow the glue to dry completely.
Step 4: Hide the Knot
To give your bracelet a polished look, use a large sewing needle to gently push the knot into the large bead next to it. This step not only hides the knot but also protects it from wear and tear. Once the knot is tucked away, trim any excess cord.
Step 5: Wear and Care

Your bracelet is now ready to wear! To help it last longer, remember this golden rule: Don’t stretch—roll. Instead of pulling the bracelet over your hand, gently roll it onto your wrist. This minimizes strain on the cord and keeps your bracelet in great shape over time.
Tips for Success
- Experiment with Designs: Mix and match different bead shapes, sizes, and colors to create unique patterns. Consider adding charms or spacers for extra flair.
- Make Matching Necklaces: You can use the same technique to create a longer, non-stretchy necklace. Simply string the beads onto the cord and tie a knot as you would for a bracelet.
- Choose Quality Beads: While inexpensive beads are fine for practice, investing in higher-quality materials will elevate the overall look and feel of your jewelry.
Making stretchy bracelets is a simple and enjoyable craft that anyone can master. With a bit of patience and the right materials, you can repair broken jewelry or create brand-new pieces that reflect your personal style. Whether you’re crafting for yourself or making gifts for friends, this DIY project is sure to bring a sense of accomplishment and joy.
And there you have it—a fun, creative, and practical way to turn broken jewelry into something beautiful again. Happy beading!

")


