Framing might seem like a small detail, but it can completely transform the way you experience your art at home. The right frame not only protects your favorite pieces but also turns them into striking focal points that elevate a room. If you’ve ever found yourself Googling how to frame art and feeling overwhelmed by choices, you’re not alone. Framing is both an art and a science, blending design, preservation, and practicality. The good news? You don’t need to be a museum curator to get it right. With the right tips, you can frame art like a pro and finally get those beautiful pieces off the floor and onto your walls.
Why Framing Matters
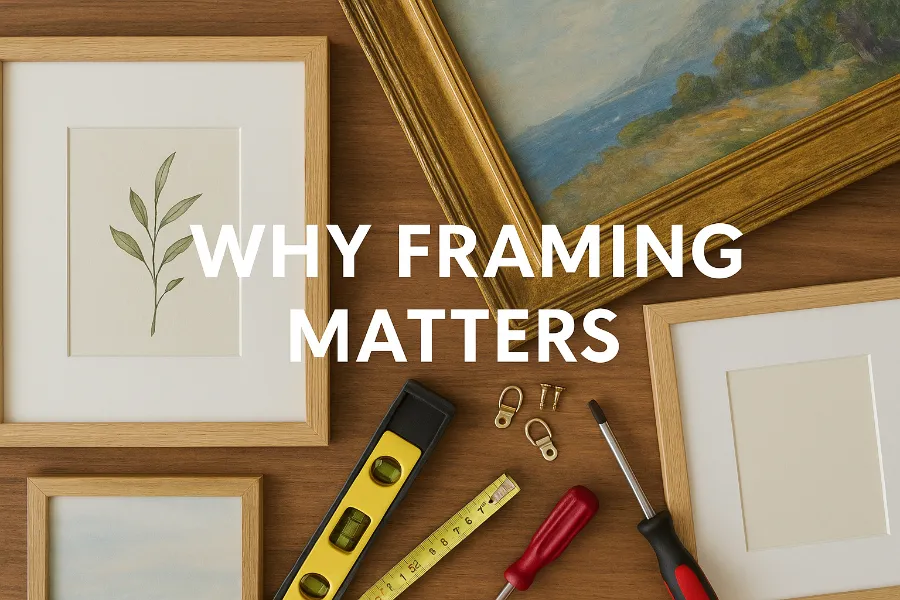
When you think about how to frame art, the first consideration is protection. A good frame shields your artwork from dust, sunlight, and accidental damage. But beyond protection, frames set the stage. They direct the eye toward the piece, add balance, and even bring out colors you may not have noticed before. A simple white drawing can suddenly feel elevated with a sleek black frame, while a vintage print gains character in a gold-leaf style.
Framing also anchors art within a room. Instead of your prints feeling like afterthoughts, they become intentional design elements that add sophistication and personality to your home.
Choosing the Right Frame
Frames come in a dizzying variety of materials, finishes, and colors. Wood, metal, acrylic—the options are endless. The key is to choose a frame that highlights the artwork itself, not one that competes with it.
- Wood frames: Classic and warm, perfect for traditional paintings or anything with organic tones.
- Metal frames: Sleek and contemporary, great for photography or modern art.
- Acrylic or box frames: Minimalist, letting the art itself shine.
A good rule of thumb: frame to flatter the art, not the room’s décor. For instance, just because you have walnut furniture doesn’t mean a walnut frame will do your painting justice. Instead, pull a tone from the artwork itself. A soft gray frame around a stormy seascape can make the colors pop far more than matching your coffee table.
If you’re uncertain, black or white frames are foolproof options—they work with almost any subject matter and interior style.
Understanding Matting
Matting can feel intimidating, but it’s one of the most powerful tools when figuring out how to frame art. A mat is that thin border—usually paper or fabric—that separates the artwork from the frame. Beyond aesthetics, mats prevent the glass from touching delicate works like drawings or watercolors.
To mat or not to mat?
Most paper-based works (prints, sketches, watercolors) benefit from matting. Photography, however, often looks better without it, creating an uninterrupted visual punch.
Choosing a mat color
Keep it neutral. Whites, creams, or soft grays put the spotlight on the art. Want drama? A black mat can add bold contrast. Accent mats—thin outlines in a second color—can pick up subtle tones from the artwork.
Floating artwork
Float mounting makes the art appear as if it’s hovering within the frame. This works beautifully for pieces with textured or torn edges, antique papers, or art where you want to see the full sheet, not hide parts under a mat.
How to Frame Different Types of Art

Not all art should be treated equally. The material often dictates the best approach.
- Works on paper (drawings, watercolors, prints): Always use acid-free mats and backing to prevent yellowing. Glass or acrylic is essential for protection.
- Oil paintings on canvas: Skip the glass! Oil needs to breathe. Use sturdy molding, and if needed, add a protective varnish.
- Acrylic paintings: These can sometimes benefit from protective glazing since heat can soften acrylic layers.
- Textiles and 3D pieces: Float mounting or shadow box frames highlight texture and preserve detail. A vintage quilt, for example, can become a wall statement when floated inside a deep frame.
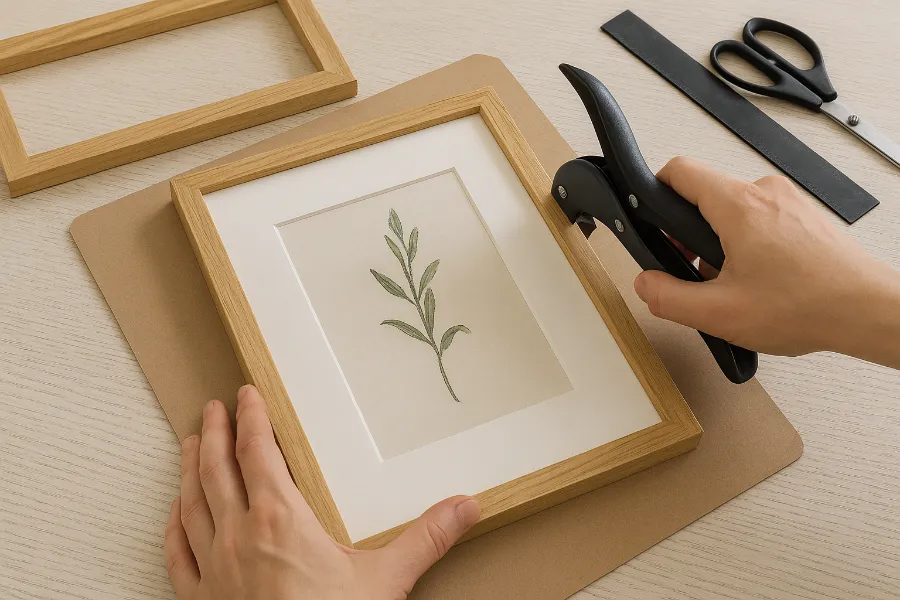
DIY vs. Professional Framing
Custom framing can be expensive, but don’t let that stop you. If you’re handy, you can DIY with thrift store finds, pre-made frames, and some art supply basics like acid-free mat board and artist’s tape. With patience, you can transform a $10 secondhand frame into something gallery-worthy.
That said, professional framers are worth it for valuable or delicate pieces. They’ll ensure UV protection, archival materials, and perfect craftsmanship that lasts decades. Many online services even let you upload measurements and preview frames virtually.
A smart approach? Mix both. DIY your thrifted posters and photos, but invest in professional framing for original works, heirlooms, or anything irreplaceable.
Hanging Your Art Like a Pro
Framing is only half the story. Learning how to frame art also means knowing how to hang it.
- Eye level rule: Hang so the center of the artwork is around 57–60 inches from the floor, roughly average eye height.
- Over furniture: Art should cover about two-thirds of the width of the sofa, console, or bed it’s above.
- Groupings: Gallery walls don’t need to be rigid grids. Play with irregular arrangements, but keep spacing consistent (2–4 inches between frames).
- Negative space: Don’t cover every wall. Blank space makes framed pieces pop.
Tools and Techniques
To avoid frustration, gather the right tools before you start:
- D-rings (more stable than wires)
- Picture hooks matched to the artwork’s weight
- A level at least 24 inches long
- Measuring tape and painter’s tape for planning layouts
Pro tip: always use two hooks for stability. One centered hook makes the art swing like a pendulum every time someone walks by.
Advanced Tips for Display
Once your pieces are framed and hung, there are a few tricks that can elevate your display even further.
- Lighting: Add a picture light or wall-mounted sconce above a framed piece to make it glow.
- Mix frames: Cohesion doesn’t mean identical. Different frame styles unified by a shared color (like all black, or all gold) keep things interesting.
- Lean instead of hang: Oversized art can look stunning leaning against a wall or layered on a console with smaller frames in front.
Conclusion
Framing isn’t just about keeping dust off your prints—it’s about celebrating the art you love. Whether you’re pulling together a gallery wall, spotlighting a single heirloom, or experimenting with thrift store finds, the way you frame sets the tone. Now that you know how to frame art—from matting choices to hanging tricks—you can approach your walls with confidence.
So grab those prints sitting in storage, find the frames that make them sing, and finally give them the home they deserve. Your walls (and your guests) will thank you.


")
")


")


