Eudora Welty once wrote,
A good snapshot keeps a moment from running away.
There are some photos that just should not be hidden in a photo album.
Moments I want to enjoy every day!
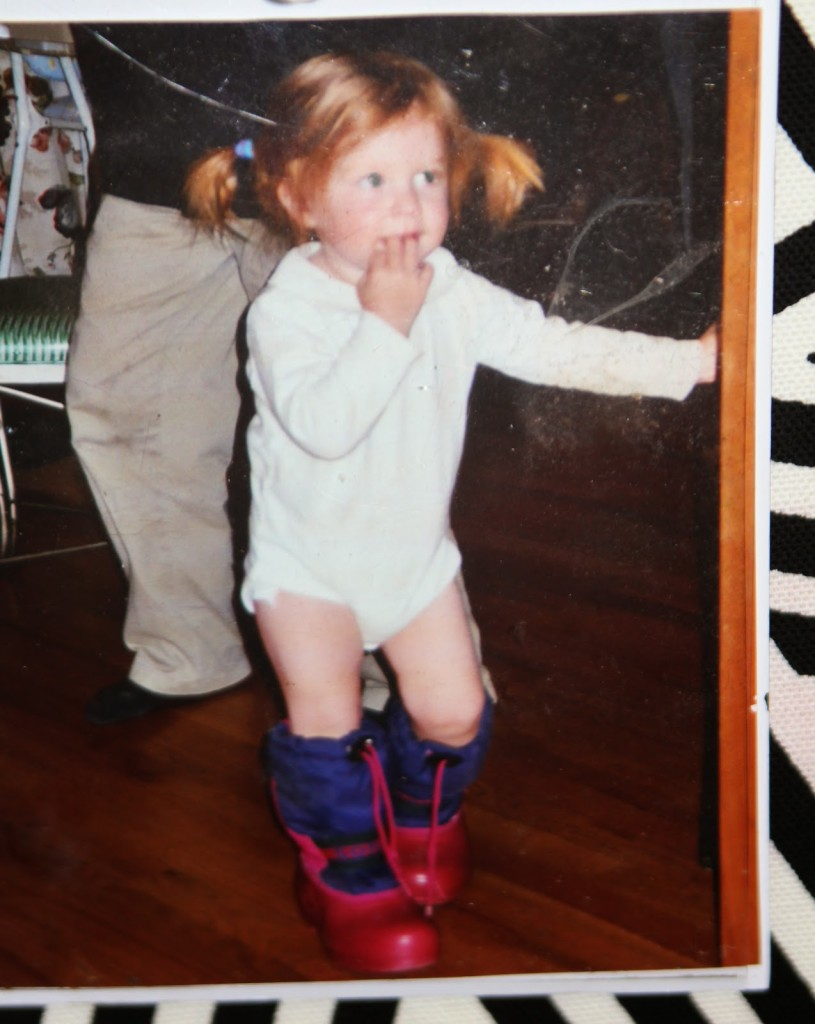
Life is so precious. Everyone goes through hard times, but it’s the HAPPY, JOYFUL, FUN memories that make our lives complete. I want to focus on the good times and have our home serve as a reminder to my family of our many blessings.

I’ve always been a picture person – the one with the camera as far back as I can remember.
That’s not to say I’m a GOOD photographer – but I do love capturing moments.
I’m crazy for old photos of my family
and fun pictures of my kiddos, nieces, nephews and friends through the years.
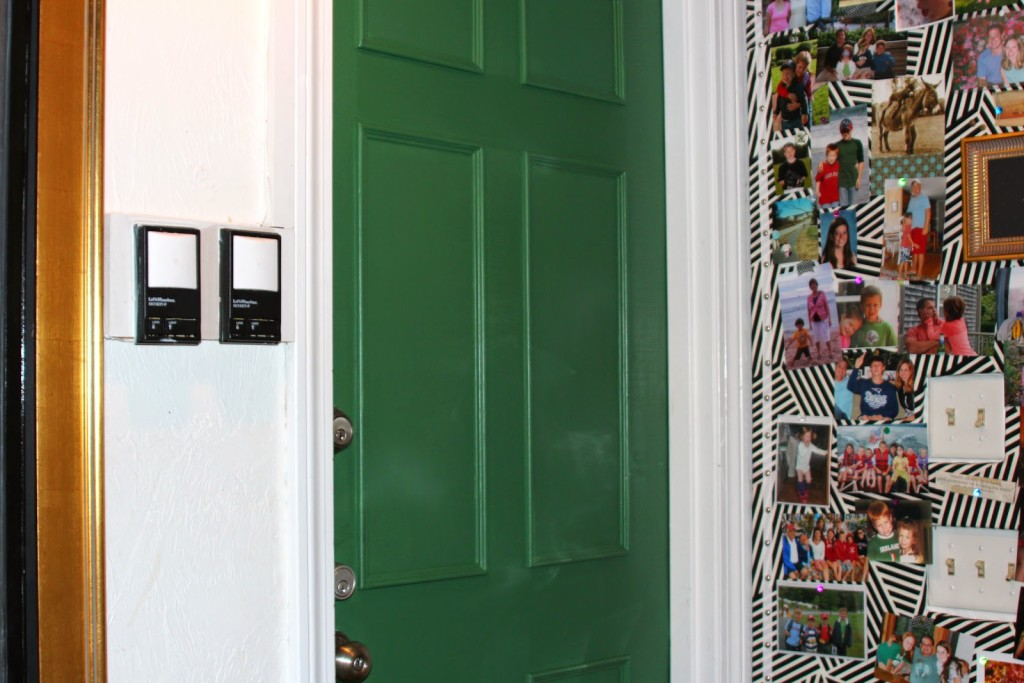
We have a second fridge in the entry from our garage, and I used to cover it with photos in magnetic sleeves. But there are just too many funny and cute photos around here and I started thinking about devoting a whole wall somewhere to snapshots that we could pin up randomly.

When I freshened up the mudroom I decided to mount an entire wall with a fabric-covered bulletin board.
It’s a colorful and happy display and I love it!
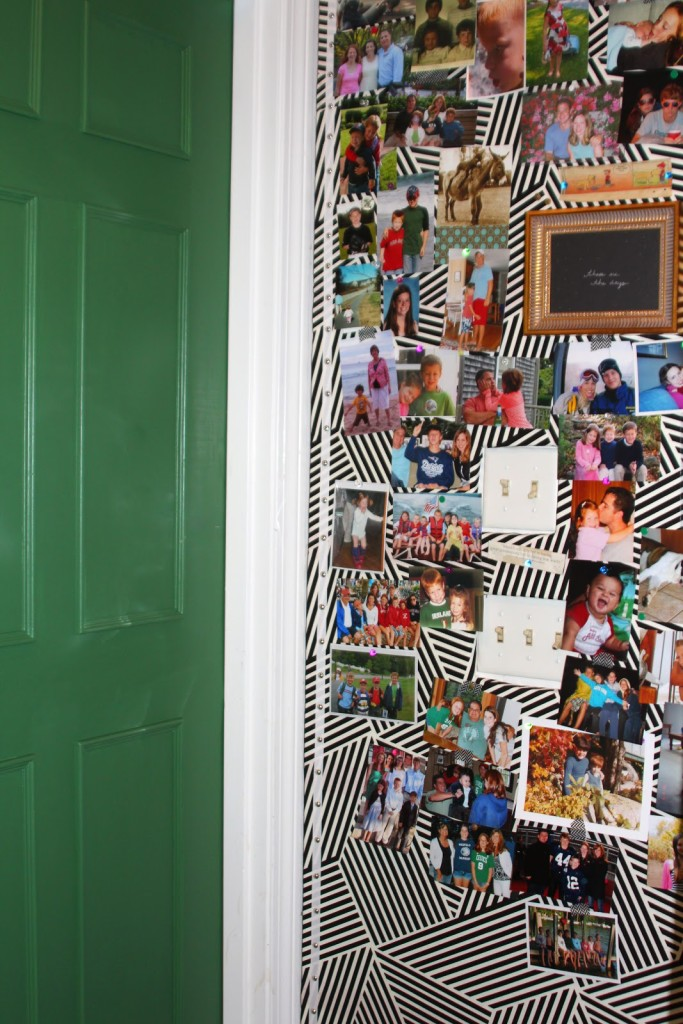
used a package of beaded styrofoam boards that I had on hand (for a cornice project that is still on my to-do list) but after using this product I would
HIGHLY RECOMMEND using a sheet of polystyrene insulation
(like what I used to mount my nautical map) instead.
The beaded styrofoam breaks down easily when you cut it and creates a huge mess.
Also, the insulation is sturdier and will hold up to use better over time.
(Also, I must note: any kind of insulation is terrible for the environment – it doesn’t break down in landfills for hundreds of years – so I encourage you to use these materials conservatively. Use what you have and recycle rather than throw it in the trash.)
The pros to using styrofoam or polystyrene insulation is that they are inexpensive and very easy to cut to size with a utility knife.
Masonite is another building material that makes great bulletin boards (we have them in our kids’ rooms) but it is heavier and much harder to cut. Since I wanted to make cut-outs for the light switch plates, I opted for the lightweight insulation.
OKAY let’s get to it!
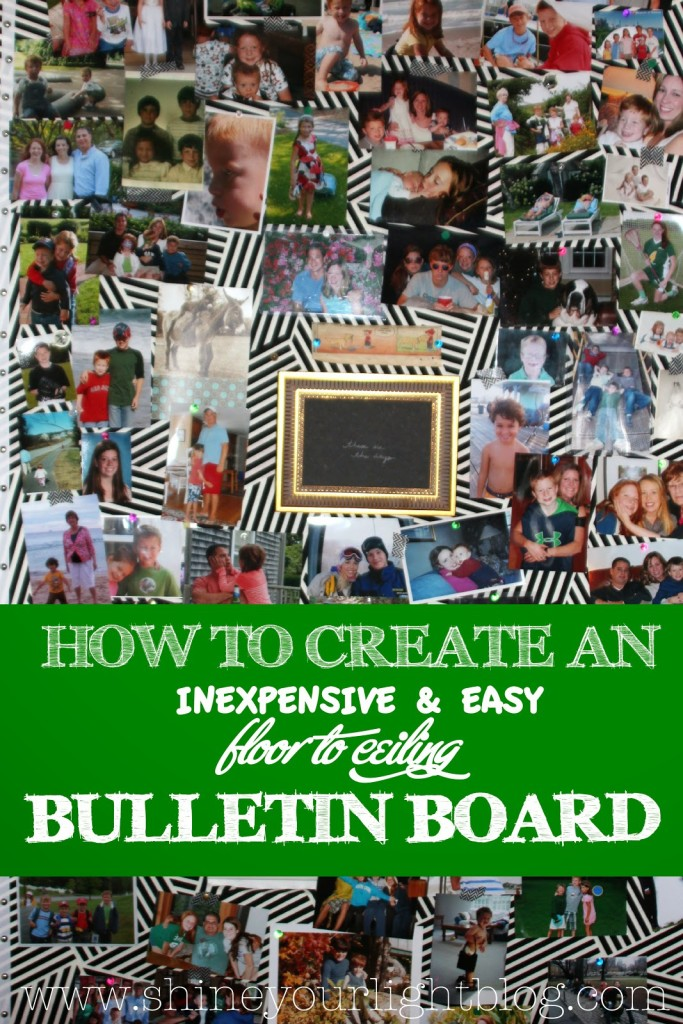
To make a floor-to-ceiling bulletin board using insulation sheets:
1// Measure your wall.
2//Cut insulation. Measure and mark, and then use a T-square to just perforate the insulation.
Don’t try to cut all the way through initially. The utility blade will pull the insulation and create a bunched up, messy cut.
3// After perforating, go back over and cut the insulation all the way through.
4// If you are cutting out holes for an outlet or light switch plate, measure and mark on the insulation, then use the method above to perforate and cut out the hole.
5// If you have to join pieces of insulation together, tape up the seams with duct tape.

6// Cover with fabric.
I chose a funky Nate Berkus fabric (from Joann’s) because I was feeling the need for something kind of modern around my house, liked the idea of black & white with the bright green door and floor, and the fact that it was 40% off the day I was there didn’t hurt either.
Best of all, because of that crazy pattern, the fabric is very forgiving – I patched together a few pieces to create the length I wanted and the seams are not even detectable with photos hung on the board.

apply spray adhesive to insulation (outside!!)
-lay insulation on top of fabric
-pull fabric edges tightly to the back of insulation
-secure fabric to back with either hot glue, duct tape or U pins (also known as fork pins) like these:

7// To wrap fabric around cut outs (ie. outlet or light switch plate):
– with the fabric still facing the floor and the insulation adhered to it, cut a small hole in the center of fabric covering the cut out, then cut an X, making your cuts towards the corners.
-each side of the insulation cut out will now have a triangular flap of fabric in front of it; take this flap and pull it to the back of the insulation, securing with glue, tape or pins.
8// Trim out the board:
-flip the board over so fabric is facing up.
-secure grosgrain ribbon to the edges of the cut out to cover up any raw edges of fabric (and the insulation will be visible in the corners.)
-trim out the edges of your bulletin board with ribbon and nail heads or thumbtacks (optional).
(as you can see I ran out of railheads and need to pick up some more. Thumbtacks would be much more economical!!)
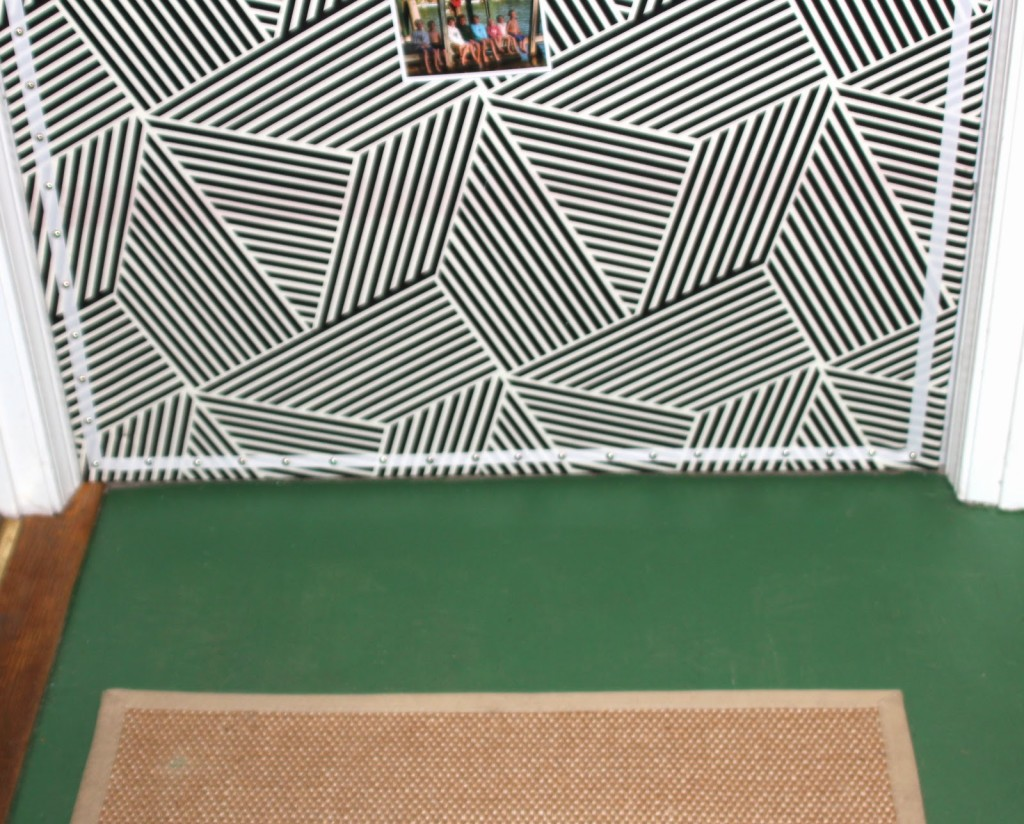
9// Mount to wall. I used small finish nails right through the fabric and styrofoam to attach the bulletin board to the wall. Place a nail in each corner and then a few across the top and on the sides.
The board is very lightweight and doesn’t take much to keep it in place.
And……enjoy your cheerful display of happy times!!


Next week I’ll show you a couple other ways I spruced up this little area and made it a prettier place to welcome guests and come home to.
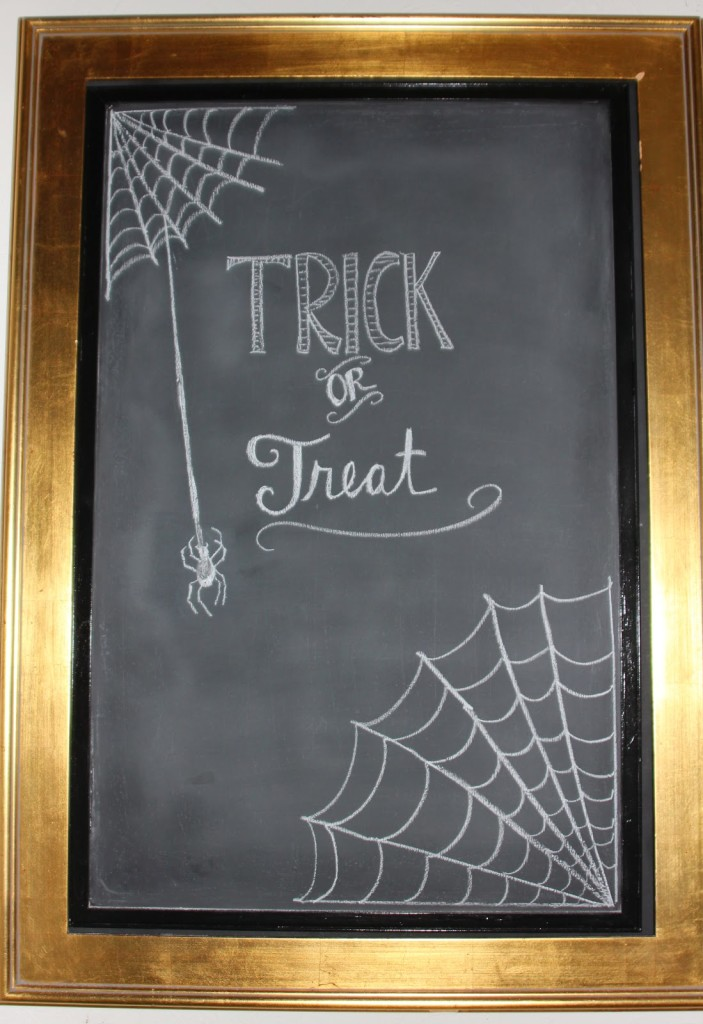
In the meantime can you believe tomorrow is Halloween???
It’s also Best of the Nest Friday!

Come link up your own favorite project from the month of October, I can’t wait to see what you’ve been up to!
Have a great day friends.
And cheers to making happy memories!

