If you’ve ever installed trim or molding, you know the biggest challenge isn’t running a straight length of wood—it’s figuring out how to cut trim outside corners. Those tricky 90-degree angles can make or break the look of your project. A corner that doesn’t meet cleanly is the first thing anyone will notice. But the good news? With the right tools, techniques, and a bit of patience, cutting trim for outside corners doesn’t have to be intimidating. In this guide, I’ll walk you through everything—from prepping your trim to making perfect cuts, checking fits, and finishing with professional results.
Tools and Materials You’ll Need
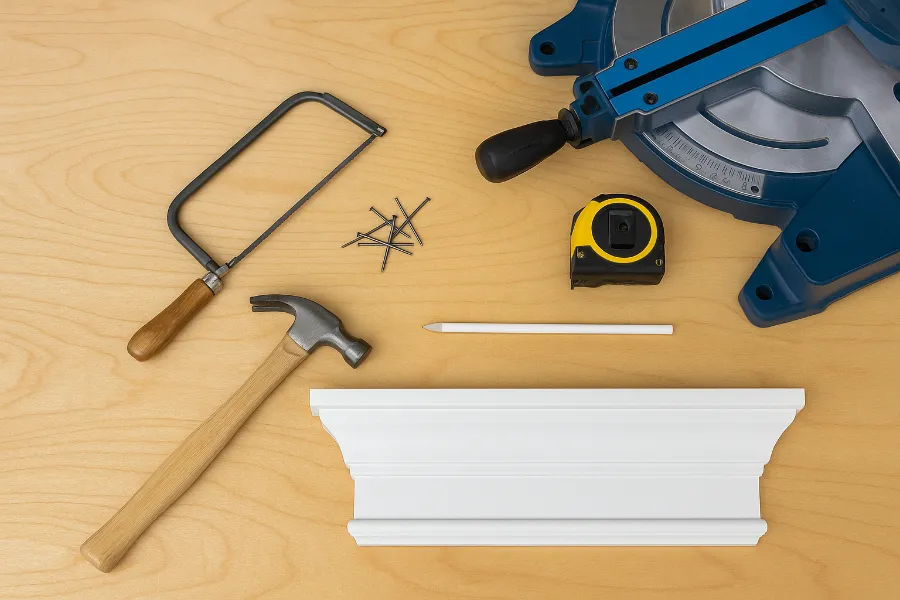
Before you even think about making your first cut, gather everything you need. Having the right tools makes the process much smoother.
- Miter saw (powered or manual)
- Coping saw (optional but handy for tight fits)
- Tape measure
- Pencil and combination square
- Protractor or sliding bevel (for checking angles)
- Sandpaper or sanding block
- Wood glue (optional)
- Hammer and finishing nails or a nail gun
- Caulk and paint for finishing
I recommend setting everything out on a clean workspace so you’re not scrambling mid-project. Trust me, nothing’s worse than discovering you need a protractor halfway through.
Preparing the Trim
Preparation is half the battle when learning how to cut trim outside corners. Start by measuring your walls carefully. Walls are rarely perfectly square, and those tiny variations matter when you’re dealing with corners.
- Use a tape measure to note down exact lengths. Always measure twice.
- Mark the direction of each cut on the back of your trim with a pencil—this avoids confusion later.
- Rough cut your trim pieces slightly longer than needed so you can fine-tune as you go.
Pro tip: Label your trim pieces according to wall position (e.g., “left wall” or “corner A”) so you don’t mix them up.
Setting Saw Angles
Most outside corners require 45-degree cuts, but don’t assume your wall is a perfect 90 degrees. That’s where your protractor or sliding bevel comes in.
- Check the angle of the corner. If it’s exactly 90 degrees, set your miter saw to 45.
- If it’s slightly off (say, 92 or 88 degrees), adjust your saw to half that angle—46 or 44 degrees.
This little adjustment makes a huge difference in how cleanly your trim pieces meet.
Cutting the Trim
Here’s the heart of the process: cutting trim for those outside corners.
- Place your trim flat on the saw with the back against the fence.
- For the right side of the corner, angle your saw blade 45 degrees left.
- For the left side, angle the blade 45 degrees right.
- Cut slowly and let the saw do the work—rushing often leads to splinters or uneven cuts.
If your trim pieces don’t meet perfectly, try overcutting slightly (45.5 degrees). This forces the joint to close tightly at the front, hiding small gaps at the back where nobody will see them.
Coping as an Alternative
Some woodworkers prefer coping instead of mitering for outside corners. While coping is more common on inside corners, you can also use it outside if your walls are really uneven. It involves cutting one piece square, then shaping the other piece with a coping saw to fit snugly over it. It takes longer but gives a seamless finish on wonky walls.
Checking and Adjusting the Fit
Never nail anything in until you’ve done a test fit. Hold the two trim pieces up to the corner and check the joint:
- Does the seam close tightly at the front?
- Are there any visible gaps?
- Does one piece stick out further than the other?
If you spot problems, adjust before committing. You can file or sand the cut edges slightly, shim behind the trim, or even re-cut if necessary. A few minutes of adjustment here saves hours of frustration later.
Installing the Trim
Once your pieces fit neatly, it’s time to attach them.
- Start by applying a small bead of wood glue to the joint if you want extra strength.
- Nail the trim into studs or use a nail gun for a cleaner finish.
- If your walls are older or irregular, consider using corner blocks—these square blocks eliminate the need for perfect angled cuts and add a decorative touch.
Corner blocks are especially useful if you’re new to cutting trim outside corners. They hide mistakes beautifully.
Finishing Touches
You’ve cut, adjusted, and nailed—now it’s time to make it look flawless.
- Sand the edges of your trim so the joint feels smooth to the touch.
- Apply caulk along the seam to fill any tiny gaps. Caulk is magic for making corners look seamless.
- Paint or stain your trim to match your room.
This final step transforms your project from “DIY attempt” to “professional finish.”
Pro Tips and Troubleshooting
Even with the best preparation, problems happen. Here are a few common issues and fixes:
- Gap in the front of the corner: Your angles are slightly off. Try cutting at 45.5 degrees instead of 45.
- Trim won’t sit flush against the wall: Your wall may be bowed. Shim behind the trim or sand the back slightly.
- Visible seam after painting: Use a high-quality caulk and smooth it with a damp finger before painting.
And here’s my favorite tip: always favor closing the gap at the front of the corner. Nobody sees the back of the trim, but everyone notices the front.

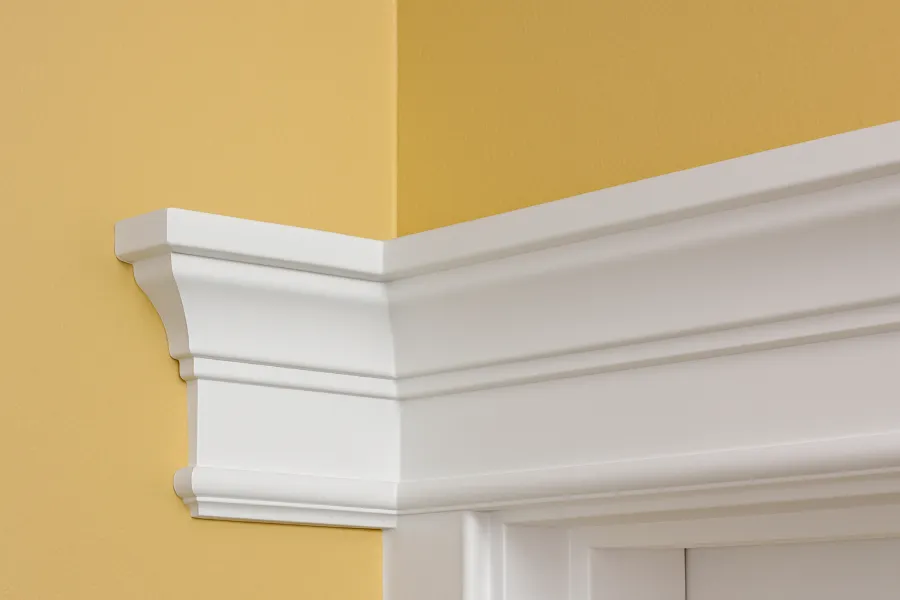
Why Cutting Trim Outside Corners Matters
Outside corners are the showcase points of any trim project. Clean, tight corners elevate the look of a room, while sloppy cuts draw the eye for all the wrong reasons. When you master how to cut trim outside corners, you unlock the ability to transform any room with molding, baseboards, or crown trim that looks like it was installed by a pro.
Wrapping It Up
Learning how to cut trim outside corners can feel intimidating at first, but once you break it down into steps—measure, set angles, cut, fit, install, finish—it becomes manageable. With the right tools, a steady hand, and a few tricks up your sleeve, you’ll be amazed at how polished your project turns out.
So grab your miter saw, measure carefully, and take your time. Your corners will thank you!


