
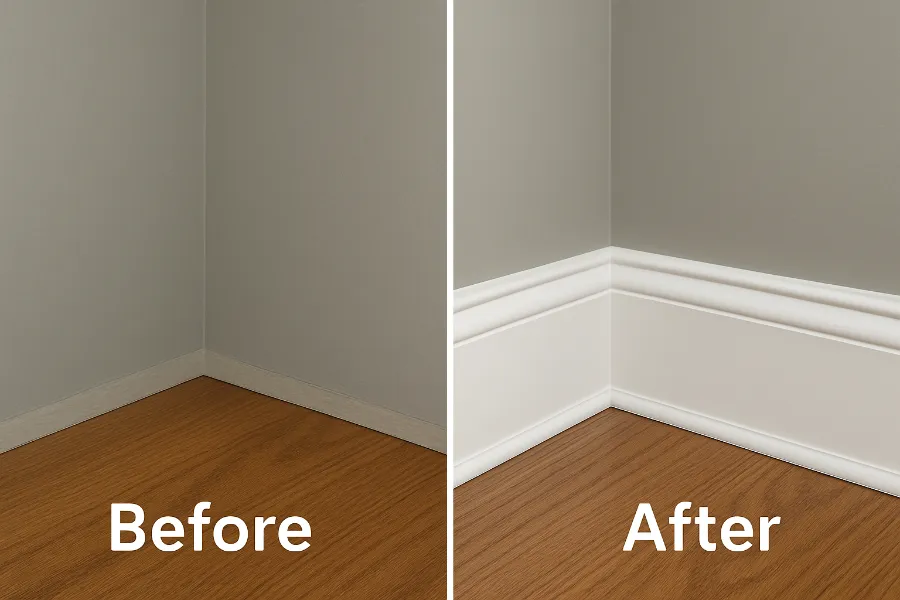
Baseboards can make or break a room. They’re the finishing touch that gives walls polish and character. But here’s the catch: if you don’t know how to cut baseboard corners correctly, those neat edges can turn into ugly gaps. Learning how to cut baseboard corners is the secret to getting that clean, professional look without hiring a carpenter. And yes, you can absolutely master it yourself.
Some corners are straightforward. Others—like rounded bullnose edges or walls that aren’t perfectly square—take patience. But with the right tools, a little technique, and some pro tips, you’ll be nailing crisp joints in no time.
Understanding Baseboard Corners
Before you grab a saw, it helps to know what you’re working with. Corners come in a few main types:
Inside Corners
These are the inward-facing angles where two walls meet. They’re everywhere in your home. Cutting them right means getting baseboards to tuck neatly together.
Outside Corners
The outward-facing edges—like on hallways or around pillars. These need sharp precision, or they’ll look uneven.
Bullnose (Rounded) Corners
Modern homes often have rounded drywall corners. These can’t be cut with one simple miter. They need a clever approach with smaller angled cuts to wrap smoothly.
Knowing which type you’re tackling determines how you’ll measure and cut.
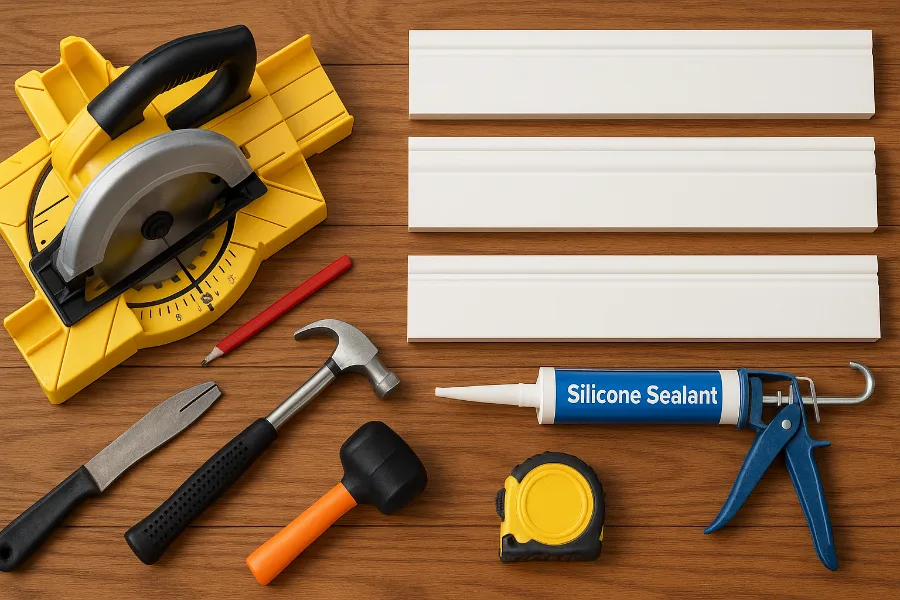
Tools You’ll Need
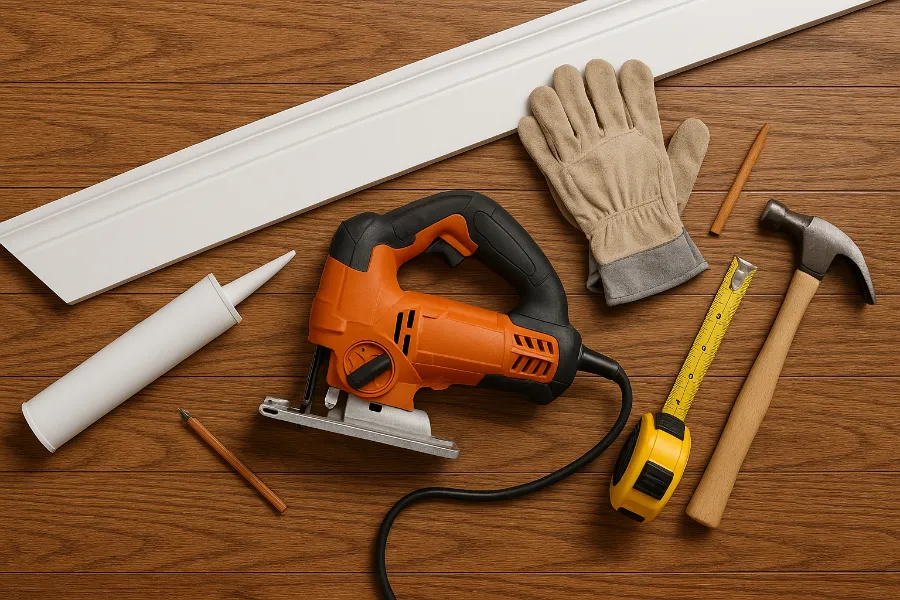
You don’t need a full workshop, but having the right gear makes all the difference:
- Miter saw – best for precise angled cuts.
- Coping saw – essential for inside corners if you choose coping.
- Measuring tape & pencil – accuracy starts here.
- Speed square – to mark consistent angles.
- Hand saw or jigsaw – decent backups if you don’t own a miter saw.
Optional but helpful: clamps, wood glue, sandpaper, and caulk.
Measuring and Marking Accurately
The golden rule: measure twice, cut once.
- Press your tape tight into the corner.
- Mark your cut line on the back of the board (not just the face).
- If walls aren’t perfectly square (and most aren’t), take angle measurements with an angle finder.
This step seems small, but it saves hours of re-cutting later.
Cutting Inside Corners
There are two main ways to handle inside corners:
Miter Method
Set your miter saw to 45°. Cut each board at opposing angles. When you join them, the miters form a 90° inside joint. Works well if your walls are truly square.
Coping Method
Carpenters love this one. Cut one board straight, butt it into the wall. On the other, make a 45° cut, then use a coping saw to carve along the profile. The coped piece nests tightly against the first board—even if the wall is a little crooked.
Coping takes practice, but it produces seamless corners.
Cutting Outside Corners
Outside corners are all about precision.
- Use a 45° miter cut for each piece.
- Dry fit before attaching—gaps show more on outward corners.
- If the wall isn’t square, shave a degree or two off until it lines up perfectly.
Tip: secure one piece first, then adjust the second until the joint looks flawless.
Cutting Bullnose Corners
Rounded corners take more creativity. The trick is using two smaller cuts instead of one.
- Cut each board at 22.5°.
- Add a small “filler” strip between them to create a gentle curve.
- Sand and fill for a smooth finish.
The result is a continuous flow around the curve instead of a clunky joint.
Handling Uneven Walls
If your corners don’t meet perfectly, don’t panic. Few houses have perfect angles.
- For gaps under 1/8”, fill with caulk or wood filler.
- For larger gaps, recut at a slightly different angle.
- Coping corners hides imperfections better than straight miters.
The secret? Don’t settle until the joint looks clean.
Cutting Baseboards Without a Miter Saw
Don’t have a miter saw? You can still cut baseboard corners.
- Miter box and hand saw – slower, but works.
- Jigsaw – with a fine blade, it can handle angled cuts.
- Circular saw – trickier, but possible with a steady hand.
Take your time, and always clamp the board before cutting.
Finishing Touches
Once the boards are cut and installed, it’s time to hide the seams and elevate the look.
- Sand rough edges.
- Fill nail holes and small gaps with wood filler.
- Caulk along the top edge against the wall.
- Paint or stain for a flawless finish.
These small steps transform good corners into perfect ones.
FAQs
What angle do I cut baseboard corners?
Most inside and outside corners use 45°. For bullnose, 22.5° cuts work best.
Is coping better than mitering?
Coping is more forgiving on uneven walls. Mitering is faster but less flexible.
Can I cut baseboards with a hand saw?
Yes, with a miter box. It’s slower but accurate enough for DIY projects.
Conclusion
Cutting baseboard corners doesn’t have to be intimidating. Once you understand the different corner types and master a couple of cutting methods, you’ll get professional-looking results every time. Whether you’re working with sharp inside corners, tricky bullnose edges, or uneven walls, knowing how to cut baseboard corners is the difference between a room that feels “DIY” and one that looks expertly finished.
Take it step by step, measure carefully, and don’t rush. Your walls will thank you!


