If you’ve been running your blog on Blogger, you’ve probably poured countless hours into writing posts, uploading images, designing your layout, and engaging with readers. But here’s a truth many bloggers overlook: all of that hard work can vanish in seconds if you don’t know how to backup Blogger. A glitch, a hack, or even a simple mistake in your template could erase years of content. The good news? Backing up your Blogger blog is easier than you think, and in this guide I’ll walk you through every step to keep your blog safe.
Why Backing Up Your Blogger Blog Matters
Blogger is owned by Google, which means it’s generally reliable. But that doesn’t mean it’s bulletproof. Blogs have disappeared overnight because of accidental deletions, policy violations, or technical issues. Some bloggers have been lucky enough to get their blogs restored, but many haven’t.
Imagine waking up to see all your posts, comments, and photos gone. That’s why knowing how to backup Blogger isn’t just a good habit—it’s essential. Regular backups give you control and peace of mind. Instead of worrying about “what if,” you can focus on creating.
Step 1: Back Up Your Blog Content (Posts, Photos, and Comments)
Your content is the heart of your blog. Backing it up ensures your posts, comments, and images are saved in case something goes wrong. Before publishing your posts, it’s a good practice to save drafts and ideas. Tools like https://writepaper.com/ can help you organize and back up your content, ensuring you have a copy even before it’s live on your blog.
Here’s how to do it:
- Log in to your Blogger dashboard.
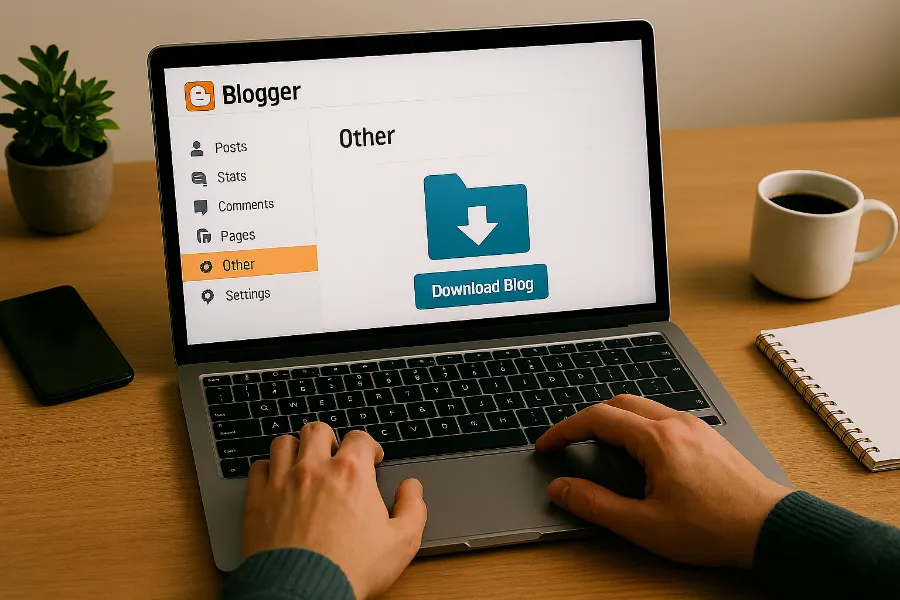
- Click Settings from the left-hand menu.
- Scroll to Other.
- Under Blog Tools, click Export Blog.
- A pop-up will appear—select Download Blog.
This will save an .xml file to your computer, usually in the Downloads folder. That single file contains all your blog content in HTML format.
How often should you do this?
Once a week is a good habit. That way, if your blog crashes, you’ll only lose a few recent posts rather than months of work.
Safari users note: If the download doesn’t work and instead shows a wall of text (your RSS feed), switch to Chrome or Firefox. Then repeat the process.
Step 2: Back Up Your Blogger Template (Design and Layout)
Your blog’s design is just as important as your words. It’s what makes your blog unique and reader-friendly. Before making changes to your template—or anytime you’re experimenting with HTML and CSS—you should always back it up.
To do this:
- In the Blogger dashboard, go to Theme (formerly Template).
- In the top-right corner, click Backup/Restore.
- Select Download Full Template.
This saves your current design, layout, and coding as an .xml file on your computer. If you ever break your template or dislike changes you’ve made, you can restore this file with one click.
Pro tip: Keep multiple versions of your template. Rename each file with the date and a short description, like Template-May2025-before-redesign.xml.
Step 3: Back Up Your Blog Images
Here’s the part most bloggers don’t realize: images are not fully included in your content backup. Blogger stores them separately, usually in Google Photos (formerly Picasa). If you want to be thorough, you should back up images too.
The easiest way is through Google Takeout:
- Go to Google Takeout.
- Sign in with your Google account linked to Blogger.
- Select Blogger and Google Photos (or just the albums you want).
- Choose your preferred delivery method (download as a ZIP file or send to cloud storage like Google Drive or Dropbox).
- Wait for the email notification. Depending on your blog size, it can take hours or days.
Once complete, you’ll have a full archive of your images and blog content safely stored offline.
Step 4: Back Up Your HTML Gadgets and Widgets
Widgets like your sidebar, footer, and custom HTML gadgets don’t always come through with a template backup. That means you could lose social media buttons, subscription forms, or custom ad code.
To back them up:
- Go to Layout in your Blogger dashboard.
- Click Edit on each HTML gadget you want to save.
- Copy the code into a plain text file (Notepad, TextEdit, or Google Docs).
- Save the file with a descriptive name, such as Sidebar-widgets-May2025.txt.
It takes a few minutes, but it saves hours of frustration if you ever need to rebuild your layout.
Extra Safety Tips
Now that you know the main steps, let’s add a few extra layers of protection:
- Use cloud storage: Keep backups in Google Drive, Dropbox, or OneDrive so they’re safe if your computer crashes.
- Save to an external device: Store a copy on a USB drive or external hard drive.
- Create a mirror blog: Make a private “clone” of your blog on Blogger. You can import your backups there, giving you a live test site and an emergency backup.
- Use an offline blog editor: Tools like Windows Live Writer or MarsEdit automatically save local copies of your posts.
How to Restore a Blogger Backup
Backups are useless if you don’t know how to restore them. Thankfully, Blogger makes it simple:
- To restore your template: Go to Theme > Backup/Restore > Choose File > Upload.
- To restore your content: Go to Settings > Other > Import Blog > Import from Computer.
Keep in mind that restoring content will overwrite your current posts, so use this option only if your blog has been deleted or hacked.
Final Thoughts
Learning how to backup Blogger isn’t just about being cautious—it’s about protecting your voice, your creativity, and years of hard work. Whether it’s your posts, your design, your images, or your widgets, a little preparation now can save a lot of heartbreak later.
Make it a routine. Set a reminder to back up your blog once a week. Store the files in multiple places. And rest easy knowing that no matter what happens, your blog is safe.
Don’t wait until disaster strikes—start backing up your Blogger blog today.


")


