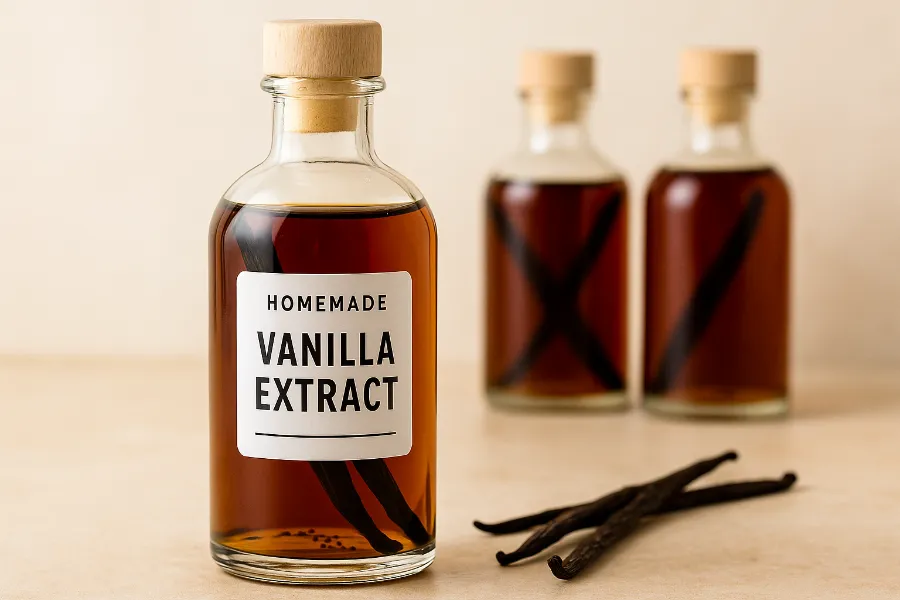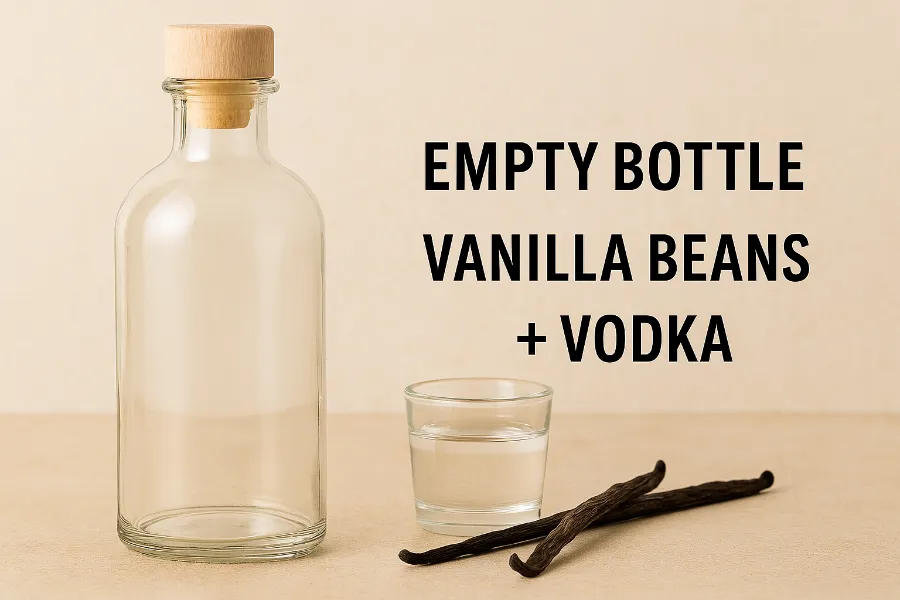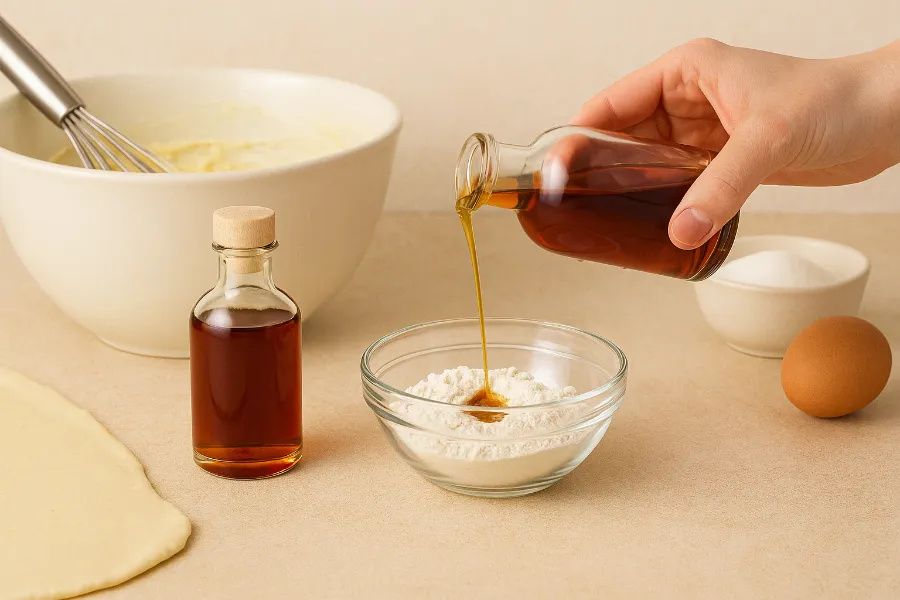
Vanilla extract may look like a small bottle on your baking shelf, but don’t underestimate it. This one ingredient can make or break a dessert. Just a teaspoon of real vanilla can turn a plain cookie into a bakery-worthy treat, while imitation vanilla often falls flat. The good news? You don’t have to settle for overpriced or watered-down bottles at the store. You can make homemade vanilla extract right in your own kitchen—with only two ingredients.
And here’s the kicker: not only does homemade vanilla extract taste better, but it also saves you money in the long run. Once you start making it yourself, you’ll never want to go back.
Why Make Homemade Vanilla Extract?
If you’ve ever winced at the price of pure vanilla in the grocery store, you’re not alone. Vanilla is the second most expensive spice in the world (saffron takes first place), and store-bought bottles reflect that. Even worse, many commercial extracts are diluted, artificially flavored, or inconsistent in quality. Some are labeled “pure” but still taste weak because the manufacturers cut corners on the ratio of beans to alcohol.
Homemade vanilla extract solves all of these issues:
- Cost savings: A handful of vanilla beans and a cheap bottle of vodka make cups of extract. Store-bought bottles of the same quality would cost double or triple.
- Control over flavor: You decide which type of bean and alcohol to use, and you can choose how strong you want it.
- Quality assurance: No artificial additives, no sugar, no fillers—just pure vanilla.
- Sustainability: Reuse the beans, refill the alcohol, and stretch your investment for years.
- Gift-worthy: Bottled in glass jars with a pretty label, homemade vanilla makes a thoughtful and useful present.
Once you compare the aroma of a fresh homemade bottle with one from the store, you’ll smell the difference instantly. And that difference shows up in your baking.
What You Need for Homemade Vanilla Extract
The beauty of homemade vanilla extract lies in its simplicity. Here’s what you’ll need:
Vanilla Beans
Vanilla beans are the star of the show. You’ll find a few main varieties, each with its own character:
- Madagascar vanilla: Classic, creamy, and rich. Perfect all-purpose choice.
- Mexican vanilla: Darker, spicier, almost smoky. Great for chocolate desserts.
- Tahitian vanilla: Floral, lighter, and slightly fruity. Wonderful for custards and whipped cream.
As for grading:
- Grade B beans are marketed specifically for extracts. They’re drier and more affordable, which makes them great for soaking.
- Grade A beans are plumper and more expensive but still work beautifully.
Alcohol
The role of alcohol is to extract flavor from the beans and preserve the liquid. Common choices include:
- Vodka (80 proof): Neutral flavor, lets the vanilla shine.
- Bourbon: Adds warm, deep notes that complement baked goods.
- Rum: Slightly sweet, pairs well with tropical desserts.
- Brandy: Rich and complex, excellent for winter bakes.
Avoid flavored vodkas or expensive bottles—cheap, unflavored spirits are perfect.
Bottles or Jars
Choose dark glass bottles (8-ounce size works well) with tight seals to keep light out. Mason jars also work, especially for larger batches. If gifting, small swing-top bottles look beautiful. Sterilizing bottles is optional but recommended for long-term storage.
Funnel (optional)
Makes pouring the alcohol easier and less messy.
Step-by-Step: How to Make Homemade Vanilla Extract

This is the fun part—it’s easier than most people think.
- Prepare the beans: With a sharp knife, slit each vanilla bean lengthwise to expose the seeds. You don’t need to scrape them out. If your jar is shorter than the beans, cut them into smaller pieces.
- Fill the jar: Place the beans in your jar or bottle.
- Add the alcohol: Pour vodka (or your chosen alcohol) over the beans until they are fully submerged. Use about 6–8 beans per 8 ounces of alcohol for a single-fold extract, or 8–10 beans for a double-fold extract if you want it stronger.
- Seal and shake: Close the lid tightly and give it a good shake.
- Store and wait: Place the jar in a cool, dark spot. Shake it once a week (or whenever you remember).
That’s it. Really. The hard part is waiting.
Patience Pays: How Long Should It Steep?
Homemade vanilla extract takes time. The alcohol needs to pull flavor from the beans, and that doesn’t happen overnight.
- 6 months: Usable, but still light in flavor.
- 12 months: Rich, dark, and incredibly fragrant—the gold standard.
The longer it sits, the better it tastes. Think of it like a fine wine: aging enhances depth.
And here’s a bonus: as you use the extract, you can top it off with more alcohol. As long as the beans stay submerged, they’ll keep infusing. Eventually, you’ll need to replace the beans (usually after about a year of continuous refills), but one set of beans goes a long way.
Single-Fold vs. Double-Fold Vanilla Extract
This is a term you’ll often see on store labels:
- Single-fold: Standard strength, about 6 beans per 8 ounces of alcohol.
- Double-fold: Twice as concentrated, requiring double the beans. Bakers often prefer this because the flavor holds up in large batches of dough or batter.
Most homemade makers strike a balance by using 8 beans per 8 ounces—stronger than store-bought single-fold, but not as expensive as true double-fold.
Non-Alcoholic Alternatives
While traditional extract is always alcohol-based, some people prefer alternatives. The most common substitute is vegetable glycerin combined with water. This creates a sweet, syrupy liquid that pulls flavor from the beans. It works, but it doesn’t extract quite as deeply as alcohol. It’s a good choice if you avoid alcohol for dietary or personal reasons.
Variations and Shortcuts
Homemade vanilla extract is wonderfully customizable. Here are a few creative twists:
- Instant Pot method: Some home cooks use pressure cooking to speed up the extraction process, producing a usable extract in hours. The flavor, however, isn’t quite as developed as a year-long steep.
- Mixed alcohols: Try combining vodka and bourbon for a layered flavor.
- Infused sugars: Don’t toss used beans! Dry them out and bury them in sugar for vanilla sugar. Perfect for coffee, cookies, or whipped cream.
- Vanilla powder: Dehydrate old beans and grind them into a fine powder for sprinkling into recipes.
Troubleshooting Homemade Vanilla Extract
Even a simple recipe can raise questions. Here’s what to watch for:
- It smells like alcohol, not vanilla: Totally normal in the first few months. Give it time. By the 12-month mark, the alcohol smell fades and vanilla dominates.
- Cloudy liquid: Usually harmless. Sediment from the beans may settle. Strain through cheesecloth if you prefer a clearer extract.
- Weak flavor after refills: Time to replace the beans. They eventually run out of punch.
Creative Uses and Gift Ideas

Homemade vanilla isn’t just for baking. Try these ideas:
- Stir into coffee, hot chocolate, or cocktails.
- Add a splash to whipped cream or frosting.
- Use in oatmeal, smoothies, or yogurt.
- Bottle small jars with labels for holiday gifts, hostess presents, or wedding favors.
Pro tip: Start batches several months in advance if you plan to give them as gifts. That way, they’ll have time to develop rich flavor by the time they’re opened.
Final Thoughts
Homemade vanilla extract is one of those projects that makes you feel like a pro baker without actually doing much work. With just two ingredients and a little patience, you can create a rich, fragrant extract that elevates everything from cookies to custards. It’s cheaper, purer, and more flavorful than most store-bought bottles. And the best part? Once you’ve started, you’ll never run out—just keep topping it off.
So grab some beans, a bottle of vodka, and start a batch today. Six months from now, your future self will thank you. A year from now, you’ll be hooked for life.

