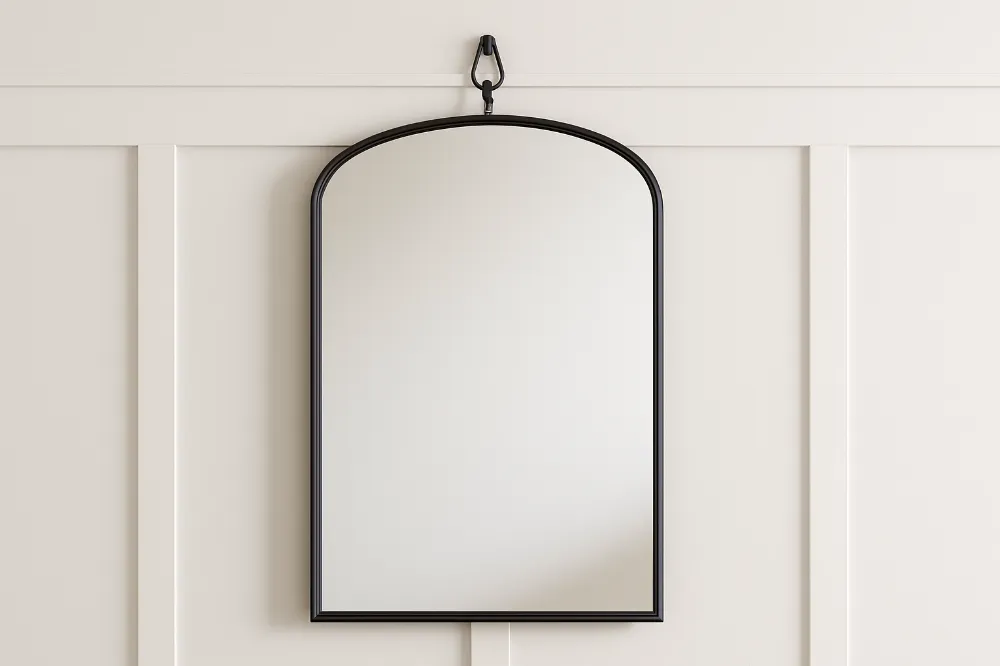
Have you ever stood back, mirror in hand, staring at your freshly finished board and batten wall wondering, How in the world am I supposed to hang this thing straight? If so, you’re not alone. Figuring out how to hang a mirror over board and batten is a challenge many homeowners face. The battens create an uneven surface that makes a mirror tilt forward if you try to hang it like normal. But don’t worry—I’ll walk you through everything you need to know, step by step.
By the end of this guide, you’ll know exactly which tools, techniques, and tricks will keep your mirror flush, level, and securely mounted.
Why Hanging Over Board and Batten Is Tricky
Board and batten walls add depth and character, but that same texture complicates mirror hanging. The battens project out from the flat boards, meaning your mirror hangers don’t sit evenly. If you hang it directly on screws, the mirror will tilt forward or wobble. Not exactly the polished look you were going for.
The solution is all about bringing your hanging surface forward to match the depth of the battens. That way, your mirror sits flush, just as it would on a flat wall.
Tools and Materials You’ll Need
Before diving into the methods, gather these essentials:
- Stud finder
- Tape measure
- Pencil
- Level
- Drill and drill bits
- Wood screws or drywall anchors (depending on stud location)
- 2×4 board (if using the horizontal board method)
- Saw (to cut 2×4 to length)
- Picture-hanging hooks, D-rings, or mirror wire
- Optional: French cleat system (for very heavy mirrors)
Method 1: Using a Horizontal Support Board
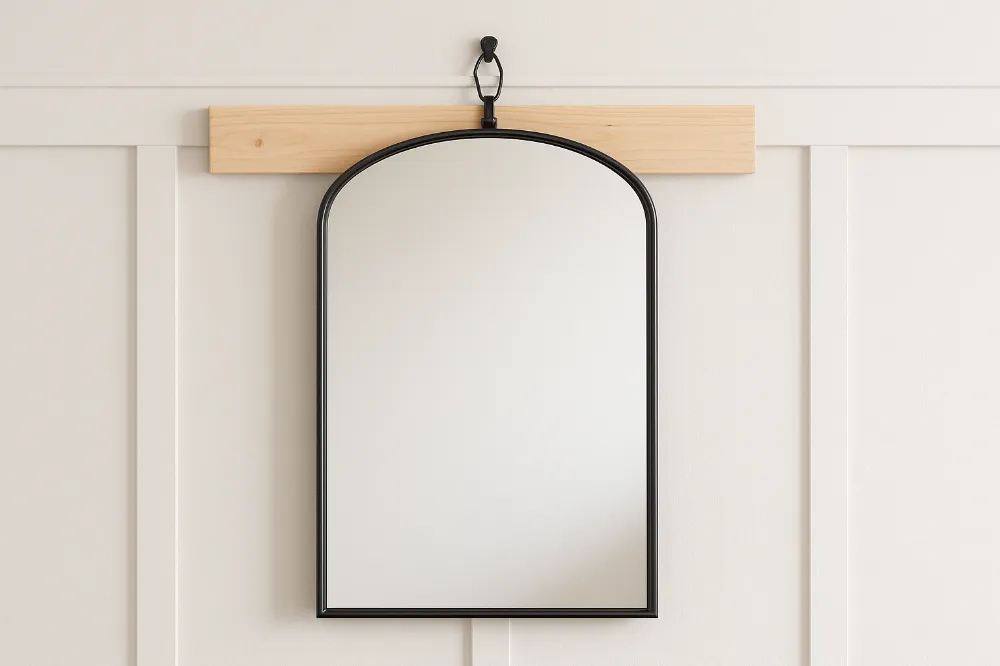
This is the most foolproof and clean method. You’ll attach a horizontal board—like a 2×4—across the wall, level with the top of the battens, and hang your mirror from it.
Step-by-Step Instructions
- Find and mark the studs
Use your stud finder and pencil to mark where the studs fall across the wall. These are where your 2×4 will be anchored. - Cut the 2×4 to length
Measure the width of your mirror. Cut the 2×4 slightly shorter so it won’t peek out on either side once the mirror is in place. - Attach the 2×4
Position the 2×4 so its front face aligns with the projection of the battens. Secure it to the studs with screws. Double-check that it’s level. - Install hanging hardware on the board
Attach D-rings, hooks, or a French cleat directly to the 2×4. - Hang your mirror
Lift the mirror and hang it securely. Because the 2×4 is flush with the battens, your mirror will sit flat and even.
Why This Works
The board creates a perfectly level “mini-wall” that sits flush with your molding. Once the mirror is hung, you can’t even see the support—it disappears behind the frame.
Method 2: Using Long Screws Through the Battens
If you don’t want to add extra boards, this method may be faster.
Step-by-Step Instructions
- Locate studs
Mark them with a pencil. - Choose long screws
Select screws long enough to pass through the batten, drywall, and into the stud (typically 2½ to 3 inches). - Drill pilot holes
Drill directly through the battens at your chosen hanging points. - Install screws or hooks
Insert the screws with anchors (if needed) until the screw heads extend just enough to hang the mirror flush with the battens. - Hang and level the mirror
Use the mirror’s built-in D-rings or hanging wire. Adjust until level.
Why This Works
By using longer screws, you essentially extend your hanging point outward, bypassing the battens’ depth issue.
Method 3: French Cleat System
For extra-large or heavy mirrors, a French cleat provides unmatched stability.
- Secure one side of the cleat to the wall, flush with the top of the battens.
- Attach the other side of the cleat to the back of the mirror.
- Lift and slide the mirror into place.
This distributes weight evenly and makes leveling easier.
Aesthetic Considerations
When learning how to hang a mirror over board and batten, it’s not just about mechanics. Placement matters.
Height Guidelines
- Above a vanity: Hang 5–10 inches above the countertop.
- In a hallway or entryway: Center the mirror at eye level (usually 60–65 inches from the floor to the mirror’s center).
Size Tips
- Mirrors should be about two-thirds the width of the furniture below (console, dresser, vanity).
- Tall mirrors elongate walls, while wide mirrors make small spaces feel larger.
Spacing Around Battens
Try to align your mirror so its edges don’t awkwardly collide with the vertical battens. Symmetry helps balance the overall look.
Safety Tips
- Always anchor into studs if possible. Drywall alone won’t support heavy mirrors.
- If studs aren’t available where you need, use heavy-duty wall anchors rated for your mirror’s weight.
- Use two hanging points (not just one) to keep the mirror from shifting over time.
- For extra security, consider adding adhesive felt pads to the bottom corners of the frame. They prevent scratches and rattling.
Bonus Ideas for Styling Mirrors Over Board and Batten
- Layered Look: Lean a mirror slightly forward against the battens on a console table for casual elegance.
- Framed to Match: Choose a mirror frame color that complements your batten trim. White-on-white feels seamless, while black or wood adds contrast.
- Grouped Decor: Pair the mirror with sconces or framed prints on either side for symmetry.
Troubleshooting Common Problems
- Mirror tilts forward → You need to bring the hanging surface forward (use 2×4 or longer screws).
- Mirror feels loose → Upgrade to French cleat or double hangers.
- Can’t find studs → Use toggle bolts or heavy-duty anchors, but keep weight limits in mind.
- Mirror not centered between battens → Cheat the eye with extra décor (like sconces or plants) to balance the look.
Final Thoughts
Learning how to hang a mirror over board and batten isn’t as intimidating as it first seems. With a few tools, the right hardware, and a solid plan, you can achieve a flush, level, and stylish result that elevates your space. Whether you go with a hidden horizontal board, long screws, or a French cleat system, your mirror will not only look beautiful—it’ll stay put for years to come.
So grab that mirror, measure twice, drill once, and enjoy the view of your handiwork every time you walk by!


