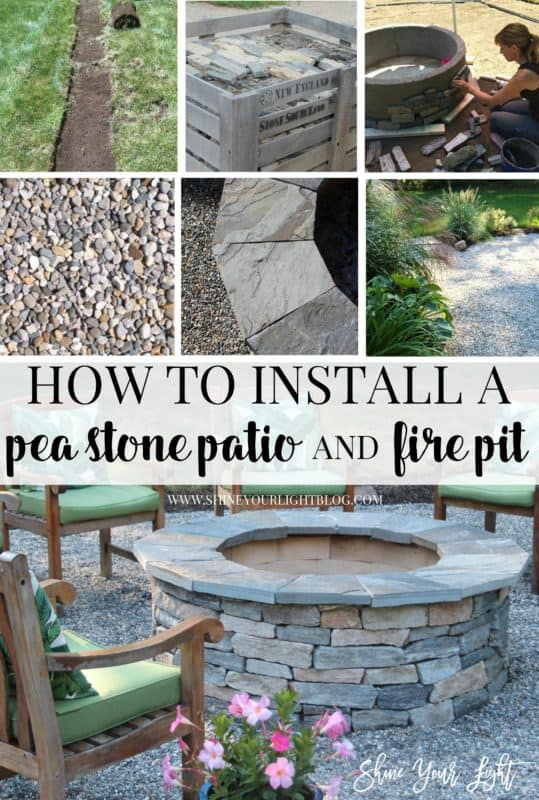
Hey friends!! Hope you are having a great summer so far! All my kids are officially done with school as of this week so it finally feels like summer around here. I’ve been working on the patio and fire pit all week and am so excited that’s it’s almost done! It was definitely a greater undertaking than I anticipated, but will be so worth it in the end!
This tutorial is part of a five-post series.
Click here to see all the posts in the fire pit and pea stone patio build.
Last week I showed you how Peter and I cleared the space for the patio in our yard by renting a sod cutter. Just to get that thing home was a project in itself, but we got it done!
After the sod was removed, we moved the pre-cast cement pieces of the Stone Age fire pit kit onto the dirt and I got to work installing the natural stone veneer. Here is how that went down.

I listed all the supplies I used at the end of the post.
Affiliate links are included in this post for your convenience. Read more about affiliate links here.
HOW TO INSTALL STONE VENEER ONTO A FIRE PIT
• ONE • Set up the fire pit kit pieces. I mixed up a small batch of Heatstop refractory tolerant cement that the fire pit company recommends (made for high heat) and joined the 4 pieces of the kit. I used a measuring cup and mixed a small amount by hand with a little trowel. This cement has a 2:1 ratio of cement to water. Start with the water in the bucket first and then add the cement to avoid a big clump of dry cement on the bottom, and mix just like you would a cake mix, until it’s smooth.
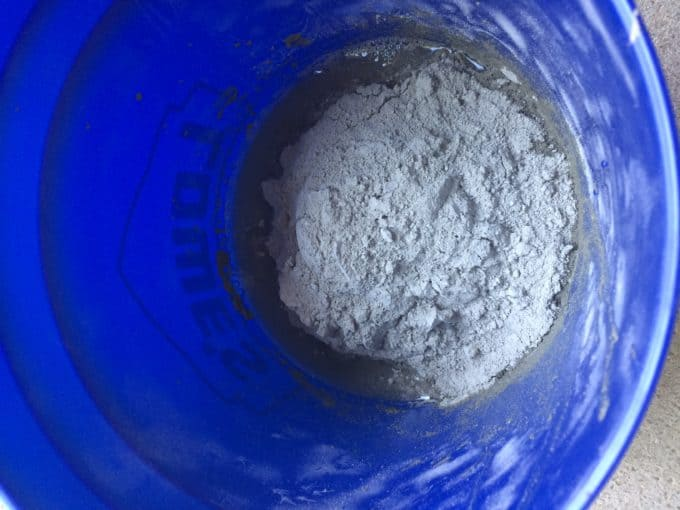
Then I used my little trowel to place the cement along the joints of the fire pit pieces, first the bottom, then in between the sides. The side pieces are heavy so I would trowel the cement onto one side, and then two of us would life it into place and make sure it all fit together properly.

• TWO • Skim coat the exterior. This step is optional – Stone Age fire pits are rough enough that stone veneer can be mortared and then attached directly onto the surface, however after talking to a local mason I decided to skim coat the exterior. We have tough winters here in Massachusetts and I wanted to make sure the stone would stay on there for many years to come.
To skim coat, I mixed up a batch of Ardex X 77, which is what the stone yard recommended I use to attach the stone veneer to the exterior of the fire pit. I saved the rest of the refractory tolerant cement for the fire brick which will be installed inside.

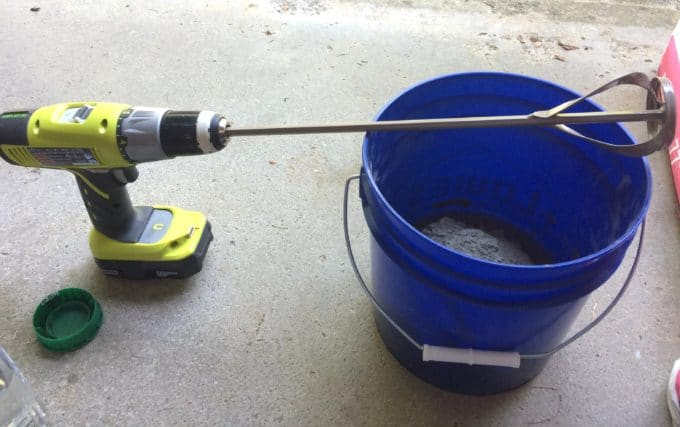
I bought one of these whisk-type mixers that attaches to a drill, knowing I’d be mixing up a large amount of cement for the skim coat and then installing the stones. It makes mixing a million times easier. This cement is also a 2:1 cement to water ratio and is thick and creamy like peanut butter when it’s fully mixed.

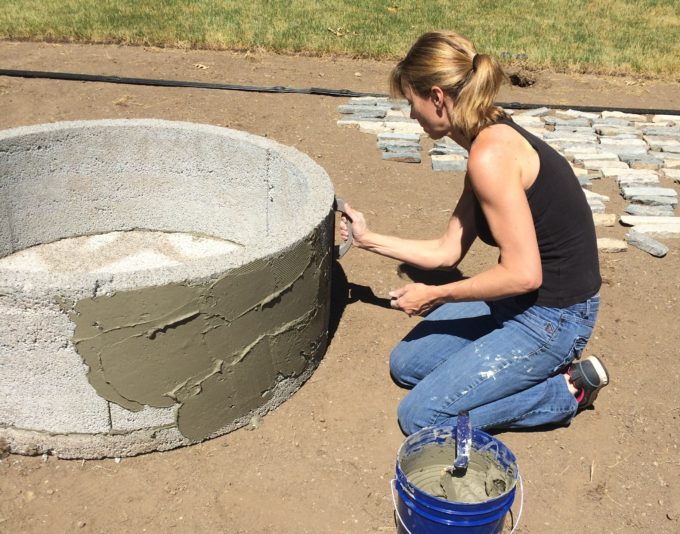
To skim coat, I’d scoop some cement onto the trowel and spread a thin layer, then use the side of the trowel that has “teeth” in it to make ridges. The ridges are what the mortar on the stones will bond with later.
This skim coated layer has to fully dry before applying stones on top of it.
It was blazing hot the day I started working on the stone installation. The stones that had been spread out in the sun were too hot to handle. Thank goodness this beach umbrella was in my garage!!! It made a world of difference.
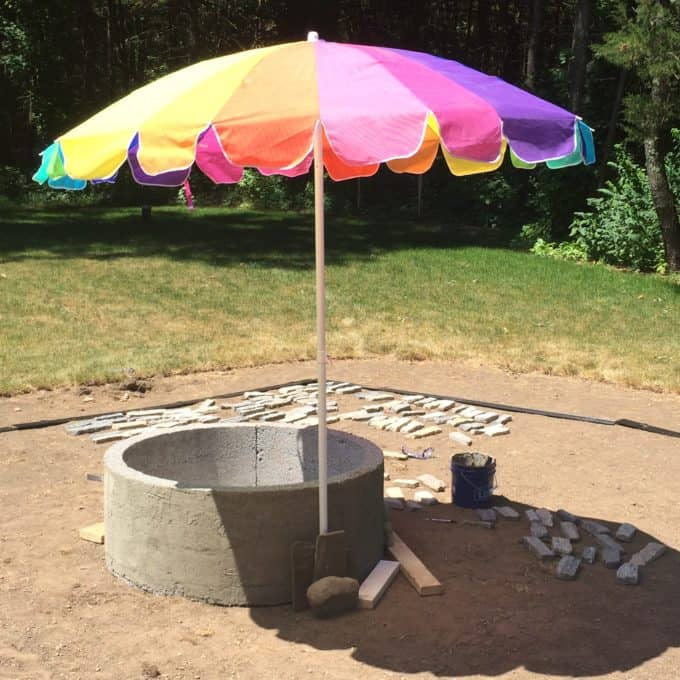
• THREE • Install the stone veneer. I chose a natural stone veneer that Rob at the stone yard (my new BFF who patiently answered my 4,587 questions 🙂) recommended would be the easiest for someone with no masonry experience to install – the stones are generally all rectangular-ish, of varying lengths and sizes. The awesome guys at the stone yard helped me load 24 square feet of stone into the back of my car and this is about the time I started thinking WHAT IN THE WORLD AM I DOING???????

Since we were planning on a 3″ pea stone patio around the fire pit, I used scrap boards to raise up the first layer of stones (I was worried about not having enough and didn’t want to waste stones that would be covered up.)
To install, dry fit a stone or two to make sure they will work together. “Butter” each one with a small trowel, then press onto the side, wiggling it a little to create a bond and adhere it on there well. I used my finger to scrape excess cement from the edges and to add more where needed. If I couldn’t find a stone to fit into a certain area, I would move to another part and work there, and then circle back around to the problem area after a break. Fresh eyes help immensely to find stones that fit together well.


The stones I chose were fairly uniform in shape but they had natural edges, and so they all had to be fit together like a puzzle. Rob gave me the tip to start in one spot then feather out to the sides, then come back to center and feather out to the sides again, so the color and size of the stones are varied and the joints are staggered.

The goals are to get the stones as close together as possible without major gaps, and for the mortar to be hidden. The hidden-mortar thing is a style choice that I had noticed on other finished fire pits and I liked how clean it looked without visible mortar between the stones. I kept an old flathead screwdriver nearby and used it to push any visible mortar inside the joints so it wasn’t visible. Also, the cement is really hard to wipe off the stone so I tried hard not to get any on the front of them.
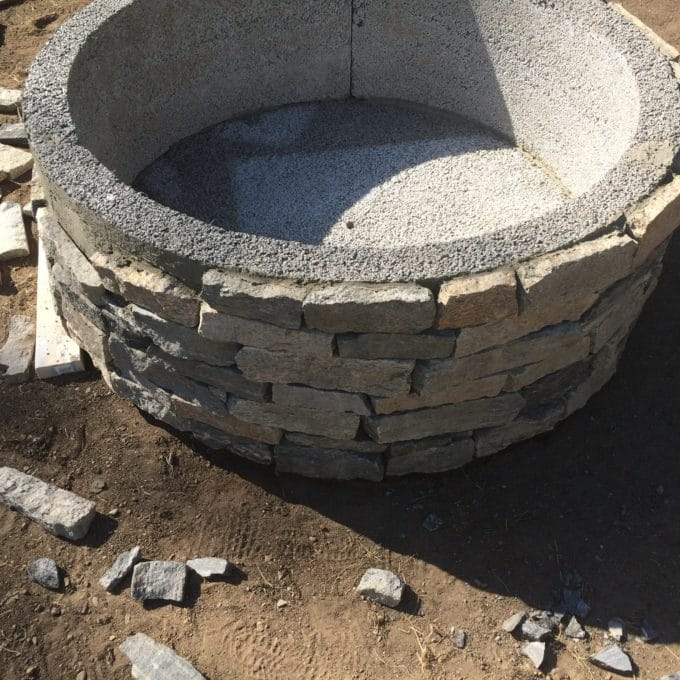
Sometimes it was impossible to find stones that fit together without creating gaps. Small gaps like this one below were filled with little pieces. I used a masonry hammer to break stones (wearing eye protection every time!!!!!) and found that stones that have veining running them broke into nice straight pieces that were great to use for the small gaps.
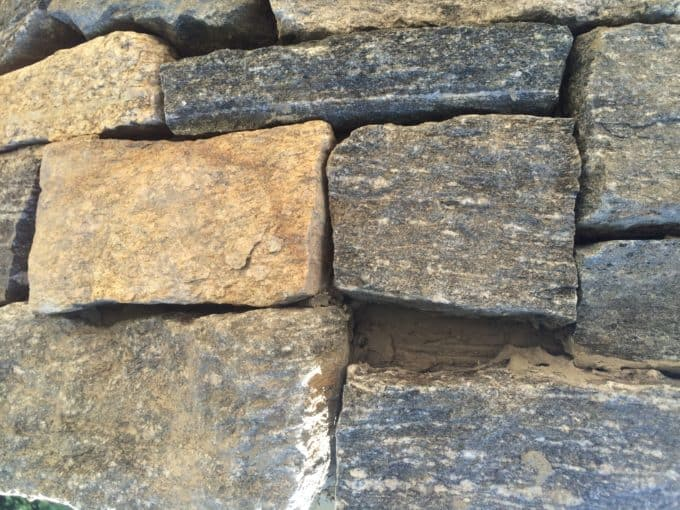
I should note that professional masons use a grinder to cut stones from the back (keeping the natural look on the front) to help them to fit together better. I fully intended to buy one of these tools or borrow one from my brother, but found that with a little ingenuity I could get away with just using the masonry hammer to modify stones and get pieces to fit, so I never did use a grinder. Honestly I really want one though because there are tons of things you can do with one. Other girls dream of shoes, I dream of tools. 🙂
• FOUR • Allow cement to cure. The cement needs at least 12 hours of drying time, so if rain is coming be sure to cover the area with a tarp.
A FEW THOUGHTS ON STONE VENEER INSTALLATION FOR THE NEWBIE….
You can do it!! Mixing the cement is just like mixing a cake mix. Buttering the stones is just like frosting a cupcake. Be tidy and take your time, and your job will come out great.
Protect yourself. I wore goggles any time I broke the stones; a full face mask would be great if you have one. A dust mask when mixing the cement is 100% necessary – you definitely don’t need those cement particles in your lungs! You might consider ear protection too for when you break stones.
Step back and check out your work frequently. About every foot or so of stone installed, I would survey it all to make sure there were color variations and no visible mortar (like the stones on the bottom right (above) that I scraped out with my screwdriver 🙂).
You need music for this one. It takes a while. Also, get yourself all set up with cold water and don’t forget the sunscreen!
Stretch out a lot! Installing stone on a fire pit is tedious and involves a lot of crouching on the ground in an uncomfortable position and twisting to reach for stones; it’s laborious but lots of breaks and stretches help. A foam gardening kneeling pad is helpful. Sometimes I’d have to rearrange all the stones by my side so I could stretch out my legs for a bit while I worked. I did 6 hours of installing one day, and almost 9 the next, and every inch of me was tired. Stock up on Alleve!
NEXT UP IN BUILDING THE FIRE PIT
Install fire brick inside the pit and line the bottom
Finish the fire pit off with a capstone around the top
Supplies
Natural stone veneer – New England blend ledgestone purchased through my local stone yard, Sam White & Sons
Heat Stop cement (for attaching kit pieces and fire brick)
Ardex X77 cement in gray (for skim coat and stone veneer installation)
Mixing arm (whisk attachment for drill)
4″ Grinder (optional)
Stone Farm partnered with me on the fire pit portion of this project. I asked them to work with me because Mark and I have long admired their products and I really wanted to share how to build a natural stone veneered fire pit with you. Stone Farm is a national resource for reclaimed stone and brick products, along with outdoor living solutions. All opinions about their products and this DIY build are my own.
Thanks for following along with this outdoor project!!
Pin to save!
