When it comes to displaying art in your home, nothing elevates a piece quite like the right frame. Frames for canvas paintings do more than just protect and support your artwork—they add structure, style, and a sense of completion. An unframed canvas can look unfinished or even lost on a wall, while a well-chosen frame can make it pop, giving your space a polished, cohesive look. Whether you’re an artist, a homeowner, or a DIY enthusiast, learning how to choose or even build frames for canvas paintings can transform your decor without breaking the bank.
Let’s dive into everything you need to know—types of frames, how to make them yourself, and design tips to help your artwork shine.
Types of Frames for Canvas Paintings
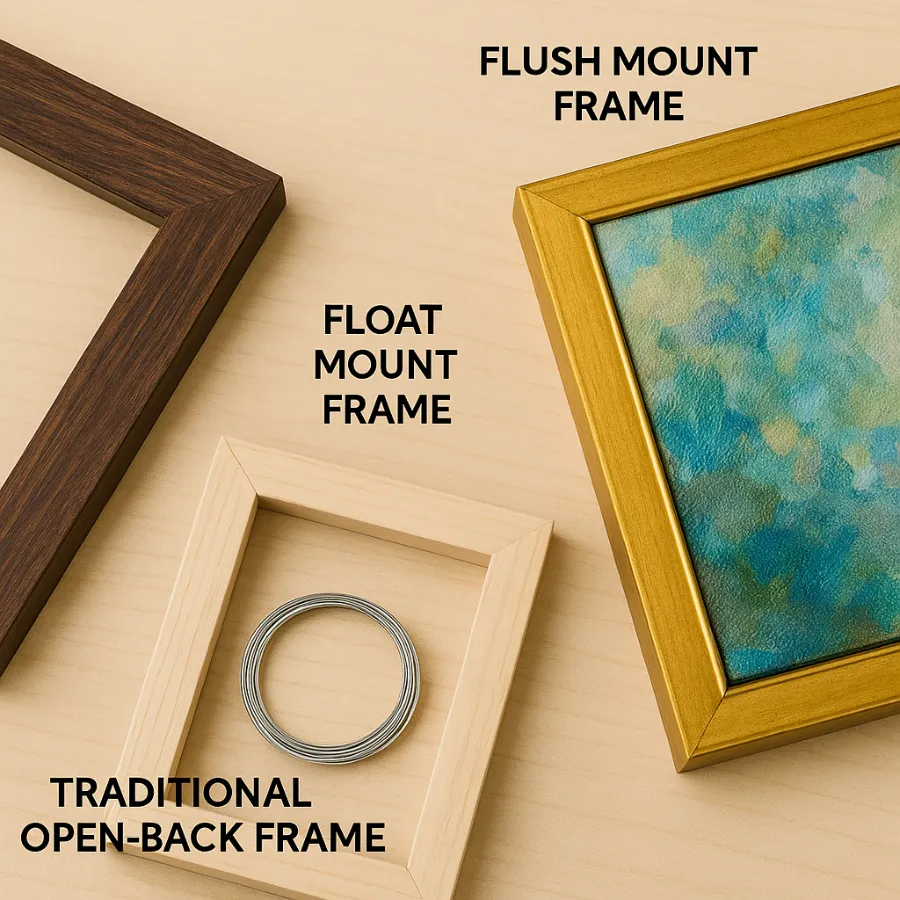
Not all frames are created equal. Depending on the style of your painting and the look you want to achieve, you’ll choose from several common types:
Flush Mount Frames
Flush mount frames hug the edges of the canvas tightly. They’re sleek, modern, and keep the attention squarely on the artwork itself. This style works beautifully with contemporary abstract pieces or bold, colorful paintings.
Float Mount Frames
A float mount frame is designed to leave a small gap between the canvas and the frame, making the artwork appear as if it’s “floating” inside. It’s elegant and adds depth—perfect for making larger statement pieces stand out.
Traditional Open-Back Frames
This classic option allows the canvas to be secured into the back of the frame with offset clips or screws. It works well for smaller pieces and can be paired with ornate finishes, like carved wood or gold leaf, for a more traditional, gallery-style presentation.
Tools and Materials You’ll Need
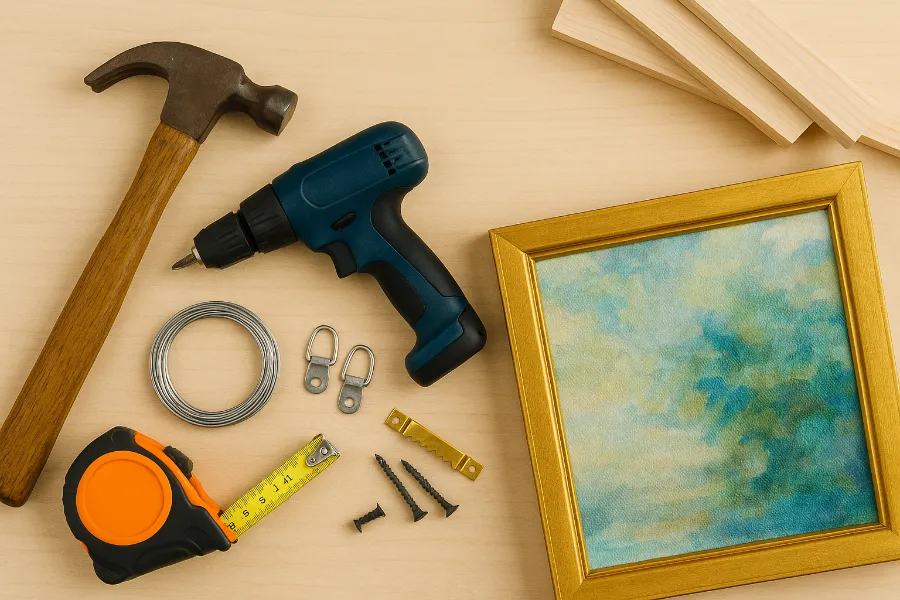
Framing canvas doesn’t require a workshop full of tools. You can make beautiful frames for canvas paintings with just a few supplies:
- Measuring tape
- Saw (miter saw or hand saw with miter box)
- Wood (pine boards, 2x2s, or even a single 2×4)
- Trim or decorative molding
- Wood glue and clamps
- Brad nailer or finishing nails
- Sandpaper or sanding block
- Paint or stain
- Hanging hardware (D-rings, wire, or sawtooth hangers)
Pro Tip: Always check that your wood pieces are straight and free of warping. It saves you headaches later.
How to Build DIY Frames for Canvas Paintings

Ready to save hundreds of dollars on custom framing? Here’s a simple step-by-step process to create your own frame at home.
Step 1: Measure Your Canvas
Start by measuring the exact height, width, and thickness of your canvas. Standard stretched canvases are about 1½ inches thick, but don’t assume—always double-check.
Step 2: Cut the Wood
Use your saw to cut the boards to match your canvas dimensions. For professional-looking corners, cut at 45° angles. If you’re new to angled cuts, practice on scrap wood first.
Step 3: Build the Base Frame
Attach the cut boards into a sturdy rectangular frame using wood glue and nails or screws. Check for squareness by measuring diagonally across corners—both diagonals should be equal.
Step 4: Add Decorative Trim
For a more polished look, add a layer of trim or molding to the front edge. This not only enhances style but also creates a slight overlap that secures the canvas in place.
Step 5: Sand and Finish
Smooth out rough edges with sandpaper, fill nail holes with wood filler, and then paint or stain your frame. Spray paint gives quick, even coverage, while stain highlights natural wood grain.
Step 6: Attach Hanging Hardware
Install D-rings and picture wire for larger pieces, or sawtooth hangers for smaller frames. Always double-check that the hardware is evenly placed so your painting hangs straight.
And there you have it—custom frames for canvas paintings that cost under $50, instead of hundreds.
Special Considerations for Framing Paintings
Not all canvas art is the same. Before you decide on a frame style, think about the type of artwork you’re dealing with:
- Stretched vs. Unstretched Canvas: Stretched canvases are already mounted on wooden supports, making framing easier. Unstretched canvases need to be stretched or mounted before framing.
- Oil vs. Acrylic Paintings: Oils don’t usually require glass protection, as trapped moisture can cause damage. Acrylics are more flexible, but protective glass may be considered for smaller works.
- Room Environment: Keep framed canvas art out of direct sunlight or overly humid areas to avoid fading or warping.
Affordable Alternatives to Custom Frames
If DIY isn’t your thing, you can still save money with these alternatives:
- Buy ready-made frames online (just double-check depth compatibility).
- Use simple floating frame kits that snap together.
- Repurpose thrift store frames with a coat of fresh paint.
Common Mistakes to Avoid
Even seasoned DIYers make mistakes when framing canvas art. Here are a few pitfalls to watch out for:
- Cutting trim too short by measuring the longest edge instead of the shortest (the inside edge matters!).
- Forgetting to account for canvas thickness when choosing wood.
- Over-applying stain or paint, which can cause uneven finishes.
- Using weak adhesives without reinforcement—frames need screws or nails for durability.
Creative Design Ideas for Frames for Canvas Paintings
Framing is an opportunity to add personality to your home decor. Try these ideas:
- Minimalist look: Raw wood frames with light stain for Scandinavian-inspired interiors.
- Bold contrast: Black frames around bright, colorful abstract art.
- Elegant touch: Gold or brass-painted frames for traditional settings.
- Rustic charm: Reclaimed barn wood for farmhouse or vintage-inspired rooms.
A frame isn’t just about the art—it’s about the entire room. When chosen well, it ties together furniture, wall colors, and decor for a balanced look.
Conclusion
Frames for canvas paintings are more than finishing touches. They’re the bridge between raw artwork and stylish home decor. The right frame not only enhances the piece but also ensures it fits seamlessly into your space. Whether you build your own for under $50, repurpose thrift finds, or invest in a custom-made design, the result is the same: your artwork gets the attention it deserves.
So grab your tools, pick your frame style, and let your walls tell a story that feels both personal and polished.


