There’s something special about old wood trim the kind of character you can’t fake and certainly can’t buy off a hardware store shelf. Thick baseboards, solid window casings, and chunky door frames all carry that old-house charm. But with age comes one nearly universal problem: cracked paint. Whether it’s fine hairline fractures or full-on peeling sheets, cracked paint is one of those things you can’t stop noticing once you see it. And while many people think slapping on a new coat of paint will solve it, the truth is that proper repair requires time, patience, and a thoughtful process. This guide walks you through how to restore old trim the right way from understanding why the paint failed to preparing, priming, and painting for long-lasting results all presented in a smooth, paragraph-style blog format.
Understanding Why Old Trim Develops Cracked Paint Over Time
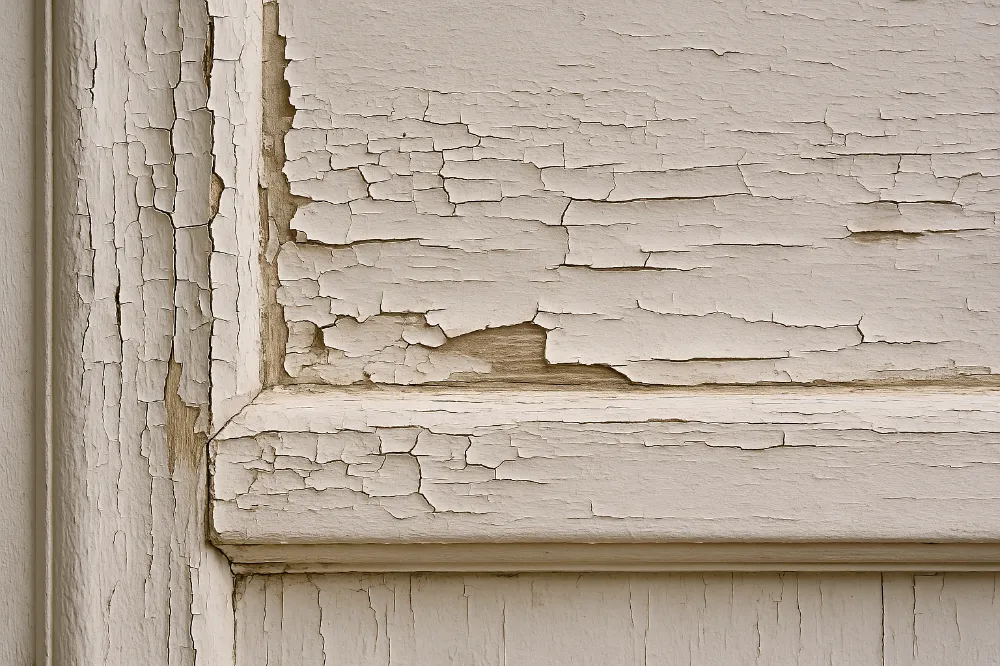
Old trim cracks because it has spent years sometimes decades expanding and contracting with each season. Wood moves with changes in humidity, and paint, especially when applied in multiple layers over the years, can only stretch so much before it begins to split. In many older homes, latex paint was applied directly over oil-based paint, which behaves differently as it ages. Oil paint becomes harder and less flexible over time, and you can learn more about how traditional oil paint behaves from its composition and curing process in this resource. Add in environmental stress, sunlight, moisture, and simple time, and the paint begins to fail in predictable and often unavoidable patterns. Understanding the mechanics behind cracking makes it clear why simply painting over the surface won’t stop the problem from returning.
Choosing Between Spot Repair or Full Paint Stripping for Your Trim
Before you start scraping, you need to decide whether the trim should be repaired in sections or completely stripped down. Spot repair is ideal when the cracks are limited, shallow, or confined to a few areas, and the majority of the paint still feels firmly attached. If you do a light scrape and only loose flakes lift off, you can usually sand, prime, and repaint those areas successfully. But when the paint resembles deeply cracked alligator skin, or when large sheets peel away effortlessly, this means the underlying paint layers have failed. In those cases, full stripping becomes the only reliable, long-term option. Choosing wisely now prevents rework later.
Ensuring Safety by Checking for Lead Paint Before Any Work Begins
Homes built before 1978 may contain lead-based paint, which becomes especially dangerous when disturbed through scraping or sanding. Lead dust is invisible and easily inhaled, so testing is essential. The U.S. Environmental Protection Agency outlines clear safety guidelines for homeowners handling older paint, which you can read here. If your test kit indicates the presence of lead, you can still proceed with the project just make sure to follow lead-safe practices like using a respirator, working wet instead of dry, sealing off the area, and vacuuming with a HEPA filter. Safety isn’t the “fun” part of restoring trim, but it’s by far one of the most important.
Getting the Right Tools and Materials for a Smooth, Successful Repair
Good preparation starts with good tools. For general repairs, you’ll need a scraper, a putty knife, sanding sponges or sandpaper in multiple grits, wood filler or spackle, a bonding or stain-blocking primer, and high-quality trim paint. Premium angled brushes help you reach ornate shapes and reduce brush marks. If you’re planning a complete strip-down, you may need a chemical stripper like Citristrip, a heat gun, mineral spirits, steel wool, and drop cloths. Strong materials don’t just make the project easier old trim responds better when worked with tools that respect its age and detail.
Carefully Removing Loose or Flaking Paint to Reveal the Real Condition Beneath
Once you’re prepared, the first hands-on step is removing loose or flaking paint. Lightly scrape along the trim and allow the old finish to release naturally, taking note of whether the underlying layers seem stable or fragile. This early step is like a diagnostic test that helps you understand what you’re really dealing with. Gently lifting the edges lets you determine whether you can continue with spot repairs or whether the layers beneath are too deteriorated for anything short of a full-strip approach. A heat gun on low setting may help soften stubborn sections, but always work carefully to protect the wood beneath.
Feather Sanding the Edges to Create a Seamless, Paint-Ready Surface
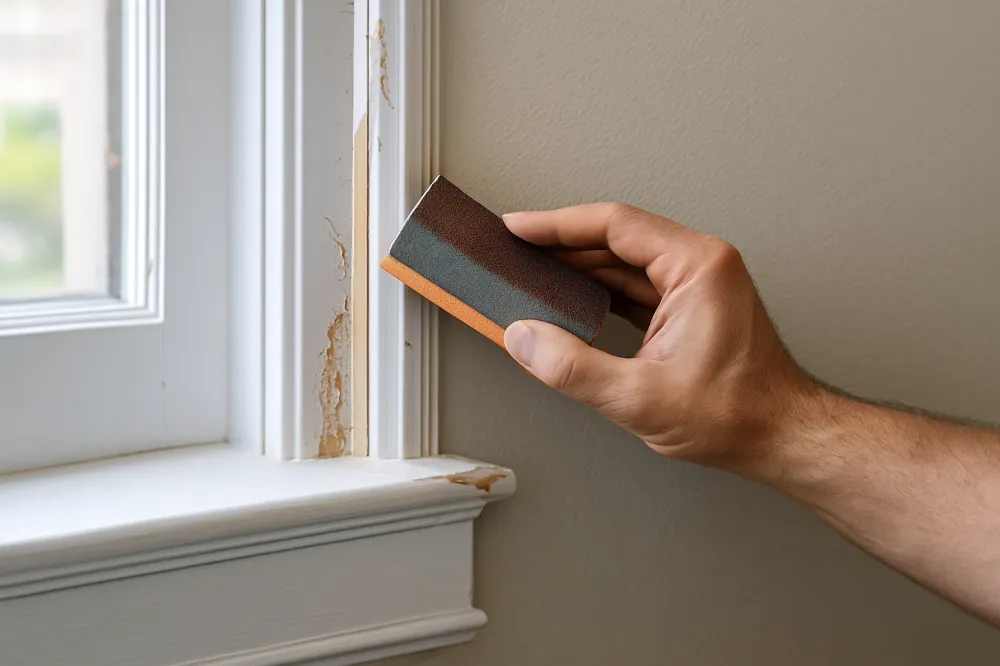
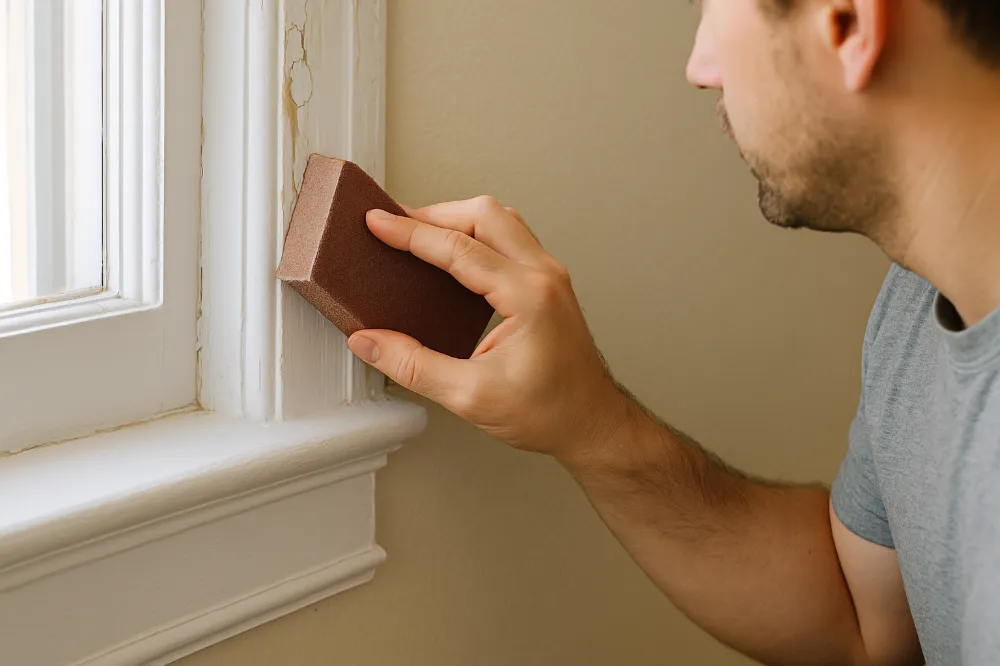
After scraping, the next key step is feather sanding, which blends the thick edges of remaining paint into the exposed wood. Start with 120-grit to knock down the roughest edges, then switch to finer grits like 150 or 220 for smoothing everything into one unified surface. Feathering is essential for creating a seamless finish your fingertips become your best tool here, detecting subtle edges your eyes might miss. The goal isn’t to remove all paint, just to soften uneven transitions so the final coats look naturally smooth.
Filling Cracks, Gaps, and Dents to Restore the Trim’s Original Smoothness
Once feather sanding is done, imperfections like nail holes, dents, or small cracks become more noticeable. Wood filler is ideal for deeper flaws, while lightweight spackle handles surface-level imperfections effectively. Overfill slightly to account for shrinkage as the filler dries, then sand the area flush for a flawless surface. This step is what ultimately determines how polished your final trim will look the smoother the repair, the better the entire finish will appear once painted.
Deep Cleaning the Trim to Remove Dust and Residue Before Priming
After sanding and filling, the trim needs a thorough cleaning to remove dust, which interferes with primer adhesion. A vacuum with a brush attachment works well for loose debris, followed by a damp cloth to pick up anything left behind. In kitchens or bathrooms, a mild degreaser or TSP substitute may be necessary to remove buildup. Allow everything to dry completely. This step might feel simple, but skipping it leads to uneven primer bonding or gritty paint texture later.
Using a High-Quality Primer to Build a Strong, Long-Lasting Foundation
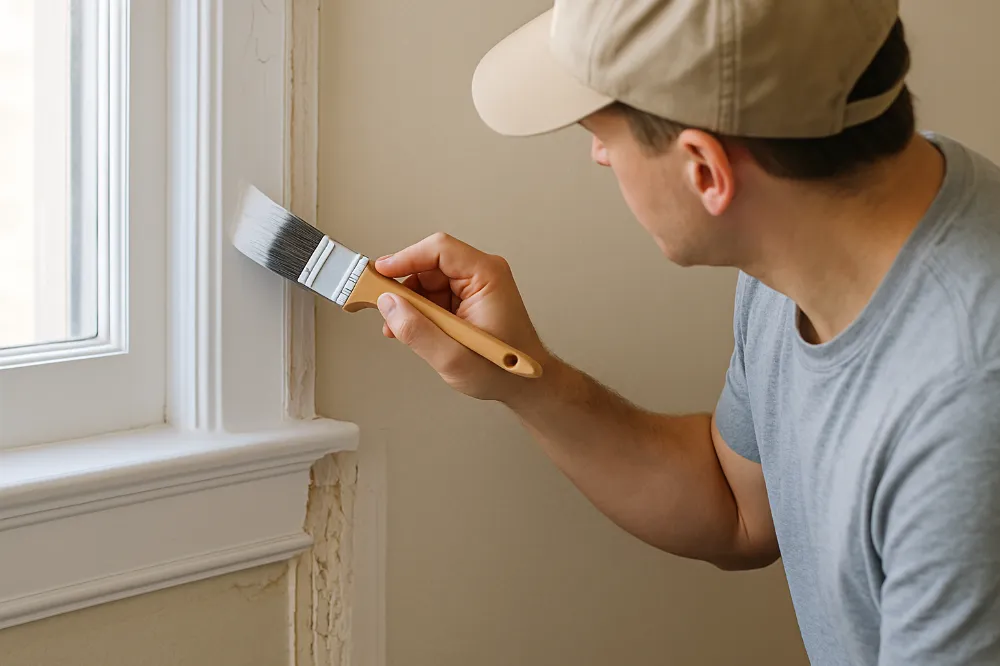
Primer is one of the most important stages of restoring old trim. Bonding primer helps modern latex paint adhere securely to older surfaces especially if there are oil-based layers underneath. Shellac-based primers are excellent for sealing stains or preventing bleed-through. Apply primer with smooth, purposeful strokes and avoid over-brushing. One coat is usually enough, but heavily damaged surfaces may benefit from a second. Allowing primer to fully cure ensures the topcoat glides on evenly and lasts far longer.
Painting the Trim Properly for a Professional, Polished Final Look
Once the primer is fully dry, you can paint. Semi-gloss and satin finishes are popular choices for trim because they highlight detail and resist dirt. However, if you prefer to showcase the natural wood, a water based wood stain is an excellent eco-friendly option that dries quickly and cleans up easily with soap and water. A high-quality angled brush helps achieve smooth, consistent coverage. Apply thin coats, following the direction of the grain. For an ultra-smooth finish, lightly sand between coats with 220-grit, then wipe clean before applying the next layer. Two thin coats typically deliver the best results, leaving your trim looking crisp, refreshed, and revived.
Knowing When Full Paint Stripping Is the Better Long-Term Solution
If paint continues to peel deeply or broadly even after proper scraping, or if the trim has many thick paint layers that refuse to blend smoothly, full stripping is the best long-term solution. Chemical strippers work well for detailed molding, while heat guns can speed up the process for flat sections. Once stripped, the wood can be sanded smooth, primed, and painted like new. Though stripping requires more time and patience, the results last decades and create the smoothest finish possible.
Maintaining Your Newly Restored Trim to Prevent Future Cracking
Once the trim is beautifully restored, simple maintenance helps preserve the finish. Stabilizing indoor humidity, reducing window condensation, and avoiding harsh scrubbing all protect the paint. Wood will still expand and contract with changing seasons, but proper prep and a strong primer base prevent most cracking from returning. Good habits ensure your restored trim keeps its smooth, fresh appearance for years.
FAQs
Paint cracks due to age, humidity changes, wood movement, incompatible paint layers, or sunlight exposure.
Not always. Remove only the loose areas unless the paint is failing everywhere, in which case stripping is best.
Use an EPA-recognized lead test kit; this is especially important for homes built before 1978.
No. Cracked paint must be scraped, sanded, feathered, and primed first or the cracks will come back.
A bonding primer works for mixed paint layers, while shellac-based primer is best for stains and bleed-through.
Use wood filler for deeper gouges or structural flaws; spackle is fine for small cracks or surface imperfections.
Yes, if used carefully on low to medium heat, but avoid burning the wood or creating fumes from old coatings.
Start with 120-grit for rough edges and finish with 150–220 grit for a smooth transition.
Usually two thin coats provide the best, longest-lasting finish on wood trim.
Maintain stable humidity, address moisture issues, and ensure proper prep, priming, and painting techniques.


