‘Looking to refresh your walls without paint, nails, or hassle? DIY Washi Tape Wall Art is the ultimate renter-friendly solution for adding personality and pops of color to your space. With a few inexpensive tools and a roll-or 30-of washi tape, you can create stunning geometric designs, patterns, and murals. It’s quick, removable, and perfect for everyone from seasoned crafters to creative DIY project beginners.
Tools & Supplies You’ll Need
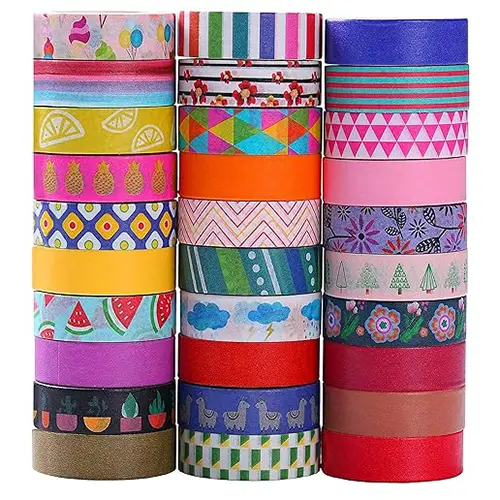
MPOPUUL Ninico 30 Rolls Washi Tape Set – 10mm, Floral Patterns
This vibrant set of floral-themed washi tapes includes 30 rolls in beautiful colors and patterns, perfect for layering and combining into custom wall designs.
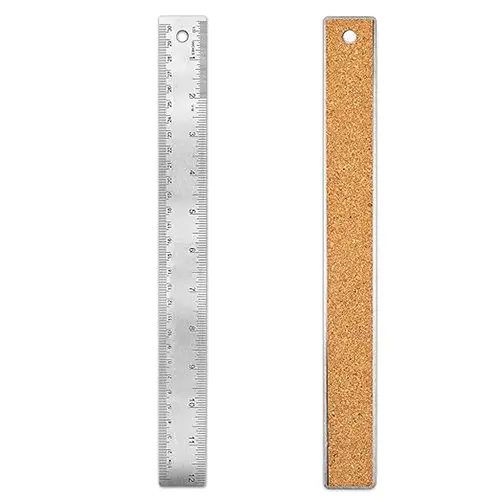
Stainless Steel 12-Inch Metal Ruler with Cork Backing
A straight-edge ruler helps you measure and align perfectly straight lines—especially helpful for grid patterns, chevrons, or symmetry.
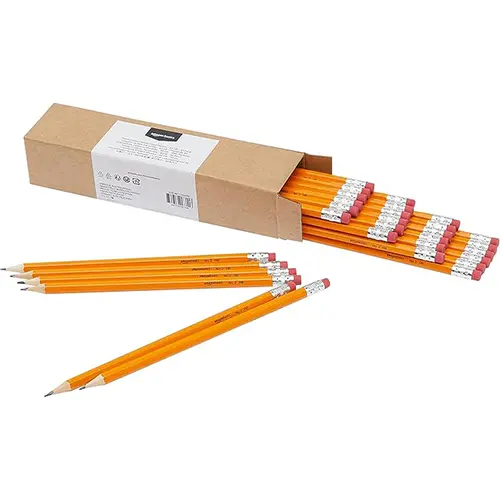
Amazon Basics Woodcased #2 Pencils with Erasers – 30 Pack, Pre-sharpened
Use these classic #2 pencils to lightly sketch out your design before applying the washi tape. The erasers make adjustments easy and clean.
Step-by-Step: How to Make Washi Tape Wall Art
Step 1: Choose a Theme or Pattern
Whether you’re going for modern geometrics, whimsical shapes, stripes, or even cityscapes, take a moment to sketch your idea. Pinterest and Instagram are great places to find inspiration.
Step 2: Prep Your Wall
Wipe down your wall with a clean, dry cloth to remove dust or oils. Washi tape adheres best to smooth, clean surfaces like painted drywall or doors.
Step 3: Sketch the Design
Use your #2 pencil to lightly mark guides or layout lines for your pattern. Don’t worry if it’s not perfect—this is just a blueprint to follow with tape.
Step 4: Measure and Align
Grab your metal ruler to help lay tape cleanly along straight edges. This is especially important for creating sharp angles, frames, or grids.
Step 5: Apply Washi Tape
Carefully apply strips of washi tape over your pencil lines. Use your hands to press the tape down flat and smooth out any air bubbles. Feel free to mix and match patterns from the MPOPUUL 30-roll set for color variety and visual interest.
Step 6: Customize and Layer
Create borders, outlines, or overlapping sections for depth. You can even layer washi tape to create faux “frames” for posters, photos, or prints.
Creative Design Ideas
- Minimalist Grid: Clean lines and symmetry for a modern, gallery-style wall.
- Mountain Skyline: V-shaped peaks using neutral and dark-toned tapes.
- Floral Accent Wall: Use floral-themed tapes to create oversized petals and stems.
- Framed Collage Wall: Outline rectangular shapes and use them to showcase postcards or prints.
- Faux Headboard or Bed Frame: Use tape to “draw” a headboard on a blank wall above your bed.
Pro Tips for Washi Tape Wall Art
- Test a small piece of tape in an inconspicuous area to ensure it removes cleanly.
- For sharp corners, use the ruler as a guide and cut with scissors or a craft knife.
- Layer lighter tapes over darker ones for subtle contrast.
- Work slowly to avoid air bubbles and tape wrinkles.
Why You’ll Love Washi Tape Wall Art
Washi tape wall art is:
- Temporary & removable, perfect for dorms or rentals
- Budget-friendly, with huge design potential from one tape set
- Completely customizable, to match any room or season
- Fun for all ages, from kids’ rooms to office spaces
MPOPUUL Ninico 30 Rolls Washi Tape Set – 10mm, Floral Patterns
This vibrant set of floral-themed washi tapes includes 30 rolls in beautiful colors and patterns, perfect for layering and combining into custom wall designs.
Stainless Steel 12-Inch Metal Ruler with Cork Backing
A straight-edge ruler helps you measure and align perfectly straight lines—especially helpful for grid patterns, chevrons, or symmetry.
Amazon Basics Woodcased #2 Pencils with Erasers – 30 Pack, Pre-sharpened
Use these classic #2 pencils to lightly sketch out your design before applying the washi tape. The erasers make adjustments easy and clean.


