DIY gravel path edging with stone or bricks is one of those projects that seems straightforward until you live with the results. Gravel paths look relaxed and natural, but without proper containment they rarely stay that way. Over time, gravel migrates outward, blurs the edges of the path, and finds its way into garden beds and lawns. What began as a tidy feature slowly loses its definition.
Edging is what separates a temporary solution from a long-term one. Stone and brick create a firm boundary that keeps gravel in place, supports the edges of the path, and adds a sense of permanence to the landscape. When installed correctly, this type of edging doesn’t just solve practical problems. It elevates the entire look of the space.
Why Gravel Paths Behave the Way They Do
Gravel is designed to move. That movement is part of what makes it good for drainage, but it’s also what causes problems when the edges aren’t controlled. Foot traffic, rain, wind, and even routine garden maintenance gradually push gravel outward.
The way gravel shifts depends on particle size, shape, and how tightly it’s packed. Angular gravel interlocks better than rounded stone, but even angular material will spread without a physical barrier. The characteristics of gravel and how it behaves in outdoor applications are well documented, including its drainage and load-bearing properties. Edging interrupts that movement. It gives gravel something to push against, keeping the path intact and reducing the need for constant raking and topping up.
The Role of Stone and Brick in Long-Term Edging
Stone and brick perform well as edging because they combine mass with rigidity. Unlike plastic or thin metal products, they don’t flex or warp under pressure. Once seated into a solid base, they resist lateral movement and maintain their position year after year.
They also integrate well into garden environments. Stone blends naturally with planting beds and informal landscapes. Brick introduces structure and rhythm, making paths feel intentional rather than improvised. At its core, this project is about control understanding how to edge a gravel path to prevent spreading so the surface stays defined, stable, and visually clean over time.
Choosing Between Stone and Brick
Both materials work, but the choice affects appearance, installation, and maintenance.
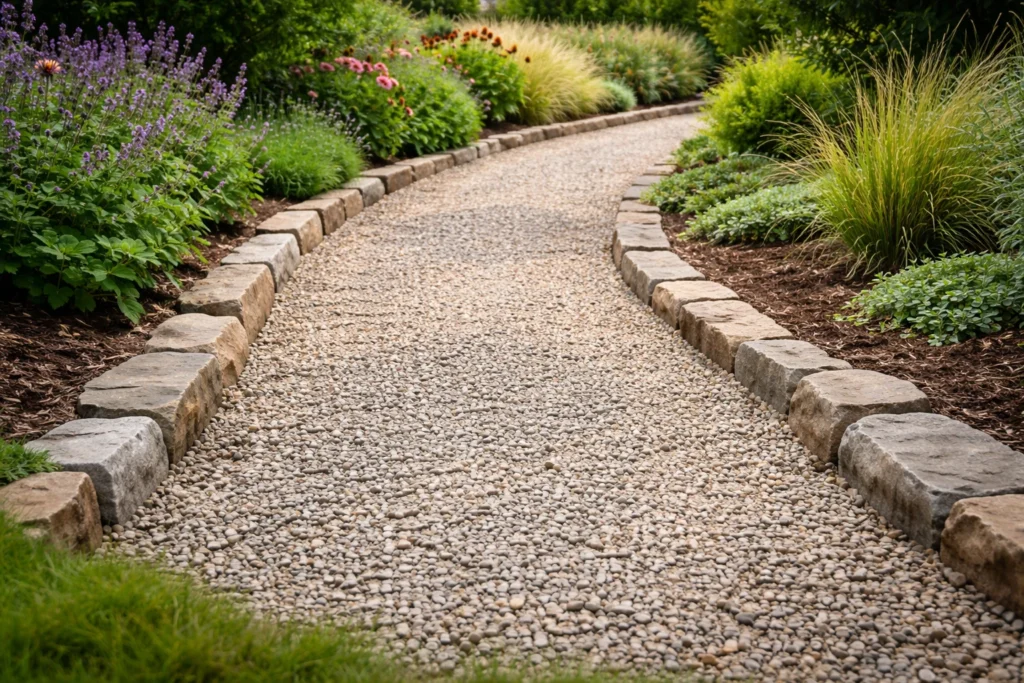
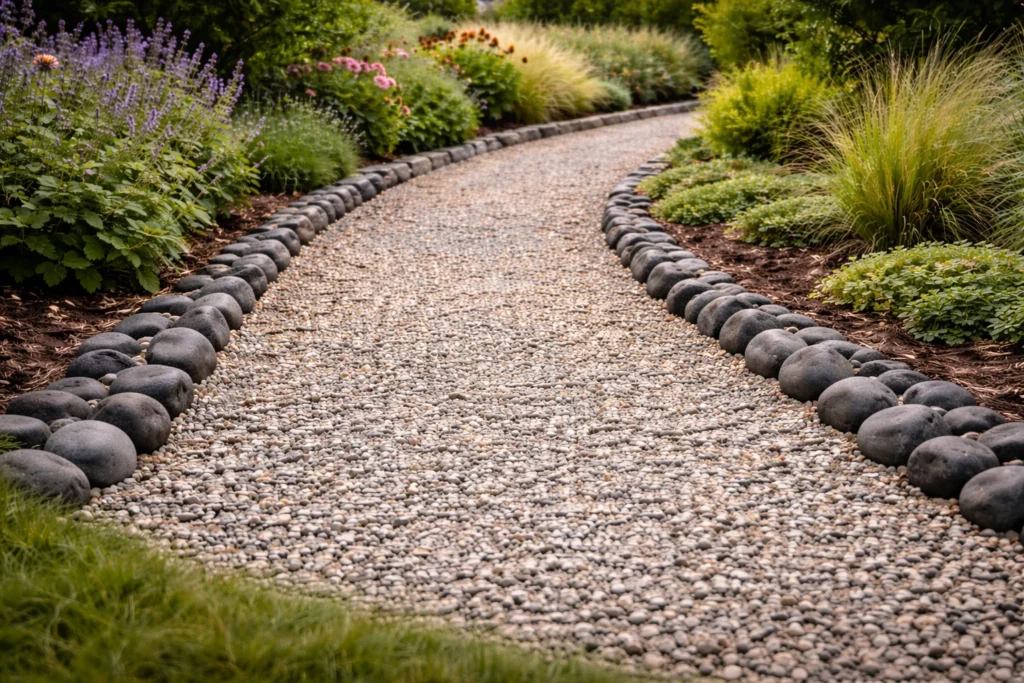
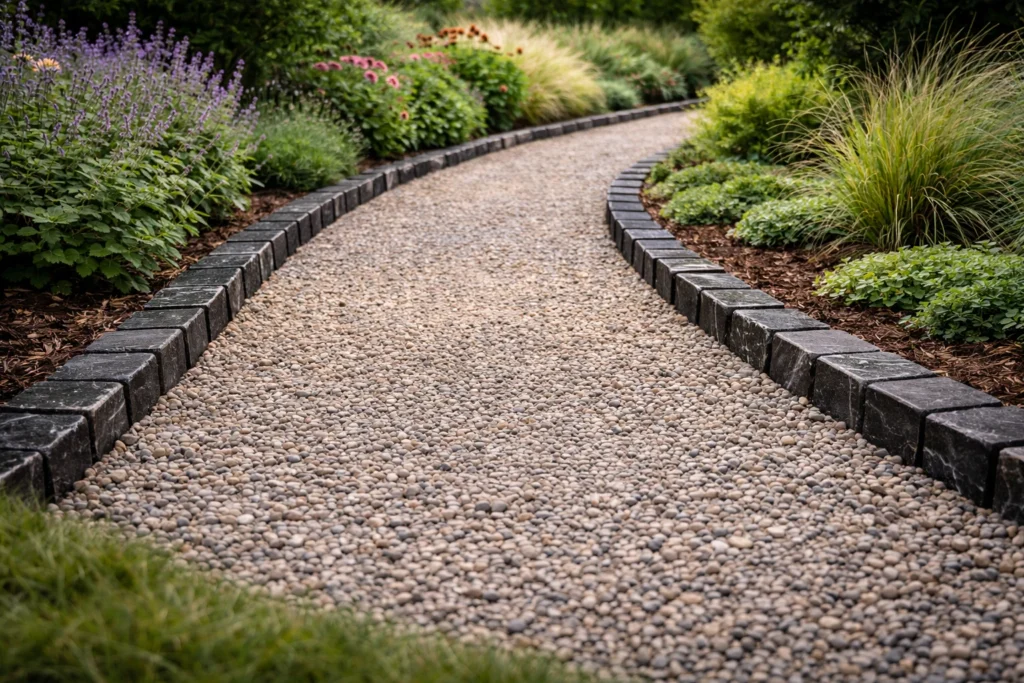
Stone edging feels organic and relaxed. Natural stone varies in thickness, color, and shape, which allows the edging to adapt to curves and uneven ground. This variation hides minor inconsistencies and suits informal gardens. Brick edging creates a more structured look. Even reclaimed bricks with worn edges bring order and symmetry to a path. Brick works especially well in straight runs or formal designs where alignment matters.
The material itself also matters. Brick, traditionally made from fired clay, has been used for centuries in construction and landscaping. Its durability, composition, and weathering characteristics. From a DIY perspective, stone is often more forgiving, while brick rewards careful preparation and precise leveling.
Planning the Path Before You Dig
Good edging starts with good planning. Before removing any soil, decide how wide the path needs to be and how it will be used. A comfortable walking path is usually between 90 and 120 centimeters wide, depending on the setting.
Mark the layout clearly. Garden hoses work well for curves because they can be adjusted until the flow feels right. Straight paths benefit from string lines or marking paint. Drainage should be considered early. Gravel paths handle water better than solid paving, but only if water can move away from the surface. A slight slope or crown prevents pooling and protects the base materials beneath the path.
Tools and Materials You’ll Need
Most DIY gravel path edging projects require the same basic tools. A shovel and spade handle excavation. A hand tamper or plate compactor is essential for creating a stable base. A rubber mallet, level, and tape measure help with accurate placement. Materials include the edging stones or bricks, crushed stone or road base for the foundation, bedding sand or fine gravel, landscape fabric, and the gravel for the walking surface. Mortar is optional. Many successful installations rely on dry-laid methods, which allow flexibility and easier future adjustments.
Preparing the Ground for Longevity
Ground preparation is the most important part of the project and the one most often rushed. Excavate the full width of the path to allow space for base material, edging, and gravel. For most footpaths, a depth of 15 to 20 centimeters is sufficient.
Compact the soil subgrade thoroughly. This prevents settling and uneven edges later. Lay landscape fabric over the compacted soil to separate it from the gravel layers and reduce weed growth. Add a layer of crushed stone or road base and compact it firmly. This base supports both the edging and the gravel surface and distributes weight evenly.
Installing Stone Edging
Stone edging can be installed dry-laid or mortared, depending on the setting.
Dry-laid stone is common for garden paths. Stones are set into the compacted base and tapped into place with a mallet. The goal is a consistent top edge rather than perfect spacing. Small variations disappear once gravel is added.
Once stones are positioned, backfill the outside edge with soil or base material and compact it well. This lateral support is what keeps stones from shifting outward over time. Mortared stone edging is useful in high-traffic areas or where the path meets hardscape elements. It requires a concrete footing and careful finishing but creates a very rigid edge.
Installing Brick Edging
Brick edging depends heavily on base preparation. Bricks should sit on a compacted base with a thin bedding layer that allows fine adjustments.
Bricks can be laid flat for a subtle edge or set on edge for a taller border that better contains gravel. Bricks set on edge require deeper excavation but provide a stronger visual line. As bricks are laid, check level frequently. Small errors compound quickly in brickwork. Once set, fill joints with sand or fine gravel and compact lightly. Backfill the outside edge to lock everything in place.
Adding the Gravel Surface
With edging installed, adding gravel becomes straightforward.
Choose angular gravel in the 6 to 12 millimeter range for stability underfoot. Spread it evenly across the path to a depth of about 5 to 7 centimeters after compaction. Rake the surface smooth and walk over it to help it settle. Add more gravel if needed. The edging should remain slightly higher than the gravel surface to keep material contained.
Drainage and Environmental Considerations
One advantage of gravel paths is permeability. Water passes through rather than running off the surface. The U.S. Environmental Protection Agency highlights the benefits of permeable surfaces in managing stormwater and reducing runoff. Proper edging supports this function by keeping the gravel layer intact and preventing erosion at the edges.
Common Mistakes That Shorten Lifespan
The most common mistake is skipping or rushing base preparation. No edging material can compensate for an unstable foundation. Another issue is installing edging too shallow. At least a third of the stone or brick should sit below ground level for stability. Ignoring drainage can also undermine the path over time, especially in areas with heavy rainfall or clay soils.
Maintenance and Long-Term Care
Stone and brick edging require minimal upkeep. Periodically check for movement after heavy rain or freeze-thaw cycles. Small adjustments are easy when addressed early. Top up gravel every few years to maintain a consistent surface depth. Weed growth is usually limited to the edges and easy to manage.
Final Thoughts: A Path That Holds Its Shape
DIY gravel path edging with stone or bricks rewards patience and careful preparation. When the base is solid and the edging is properly installed, the path stays crisp and functional with very little maintenance. Instead of constantly raking gravel back into place, you get a defined walkway that looks intentional and ages gracefully. It’s a simple upgrade that makes a lasting difference.
FAQs
Gravel shifts naturally under foot traffic and rain, and without a barrier it gradually migrates into surrounding soil or lawn.
Stone offers a more natural, forgiving look, while brick provides cleaner lines and a more structured appearance.
At least one-third of the stone or brick should sit below ground level to prevent shifting over time.
No, dry-laid edging works well for most garden paths if the base is properly compacted.
Angular gravel between 6–12 mm locks together better and feels more stable underfoot than rounded gravel.
Yes, but smaller bricks or slight spacing adjustments make curves easier to form cleanly.
Landscape fabric helps reduce weed growth and keeps gravel from mixing with soil over time.
A well-compacted crushed stone base is essential to support bricks and prevent settling.
Minimal maintenance is required, usually just occasional re-leveling and topping up gravel every few years.
Yes, with proper planning and patience, stone or brick edging is very achievable for DIY beginners.


