Windows make or break a room. They flood spaces with light, connect you to the outdoors, and anchor your furniture layout. But what happens when your windows feel bare or lack character? That’s where a DIY cornice board comes in. It’s one of the simplest, most affordable ways to add architectural style to your home while hiding hardware and giving your windows a polished, custom look. And the best part? You don’t need to be a master carpenter to pull it off.
In this article, we’ll dive deep into what a cornice board is, how to build one step by step, design variations to inspire you, and a few pro tips to avoid mistakes along the way. By the end, you’ll be ready to grab your tools and create a beautiful DIY cornice board that looks like it came straight out of a designer showroom.
What Is a Cornice Board?
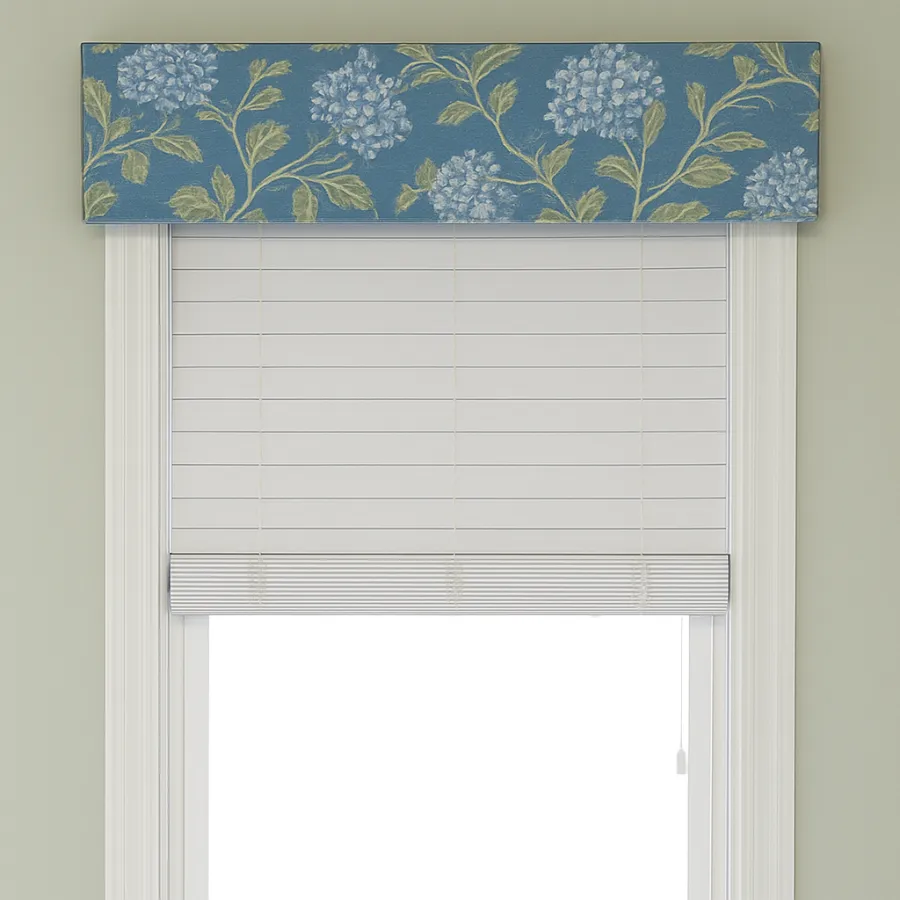
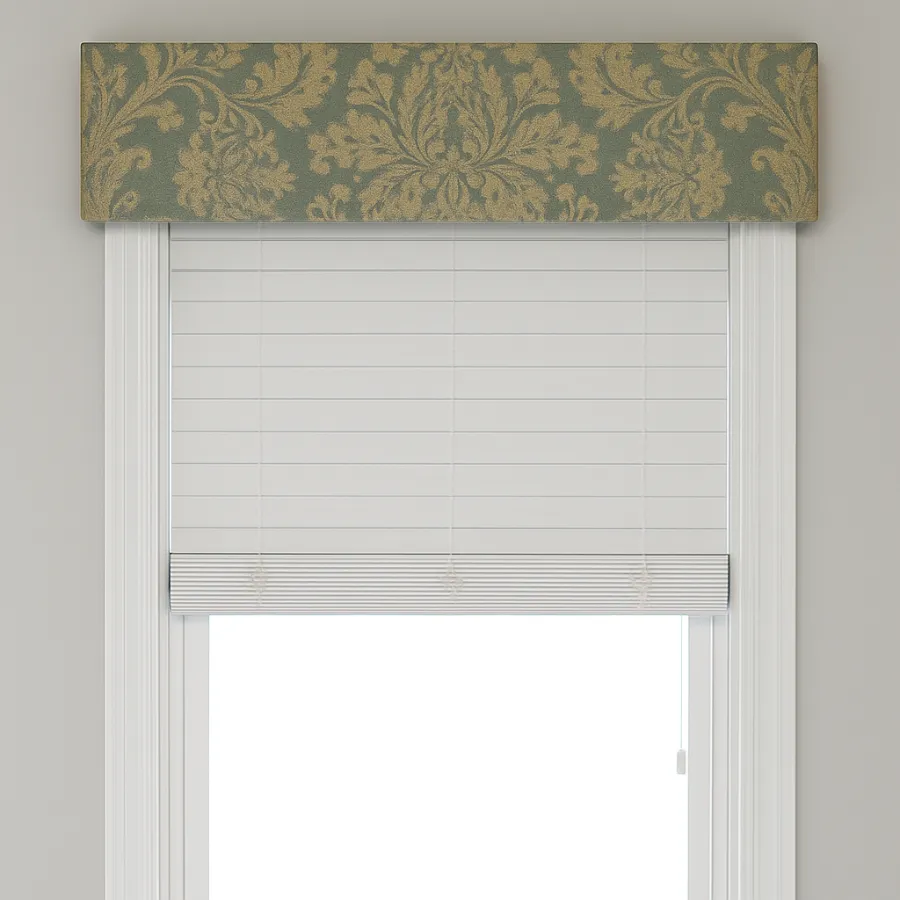
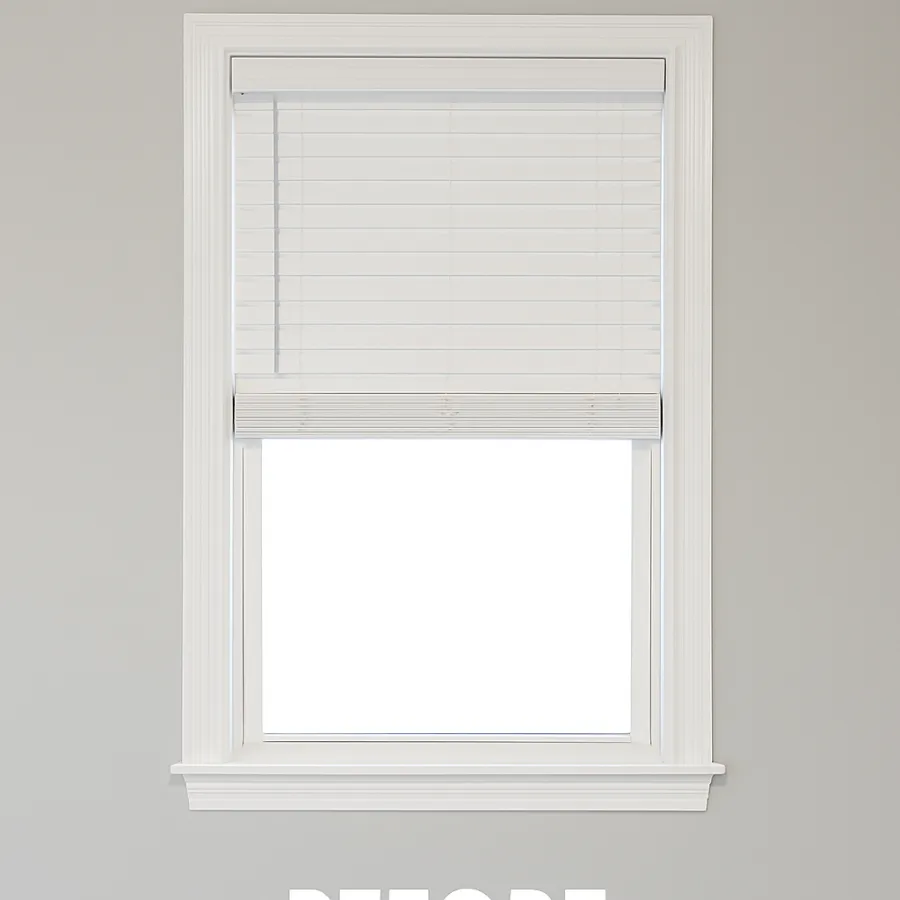
A cornice board is a decorative, immobile window treatment that sits at the very top of your window. Think of it as a shallow box or frame—sometimes covered in fabric, sometimes stained or painted wood—that hides curtain rods, blind hardware, or uneven edges around your window.
Unlike curtains or shades that move, cornices stay put. Their job is purely aesthetic:
- Hide functional parts like rods, brackets, or blinds.
- Add height and drama to your window.
- Introduce texture, color, and style to your room.
Cornice boards can be sleek and modern with straight edges, or more traditional with scalloped, arched, or layered profiles. They work beautifully in living rooms, bedrooms, kitchens, laundry rooms, and even bathrooms where space is tight but you still want a finished look.
Why Make a DIY Cornice Board?
Store-bought window treatments can be shockingly expensive, especially if you want a custom fit. A DIY cornice board, on the other hand, is:
- Budget-friendly – Most projects cost less than $50 in wood, fabric, and hardware.
- Beginner-friendly – Requires only basic tools and skills.
- Completely customizable – Choose the exact fabric, shape, and trim you love.
- Quick to build – Many DIYers finish in an afternoon.
In other words, if you want designer-level style without draining your wallet, this project is your friend.
Supplies and Tools You’ll Need
Most cornice boards require just a handful of materials you can grab at your local home improvement store. Here’s a standard supply list:
Materials
- Poster board or cardboard (for creating a template)
- Plywood or wood boards (around ½”–¾” thick)
- 2×4 or 1×4 lumber for the top and side pieces
- Poly-fil or batting (to soften the edges if fabric-wrapping)
- Fabric of your choice (1–2 yards, depending on window size)
- Optional: trim, cord, fringe, or nailhead accents
- Optional: lining fabric for the back
Tools
- Pencil & measuring tape
- Scissors
- Circular saw or hand saw (for cutting wood)
- Jigsaw (if making curves)
- Drill
- Staple gun & staples
- Sandpaper
- L-brackets or D-rings for mounting
Optional tools like a pneumatic stapler or miter saw make things faster, but they aren’t required.
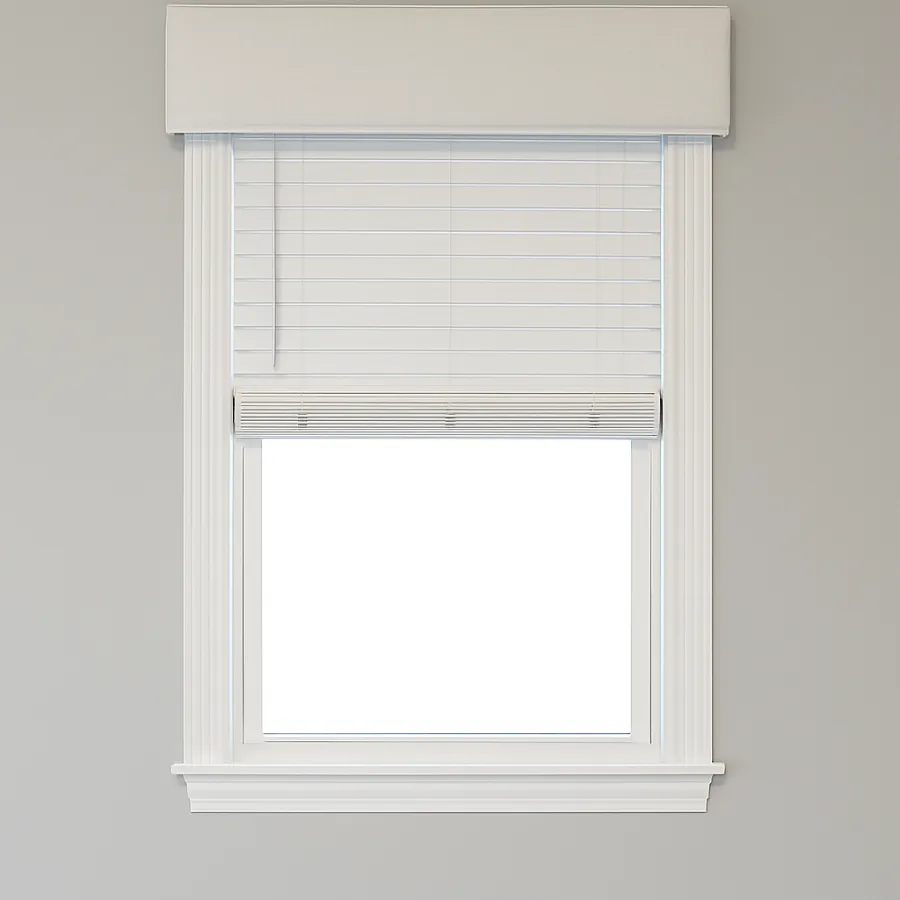
Step 1: Measure Your Window
Accurate measurements are key. Measure the width of your window including the casing, then add 4–6 inches total so your cornice extends 2–3 inches beyond the frame on each side.
For height, cornices usually cover the hardware and extend 12–20 inches downward. A taller cornice makes your window look grander and your ceiling higher.
Finally, measure depth. Make sure your cornice projects far enough from the wall to clear curtain rods or blinds—usually 3–5 inches.
Step 2: Create a Template
If you’re making a simple rectangular cornice, you can skip this step. But if you want curves, scallops, or a unique shape, draw it on poster board or cardboard first. Cut out your design and hold it above your window to test the proportions.
This step saves you from making mistakes on expensive wood.
Step 3: Cut the Wood Pieces
Using your measurements or template, cut the following:
- Front panel – the full width and height of your cornice.
- Side panels – two pieces cut to the depth and height.
- Top panel – cut to match the width of your front panel and depth of your sides.
Sand rough edges to avoid splinters and ensure a smooth fabric application later.
Step 4: Assemble the Frame
Attach the sides and top to the front panel using L-brackets and screws. Some DIYers use wood glue and clamps before adding brackets for extra sturdiness.
Check for squareness as you go. A crooked frame will be harder to cover neatly with fabric.
Step 5: Add Batting or Padding
If you’re planning a fabric-covered DIY cornice board, lay poly-fil or quilt batting across the front panel. Wrap it over the edges and staple to the back. This softens the corners and gives your finished piece a polished, upholstered look.
Trim away excess batting at the corners to avoid bulk.
Step 6: Cover With Fabric
Center your fabric across the front of the board. If it has a pattern (like stripes or damask), line it up carefully so it looks intentional. Flip the cornice frame over, pull the fabric taut, and staple it to the back.
Work from the center outwards, smoothing as you go. Treat the corners like wrapping a gift—neat folds are key.
Optional: If your window faces the street, you can also cover the back of the board with a neutral fabric for a clean look from outside.
Step 7: Add Embellishments (Optional)
Want to take it up a notch? Add:
- Nailhead trim around the edges
- Corded piping or fringe along the bottom
- Painted wood appliqués for a traditional look
Keep in mind—sometimes simple is best. A bold fabric alone can be enough to make a statement.
Step 8: Mount Your Cornice
There are two popular mounting methods:
- Bracket Method – Attach L-brackets to the wall above your window. Rest the cornice on top, then secure it with screws.
- D-Ring Method – Screw D-rings into the back of the cornice and hang it like a picture frame.
Both methods are sturdy; choose the one that works best for your tools and wall type.
Style Variations to Try
The beauty of a DIY cornice board is that it can look dramatically different depending on the materials and finish you choose. Here are some popular styles:
- Classic Rectangular – Clean and versatile, works with any décor.
- Curved or Scalloped – Adds softness and a touch of traditional charm.
- Rustic Wood – Skip the fabric and stain the wood instead for a farmhouse look.
- Layered with Molding – Attach crown molding or trim for a formal, architectural feel.
- Patterned Fabric – Use bold prints to add character to otherwise neutral rooms.
Tips and Mistakes to Avoid
- Don’t skimp on measurements. An extra inch can make or break the fit.
- Avoid super-heavy fabrics. Upholstery fabric works well; velvet can be too bulky for neat folds.
- Line up patterns. Misaligned stripes or plaids can make the whole piece look crooked.
- Mount at the right height. Higher placement makes your ceilings look taller.
- Keep it simple if you’re a beginner. Rectangles are far easier to cover than complex shapes.
Why You’ll Love Your DIY Cornice Board
When you finish your first cornice, you’ll likely do what so many DIYers admit—walk past the room repeatedly just to admire it. A DIY cornice board adds instant polish to your home, often making the biggest impact for the smallest investment.
You can build one in an afternoon, customize it endlessly, and enjoy the satisfaction of saying, “Yes, I made that.”
So whether you’re dressing up a laundry room, creating a cozy bedroom retreat, or adding elegance to your living room, a DIY cornice board is the kind of project that pays off every single day.


