The first time I saw bathroom paint peeling after a shower, I thought I had completely butchered the paint job. A tiny bubble appeared near the ceiling, then a wrinkle, then a strip of paint curled itself off the wall like it had been waiting for its dramatic exit. At first, I blamed the paint, then the brush, then myself. But after going through this cycle more times than I’d like to admit, I learned the truth: bathroom paint doesn’t peel because of one mistake. It peels because bathrooms are practically moisture-pressure cookers, and unless the walls and paint are prepared for that environment, peeling becomes almost inevitable.
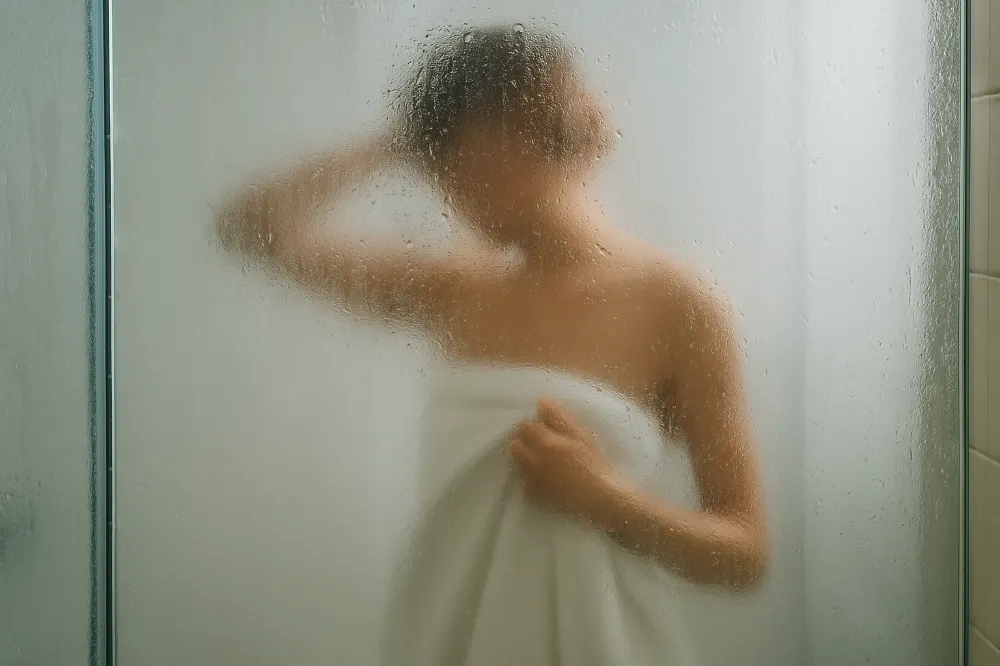
Every shower releases a ton of warm moisture into the air. That steam rises immediately and coats the entire room. What looks harmless is actually the start of a slow breakdown process. Steam hits the cooler walls and ceiling, turns into condensation, and settles onto the paint. That moisture finds the tiniest imperfections little cracks, pores, or weak spots and begins slipping behind the paint film. Once moisture gets behind paint, it’s only a matter of time before peeling begins. Watching it happen made me realize how much paint actually has to withstand in a bathroom.
To understand why moisture behaves this way, I even looked up how humidity and condensation work. The U.S. National Park Service has a great breakdown of how moisture moves and how condensation forms on cooler surfaces, and it helped me understand why bathrooms are so prone to paint failure. One of the clearest explanations is here: https://www.nps.gov/articles/000/humidity-and-moisture-in-buildings.htm. After reading that, the behavior of steam in my bathroom suddenly made a lot more sense.
Steam: The Hidden Enemy
What surprised me most was how invisible the damage is at first. Steam doesn’t scream, “Hey! I’m ruining your paint!” It quietly softens the paint film over time. If the paint isn’t designed to resist high humidity, it slowly loses elasticity and strength. The steam cools, turns into tiny droplets, and sits on the surface until it either evaporates or works itself behind the paint layer. And because this happens every day sometimes multiple times a day the damage builds until the paint finally lets go.
I used to think only direct water splashes caused peeling. But the truth is, steam is the real villain. It seeps into places water droplets from a showerhead never even reach. That’s why peeling often happens high on the walls or directly on the ceiling above the shower.
When Poor Ventilation Turns a Bathroom Into a Moisture Trap
Once I understood how steam behaves, the next big problem became obvious: ventilation. Poor ventilation is one of the biggest reasons bathroom paint peels after showers. For years, I assumed that having an exhaust fan meant I was safe. I couldn’t have been more wrong.
A weak fan doesn’t remove moisture. A dusty fan doesn’t remove moisture. A fan that only runs while the shower is on doesn’t remove moisture. If your bathroom stays foggy or the mirror stays wet for more than ten minutes, moisture is hanging around long enough to cause damage. The room needs to fully dry between showers, and many bathrooms simply don’t do that on their own. The day I upgraded my fan and actually cleaned the vent duct was the day the mirror started clearing faster and oddly enough, the walls felt less “clammy.” That change alone made a noticeable difference in how quickly the bathroom dried after a shower.
The Wrong Paint Choices (My Most Expensive Lesson)
Another big cause of peeling? The wrong paint. I used to grab whatever leftover can I had in the garage. If it said “interior paint,” I figured it would work for any interior room including the bathroom. Unfortunately, bathrooms are their own world. They need paint that is moisture-resistant, mold-resistant, and durable enough to handle extreme humidity spikes.
Flat finishes, cheap paints, or old cans past their prime absorb moisture instead of repelling it. When paint absorbs moisture, it softens, swells, and finally releases its grip. Bathroom paint has to be tougher than normal paint, especially around the ceiling and the shower surround. Even learning how different types of paint behave helped me make better choices. The Wikipedia article on latex paint was surprisingly useful in explaining why some paint types can expand and contract with humidity better than others. After reading that, I stopped grabbing random cans and started buying paint that said “bathroom,” “kitchen & bath,” or “moisture-resistant.” It made a noticeable difference.
Prep Work Problems That Come Back to Haunt You
Bad prep work is another reason bathroom paint lets go. And honestly, most people don’t realize how much grime ends up on bathroom walls. Between soap residue, dust, hairspray, skin oils, and leftover moisture from previous showers, walls get coated with a film you can’t always see.
If paint sticks to residue instead of the wall, the bond will fail eventually. And bathrooms expose that bond to more stress than any other room. Before repainting, the walls need to be scrubbed, rinsed, dried, sanded, and primed. It’s not glamorous work, but skipping it almost guarantees peeling later. I once painted over a wall that “looked clean” but definitely wasn’t. It peeled within a month. Now I always wash the walls like I’m prepping for a surgery room.
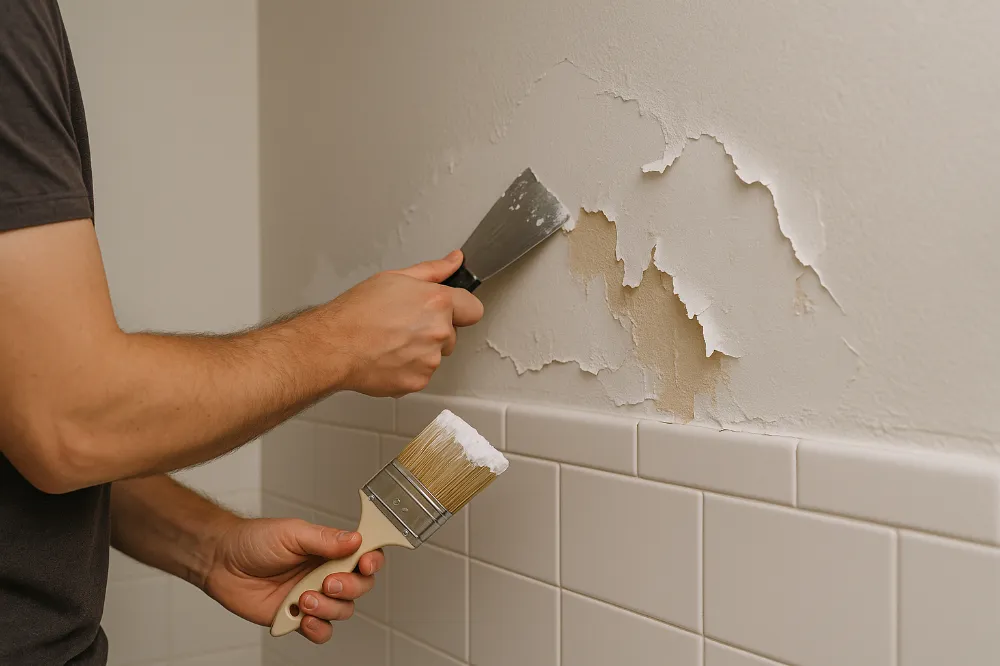
Painting Over Old Damage Without Fixing It
If peeling paint already exists, painting over it is like sticking tape on crumbling plaster. It might hold for a little while, but eventually the weak layer underneath pulls everything off with it. Paint needs a strong foundation. If the previous layer is failing, the new layer will fail too no matter how good the paint is. I learned to scrape farther than I think I need to. Peeling often spreads beneath the surface, even in places that look fine. If I don’t remove every loose edge, the new paint will eventually bubble around it.
Cracked Caulk and Hidden Water Intrusion
Another sneaky cause is cracked caulk around the tub, shower wall seams, or even the sink area. When caulk fails, water sneaks behind the walls not just on the surface. Once moisture gets behind the drywall, the paint starts peeling from underneath. This kind of peeling usually shows up in weird spots, like halfway up the wall or near corners. I never realized how powerful a tiny caulk crack could be until I had to replace a small section of drywall that had turned mushy. Now I inspect caulk regularly. It’s one of those small habits that prevents huge problems.
Aging Paint Layers That Can’t Keep Up
As bathroom paint gets older, it becomes less flexible. Humidity and heat cause expansion, while cooldown causes contraction. If the paint is old, brittle, or several layers thick, this constant movement eventually cracks it. Once cracks form, steam gets inside and peeling begins. Old houses with layer upon layer of paint often peel faster because the base layers fail, not the new ones. That’s why it sometimes feels like nothing “sticks” in an older bathroom unless you start fresh.
When Painting Technique Becomes the Problem
Painting seems simple, but technique actually matters. Thick paint layers trap moisture. Painting too soon after a shower traps moisture. Not allowing each coat to dry fully traps moisture. All of these things eventually cause peeling. The bathroom has to be bone-dry before painting no humidity, no damp drywall, no sticky walls. After enough repainting failures, I became religious about letting each coat dry properly. Rushing always backfires.
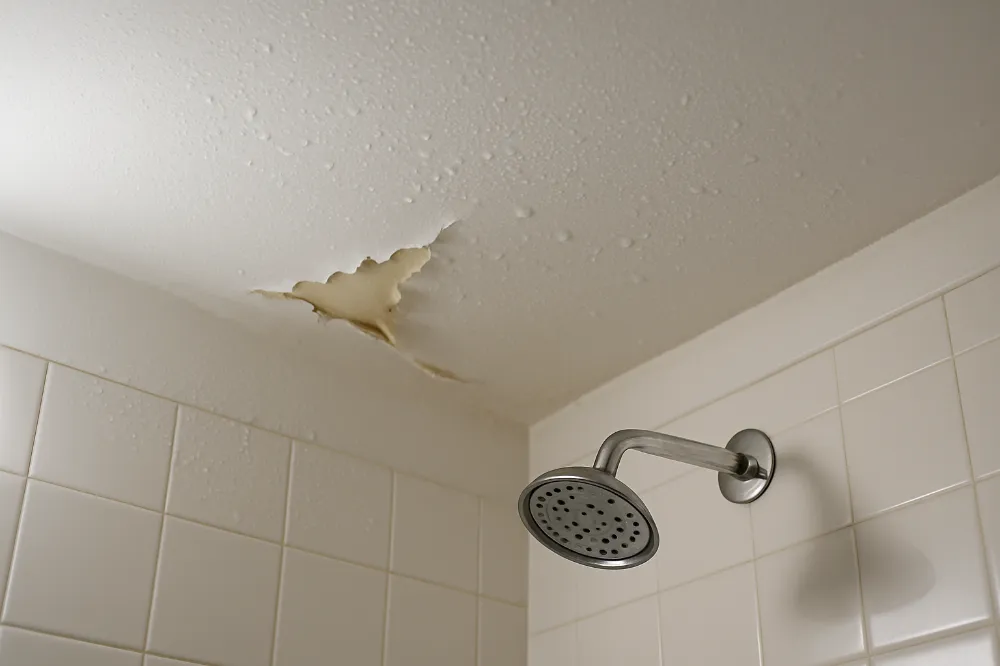
Condensation: The Ceiling’s Silent Destroyer
Bathroom ceilings face the harshest conditions. Steam rises directly upward and hits the coldest surface first the ceiling. If the ceiling paint isn’t moisture-resistant, it absorbs steam like a sponge. Over time, the ceiling becomes the first place to bubble, stain, or peel. I started noticing tiny “sweat” droplets forming above the shower even after short showers. That’s when I realized the ceiling needed the strongest paint in the entire bathroom, not the leftovers from painting the hallway.
Fixing Peeling Bathroom Paint the Right Way
Once paint starts peeling, the only effective fix is the full process: scraping, cleaning, repairing, priming, and repainting with the right paint. Skipping steps guarantees the peeling will return. It took me a few frustrating attempts before I learned that bathroom walls need more love than any other room. The most important step isn’t even the paint it’s the ventilation. A freshly painted bathroom with poor airflow will peel just like before. Improving the fan, running it longer, cracking the door, or installing a humidity-sensing fan made the biggest long-term difference for me.
What Finally Worked for Me
It took a few failed attempts, but once I combined proper prep, moisture-resistant primer, bathroom-safe paint, and a stronger exhaust fan, the peeling finally stopped. Now my bathroom walls look fresh longer, and I spend far less time repainting the same endlessly failing spots.
The Lesson Behind It All
Peeling bathroom paint isn’t a sign of bad painting skills. It’s a sign the room is hostile to normal paint. Once you understand the role of steam, ventilation, prep work, paint type, and caulk, everything about bathroom paint failure starts to make sense. Bathrooms require specific care, but once you do it right, the walls stay clean, smooth, and most importantly peel-free.
FAQs
Steam and moisture seep behind the paint, weakening its bond and causing it to lift or bubble.
Yes. Without proper airflow, humidity lingers and prevents the paint from fully drying, leading to peeling.
Absolutely. Regular interior paint isn’t made for high-moisture areas and will peel faster in bathrooms.
A weak or dirty exhaust fan can’t remove humidity effectively, which increases the chance of peeling.
Yes. A moisture-resistant or mold-resistant primer creates a stronger base that helps prevent peeling.
Yes. Older layers may have weakened adhesion, and new paint will peel off along with them.
Sometimes. Peeling in unusual areas or near seams can indicate moisture intrusion from failed caulking or leaks.
No. You must scrape off loose paint, clean the surface, repair damage, prime, and repaint properly.
Often yes, because steam rises and condenses on the ceiling, making it the most moisture-exposed surface.
Improving ventilation helps significantly, but proper prep, primer, and the right paint are still essential.


