The Aftermath of a Fresh Driveway
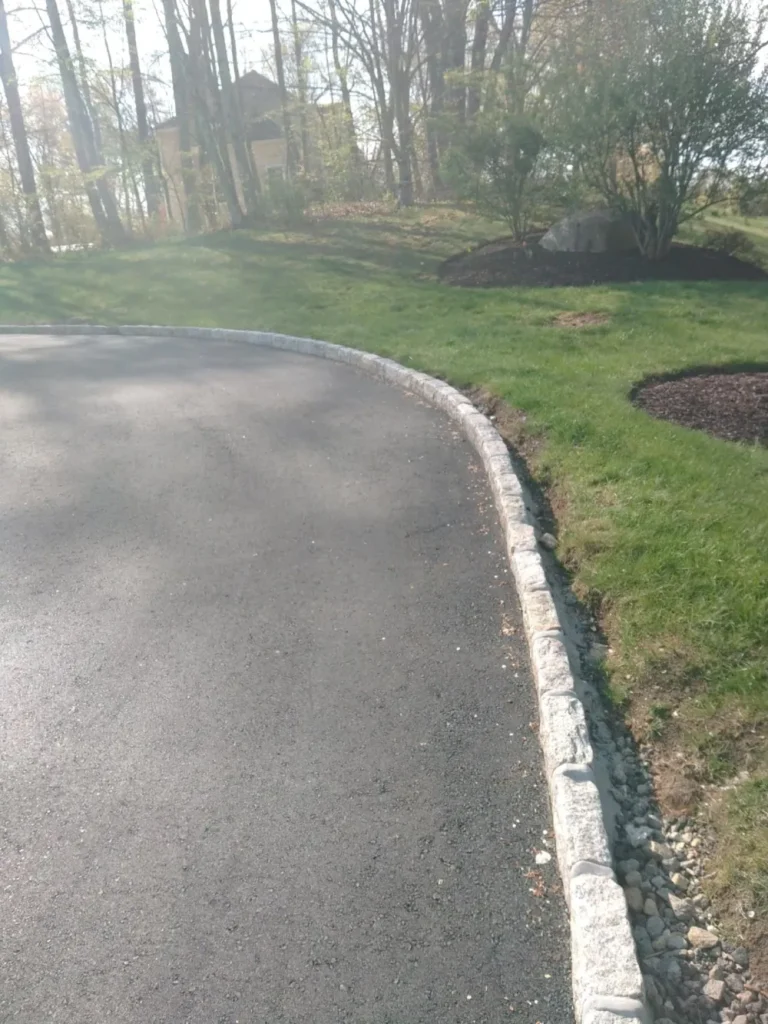
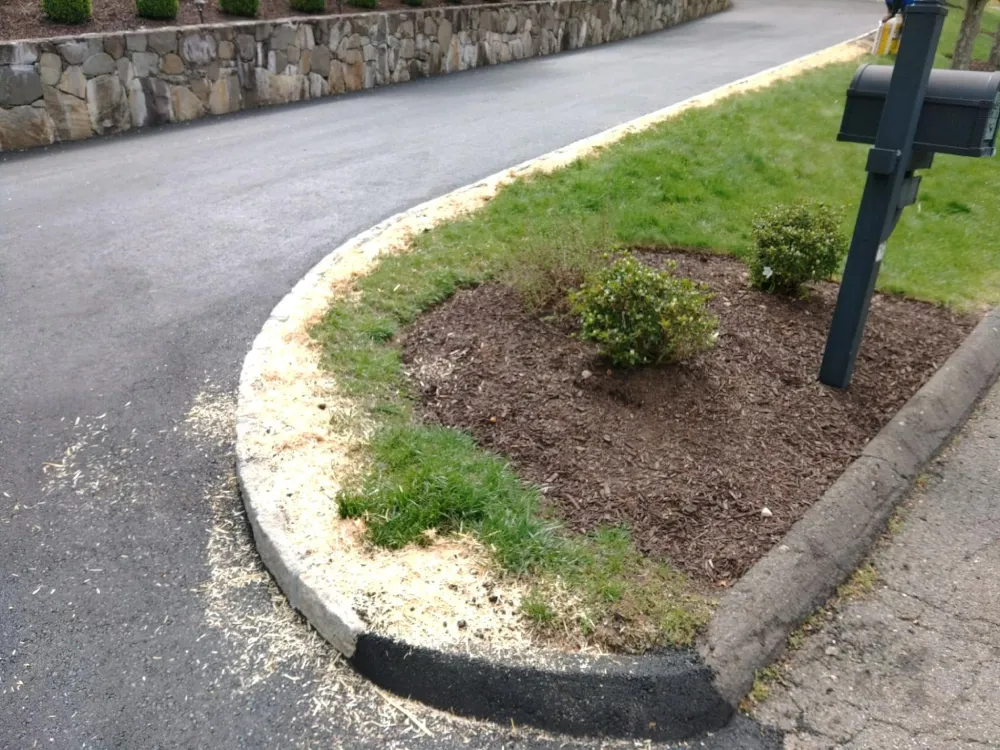
There’s something undeniably satisfying about pulling into a brand-new driveway. The crisp lines, the smooth surface, the way it immediately elevates your home’s curb appeal, it all feels like a fresh start. But then your eyes wander. What used to be soft lawn bordering that concrete (or pavers, or asphalt) is now patchy dirt, scattered rocks, and sad-looking grass hanging on for dear life.
It’s a classic trade-off. Heavy machinery and construction don’t exactly tread lightly, and while the driveway looks fantastic, the surrounding lawn often looks like it’s been through a battlefield. Bare patches, compacted soil, and leftover debris are common side effects. And here’s the thing: if you leave it as is, those dirt edges won’t just look bad. They’ll erode, track mud onto your driveway, and create an open invitation for weeds. A fresh driveway coating can help resist staining and make cleanup easier.
But the silver lining? Reseeding around a driveway is one of those rare homeowner projects that checks all the boxes: affordable, beginner-friendly, and surprisingly rewarding. If the DIY route feels overwhelming, you can always look into professional help through companies like https://yardgoats.io/.
So, how do you get there? Let’s break it down step by step, casual, practical, and doable for anyone with a free afternoon.
Why Reseeding Matters More Than You Think
It’s easy to underestimate the impact of reseeding. After all, grass grows everywhere, right? Wrong. Grass might be hardy, but it’s not magic. Here’s why reseeding around a new driveway is more than just a cosmetic touch-up:
Soil Compaction: The Silent Killer
When construction equipment rolls over soil, it squeezes out the air pockets roots need to breathe. Imagine trying to grow in concrete, that’s basically what grassroots face in compacted earth. Unless you loosen it, seed won’t stand a chance.
Dead Grass & Bare Soil
Heavy tires and foot traffic don’t just bend grass; they crush it. And bare soil? It’s not a blank canvas, it’s an open invitation for erosion and weeds. Without reseeding, those spots won’t fill themselves in.
Debris That Chokes Growth
Gravel, bits of asphalt, and stray concrete often scatter into the lawn during construction. They might seem harmless, but they block sunlight, trap heat, and suffocate new growth.
Aesthetics and Practicality
Let’s be honest, nothing ruins the clean look of a driveway like mud streaks after a rainstorm. Reseeding not only restores the green frame but also helps stabilize the soil, preventing erosion and keeping your driveway spotless.
Reseeding isn’t just a finishing touch, it’s part of the project. Like putting trim around a window, it completes the picture.
Step-by-Step Guide: From Dust to Lawn
You don’t need a landscaping crew or fancy tools. Just some elbow grease, a weekend, and a bit of patience. Here’s how to reseed like a pro while still feeling like a DIY champ.
1. Clear the Stage
First things first: tidy up. Grab a flat shovel or a sturdy rake and remove every bit of debris—rocks, leftover gravel, chunks of concrete, even dead grass. Think of it as wiping the canvas before you start painting. If the soil is uneven, level it out.
Pro tip: Keep an eye out for buried construction sand. It drains too quickly for grass roots, so rake it out if you find pockets of it.
2. Loosen Up That Soil
Compacted soil is the number one reason reseeding fails. Use a garden rake, pitchfork, or even a manual cultivator to break up the top two to three inches of soil. The goal isn’t deep tilling, it’s creating just enough texture so roots can wiggle their way down.
If the ground is rock-hard, water it lightly the night before. Damp soil breaks apart more easily. By the end, it should feel crumbly in your hand, not like packed clay.
3. Add a Fresh Layer (If Needed)
Check the soil line next to your driveway. If it dips below the edge of the concrete, fill it with a thin layer of topsoil or compost. Not only does this level things out, but it also enriches the seedbed. Aim for about one to two inches.
Even if the soil looks decent, sprinkling compost helps. It’s like giving your lawn a vitamin boost right at the start.
4. Pick the Right Grass Seed
Here’s where people often overthink. You don’t need exotic blends, just match what’s already in your lawn. In most parts of the U.S., a sun-and-shade mix with ryegrass, fescue, and bluegrass works beautifully. If your driveway edge sits under trees, go with a shade-tolerant blend.
And here’s the fun part: spreading seed. For small strips, hand-seeding works fine. For larger areas, use a handheld spreader for even coverage. The rule of thumb: seeds should be visible on the soil, but not piled up like bird feed.
5. Rake, Tamp, and Mulch
Gently rake the seeded soil so the seeds settle about ¼ inch deep. Don’t bury them; they need light. Then, lightly tamp the area, either with a roller or by walking gently with flat shoes. This presses the seeds into contact with soil without compacting it again.
Finally, cover the area with straw mulch. Not a haystack, just a thin layer that leaves about half the soil visible. Straw keeps moisture in, deters birds, and shades the seedbed just enough.
6. Watering: The Deal-Maker
Watering is where reseeding projects succeed or flop. Right after seeding, water with a fine mist until the soil is evenly moist. For the first two weeks, keep the soil constantly damp. Sometimes that means watering two to three times a day, especially in hot or windy weather.
After sprouts appear (usually 7–14 days), taper down. Water less often but more deeply, encouraging roots to grow strong. By week four, you should be able to shift toward a normal lawn schedule.
7. First Mow (Don’t Rush It)
The first mow is like a rite of passage. Wait until new grass hits about three inches tall. Set your mower high (around 2.5 to 3 inches) and use a sharp blade. Cut gently and avoid sudden turns. Think of it like trimming baby hair, it’s delicate.
A Few Tangents You’ll Thank Me For
Now, let’s pause for a moment. Because reseeding isn’t just about seed and water, it’s tied into bigger habits of lawn care. Here are a couple of extra thoughts:
- Weed Patrol: Resist the urge to spray herbicides early. Hand-pull weeds if they pop up until your new grass is strong.
- Season Timing: Fall is often the best time to reseed, cooler temps, steady rain, and fewer weeds. Spring works too, but be ready for more maintenance.
- Alternative Borders: If you’re feeling adventurous, consider mixing clover into your seed. It creates a soft edge, needs less water, and stays green even when grass goes dormant.
And because homeowners love to share war stories: yes, there will be moments when birds peck at your seed, when rain washes out a strip, or when sprouts look patchy. Don’t panic. Grass is forgiving. Reseeding thin spots is easy, just repeat the steps in those areas.
The Emotional Payoff
There’s something deeply satisfying about watching bare soil transform into green. It’s not just aesthetics, it’s a feeling of restoration, of taking back what construction temporarily ruined. The driveway goes from looking like it was dropped on your yard to being part of your home’s natural rhythm.
Neighbors notice too. A lush, framed driveway makes the whole property look intentional and cared for. And let’s be honest, it feels good when someone walks by and says, “Your lawn looks great.”
From Bare to Beautiful
Reseeding around a new driveway might seem small, but it’s one of those projects that pays off in both looks and function. You’ll spend a weekend clearing, loosening, seeding, mulching, and watering, but the payoff lasts for years.
Soon, those ragged edges will be a soft carpet of grass, blending seamlessly into the rest of your lawn. Your driveway will look even better than it did on installation day, framed in green instead of brown.
So grab your rake, pick up that bag of seed, and get started. Because honestly, nothing beats the feeling of pulling into your driveway and seeing a perfect, finished landscape, one you restored with your own hands.


