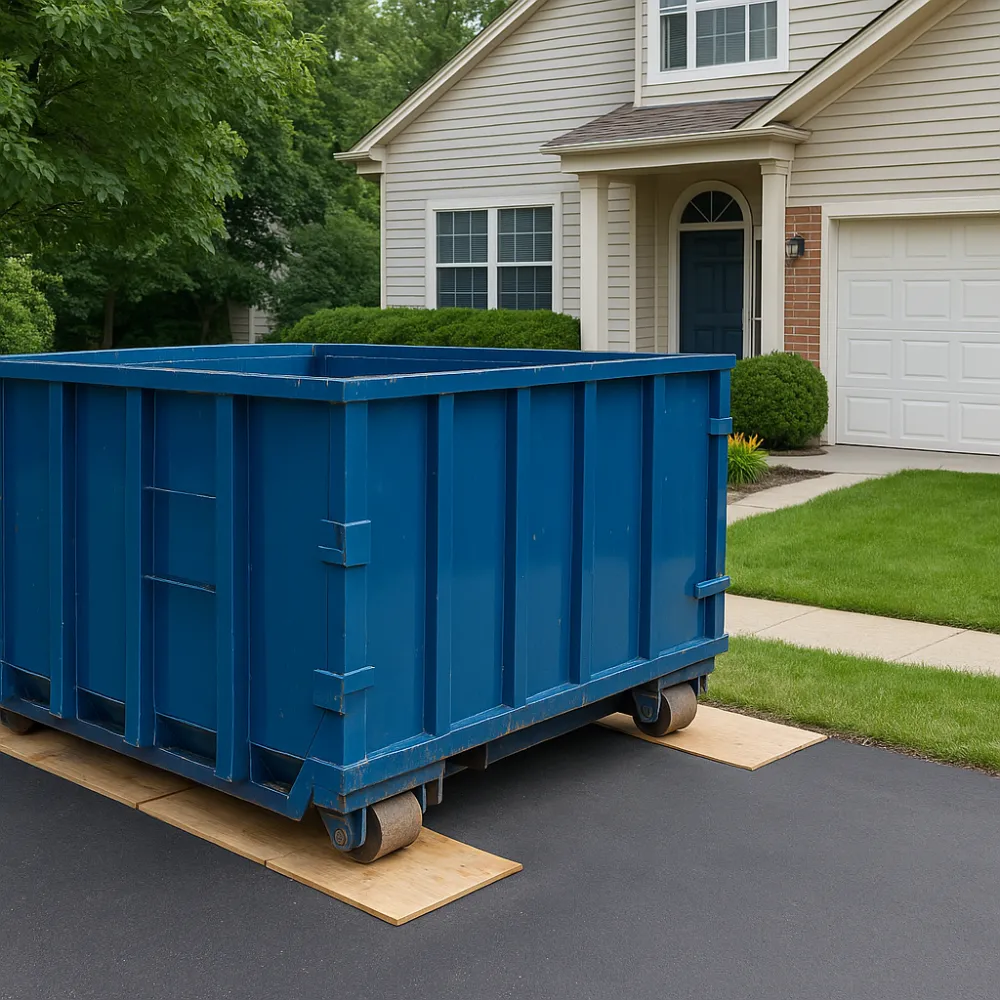
Renting a dumpster is one of the easiest ways to manage waste during a home renovation, cleanout, or landscaping project. But before the container arrives, it’s important to prepare your property—especially your driveway. A little preparation goes a long way in ensuring a smooth delivery, protecting your surfaces, and making cleanup as convenient as possible.
Here are some practical tips every homeowner should know before scheduling a dumpster drop-off.
1. Clear the Driveway of Vehicles and Obstacles
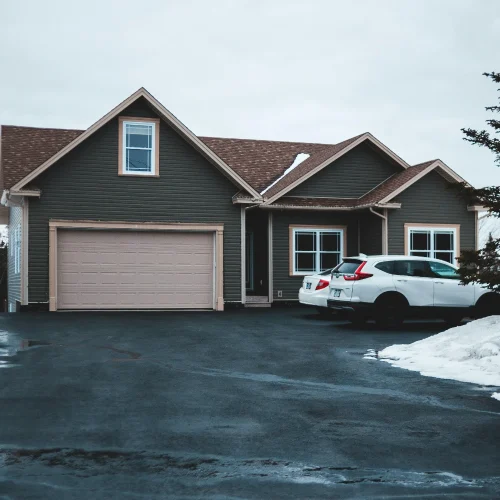
Dumpster delivery trucks need plenty of space to maneuver. Before your scheduled drop-off, move any vehicles, lawn equipment, or other obstacles out of the driveway. Make sure the area is completely clear so the driver can safely position the container.
If your driveway is narrow or shared with a neighbor, it’s a good idea to let them know about the delivery in advance. This helps avoid parking conflicts and ensures smooth access. For longer projects, consider asking family members and guests to park elsewhere to keep the driveway open at all times.
2. Protect Your Driveway Surface
Dumpsters are heavy, especially once loaded with debris. To prevent damage to your driveway, place protective materials where the container will sit. Sheets of plywood, thick boards, or even heavy-duty mats can act as a buffer between the dumpster and your pavement.
This simple step helps prevent scratches, cracks, or indentations, particularly on asphalt or decorative concrete driveways. If you’re renting during hot weather, driveway protection is even more important since asphalt softens and is more prone to damage.
3. Choose the Best Placement
Think about how you’ll load debris into the dumpster. Ideally, the container should be placed close to the work area for easy access but not so close that it blocks entryways or garage doors.
Also, consider overhead clearance. Delivery trucks need vertical space to raise and lower the dumpster, so avoid placing it under low-hanging tree branches, power lines, or carports.
4. Plan for Easy Loading
If you’ll be disposing of heavy or bulky items like furniture, appliances, or construction debris, make sure the dumpster is positioned in a way that makes loading simple. Many roll-off dumpsters have doors that swing open, allowing you to walk items in rather than lifting them over the side. Leave enough space behind the container to use these doors comfortably.
5. Check Local Regulations and Permits
In some neighborhoods, placing a dumpster on the street may require a permit. Even if you’re placing it in your driveway, homeowners’ associations (HOAs) may have rules about placement or rental duration. Be sure to check with your city or HOA before delivery to avoid fines or conflicts.
6. Communicate with Your Rental Provider
When scheduling your residential dumpster, share any special instructions with your rental company. Let them know about narrow driveways, steep slopes, or other potential challenges. Reliable providers work with you to ensure safe placement and a hassle-free delivery.
Weather and Seasonal Considerations
The time of year can make a big difference in how well your driveway holds up under the weight of a dumpster. In the summer, for example, asphalt tends to soften, which makes it more vulnerable to dents or ruts. Winter, on the other hand, can bring icy conditions that create slipping hazards for both delivery drivers and homeowners loading the container. Rainy seasons introduce mud and pooling water, which complicates truck access and can leave a mess behind. Whenever possible, schedule deliveries during dry periods, and consider laying down extra plywood or a tarp to help stabilize the container in unpredictable weather.
Keeping Families and Pets Safe
A dumpster sitting in the driveway is a natural curiosity for kids and pets. Unfortunately, it can also be dangerous. Children may see it as a fort to play in, while pets might wander inside or around it. For safety, make sure to keep the doors closed when not in use, and remind family members not to climb on or near the dumpster. If the project will take several weeks, it may even be worth adding a temporary barrier such as caution tape or cones around the area to clearly mark it off-limits.
How Long Should You Keep the Dumpster?
Another factor that often gets overlooked is rental duration. Most projects don’t wrap up in a single day, so planning the right timeline is essential. Small weekend cleanouts may only require a container for three to five days. Mid-sized renovations, like a bathroom or kitchen remodel, typically need one to two weeks. Large-scale cleanouts or construction projects often stretch into several weeks or more. When scheduling, be realistic about how long your project will last and ask your provider about extensions just in case you need extra time.
Picking the Right Dumpster Size
Choosing the correct container size prevents frustration, additional costs, and wasted time. Too small and you’ll end up ordering a second dumpster; too large and you’ll be paying for unused space.
Here’s a quick guide to help:
| Dumpster Size | Capacity Estimate | Best For |
|---|---|---|
| 10-yard | 3 pickup truck loads | Small garage cleanouts, yard waste |
| 20-yard | 6 pickup truck loads | Roofing, kitchen or bath remodels |
| 30-yard | 9 pickup truck loads | Large renovations, whole-home cleanouts |
| 40-yard | 12 pickup truck loads | New construction, commercial projects |
A good rule of thumb: if you’re unsure, choose the next size up. It’s usually cheaper to pay for a slightly larger container than to arrange for an additional drop-off.
Preventing Mess and Stains
Even if your driveway doesn’t crack, stains are another issue homeowners should be prepared for. Dumpsters may leave behind rust, dirt, or even bits of trash that fall during loading. To minimize mess, place a tarp or plywood under the container. During the project, sweep around the dumpster every day to catch nails, glass, or splinters that could damage tires or injure someone. Once the dumpster is removed, give the driveway a quick rinse with a hose and scrub any stains with soap and water.
Tips for Efficient Loading
The way debris is loaded into the dumpster affects safety, space, and cost. Always start with the heaviest items on the bottom to distribute weight evenly. Furniture and bulky items should be broken down whenever possible. If your dumpster has swinging doors, take advantage of them—walking heavy items in is much easier than trying to lift them over the edge. Finally, resist the urge to overfill. Not only is it unsafe, but most providers will refuse pickup if items are sticking out above the rim.
Saving Money on Dumpster Rentals
Dumpster rentals are convenient, but they can also be costly if not managed wisely. Here are a few cost-saving strategies:
- Rent the correct size to avoid the expense of multiple containers.
- Schedule pickup promptly after your project ends to avoid late fees.
- Stay under the weight limit to prevent overage charges.
- If you and a neighbor both have small projects, consider splitting a single rental.
These small steps can reduce your final bill significantly.
Alternatives if the Driveway Won’t Work
Sometimes, the driveway simply isn’t an option. In that case, homeowners still have alternatives. With the right permit, many cities allow dumpsters to be placed on the street in front of your property. Another option is to place the container on a section of your yard, though this requires extra boards or mats to prevent deep ruts. For tight spaces, some people choose to rent a smaller container and arrange for multiple pickups. Talking with your provider about these options can help you find the best fit for your property.
Final Driveway Cleanup
Once the dumpster is gone, your project isn’t quite finished until the driveway is restored. Take a few minutes to inspect the area for cracks, scrapes, or leftover debris. Sweep the surface and hose it down to wash away dust and small particles. For asphalt driveways, resealing every few years helps protect against heavy loads and keeps the surface looking fresh. These final steps ensure your driveway looks as good after the project as it did before.
Key Takeaways
Preparing your driveway for a dumpster is about more than just creating space. It’s about protecting your property, ensuring safety for your family, and keeping your project on schedule. A thoughtful plan that considers weather, driveway protection, container size, and safe loading techniques will make the entire process smoother and more cost-effective.
Preparing your driveway for a dumpster delivery doesn’t take much effort, but it makes a big difference in protecting your property and keeping your project on track. By clearing space, protecting your surface, and planning for easy access, you’ll set yourself up for a smooth and stress-free experience. Taking these extra steps also helps your rental provider deliver and pick up the dumpster more efficiently, saving you time and avoiding unnecessary delays.


