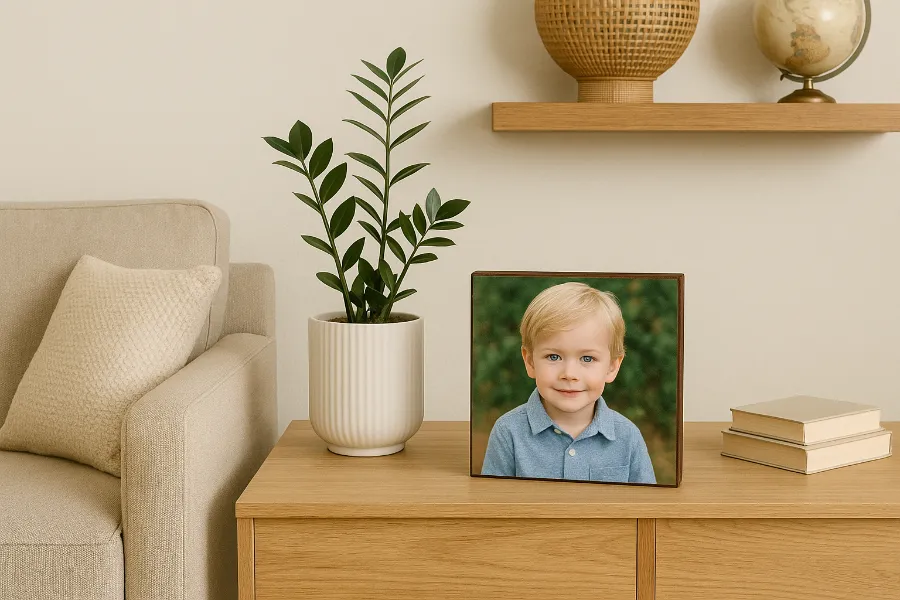
Memories deserve more than sitting in a digital folder. They should be seen, felt, and cherished daily. That’s where mounting photos on wood or board comes in. It’s a stylish way to showcase pictures that matter most, whether you’re decorating your home, creating a thoughtful gift, or making something artistic that lasts. Unlike a traditional frame, this technique blends photography with the natural beauty of wood or the sleek finish of mounting boards, giving your photos a unique depth and character.
Let’s dive into how you can bring your photos to life with wood or board backing—and why this method is quickly becoming a favorite among DIYers, decorators, and professional photographers alike.
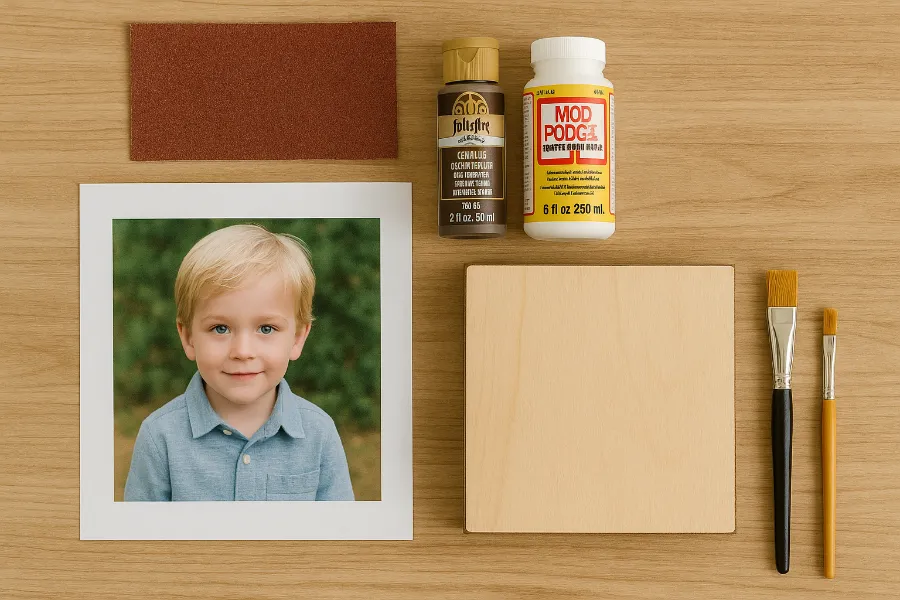
Choosing Your Materials
Before you begin, you’ll need to decide whether you’re mounting onto wood or a mounting board. Each option gives a different feel:
- Wood boards: Rustic, textured, and perfect for giving your photo a canvas-like look. Great for gifts, home décor, and statement wall pieces.
- Mat boards and MDF boards: Sleek, lightweight, and ideal for more traditional framing or gallery displays.
When choosing your photo:
- Go for laser prints or photo paper prints from a reliable service (Target, Walmart, Walgreens, or online printers).
- Avoid fragile inkjet prints if you plan on using wet adhesives or Mod Podge.
Pro tip: Always make a digital copy of irreplaceable photos before working with them.
Preparing the Wood or Board
A polished base means a polished final product.
- Cutting the board: Buy pre-cut squares or have a large wood plank cut into sections at your local hardware store. For boards, stick with acid-free options to ensure longevity.
- Sanding the edges: Smooth edges prevent splinters and give your piece a refined finish.
- Painting or staining the sides:
- Match the color to your photo (for example, dark edges for black-and-white prints).
- Paint both sides if you’re giving it as a gift for a professional finish.
- Sealing the wood (optional): A thin coat of clear gesso or primer can help protect the surface before applying adhesives.
Mounting Photos on Wood
Mounting directly on wood is one of the most popular DIY methods. Here are your main options:
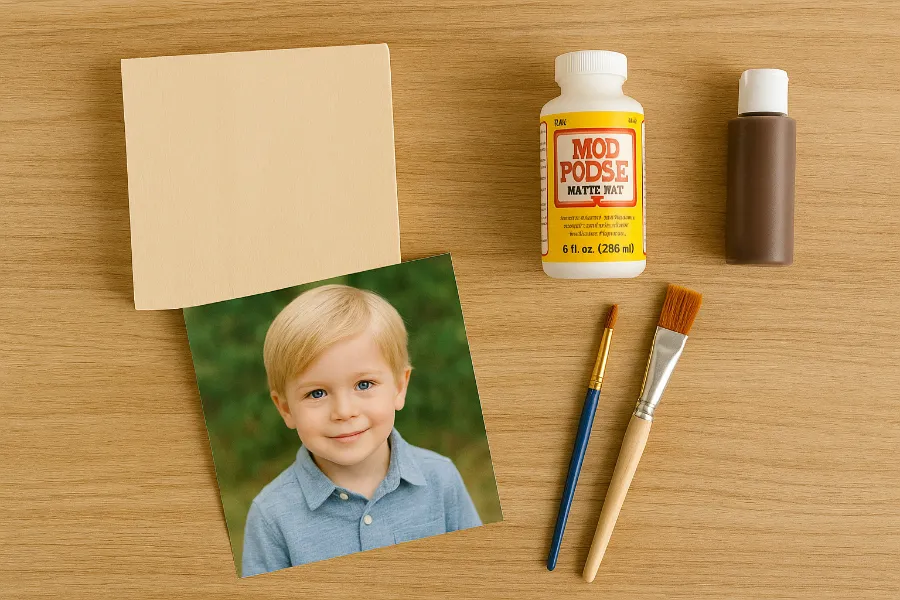
1. Mod Podge Photo Transfer Method
- Brush a thin, even coat of Matte Mod Podge onto the wood surface.
- Place your photo print face-up, smoothing from the center outward to eliminate bubbles.
- Once dry, brush a second coat of Mod Podge on top using horizontal strokes.
- Let it dry, then add another coat with vertical strokes for a subtle cross-hatched, canvas-like texture.
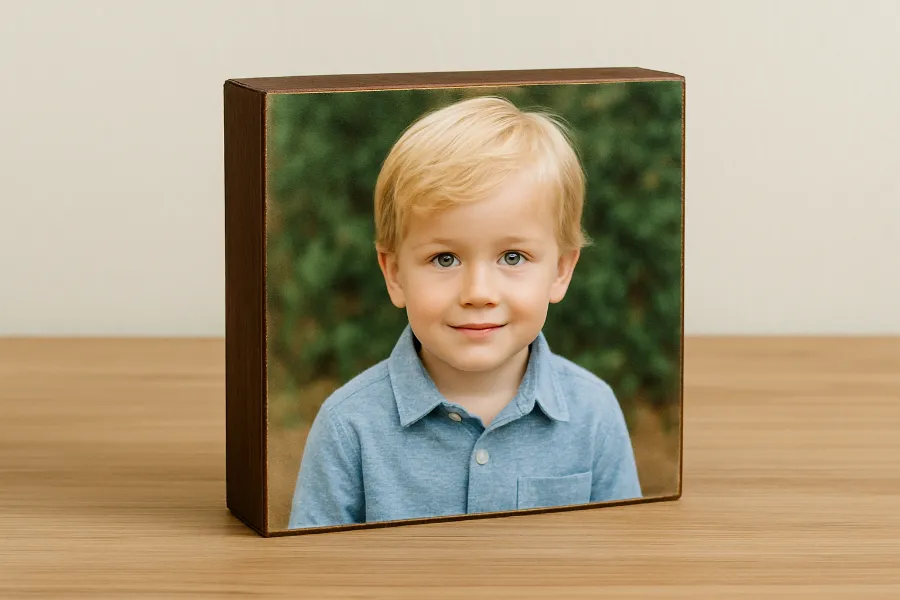
The result? A professional, textured finish that looks far more expensive than it actually is.
2. Spray Adhesive Mounting
- In a well-ventilated area, spray the back of your photo with an even layer of photo-safe adhesive.
- Position carefully—this method doesn’t allow for much adjustment.
- Smooth it with a soft cloth or roller to prevent bubbles.
This is one of the easiest ways to mount a photo on wood permanently.
3. Wet Glue Application
- Apply a thin layer of photo-safe glue to the wood.
- Place your photo, then cover with glass or acrylic and allow to dry under pressure for 12–24 hours.
- Works well, but you must avoid excess glue seeping out.
Mounting Photos on Board
If you’re aiming for a clean, archival-quality display, mounting on mat or MDF boards is the way to go.
1. Using Photo Corners and Archival Hinging Tissue
- Attach your photo with acid-free photo corners.
- Use hinging tissue or tape along the top edge only, letting the photo naturally expand and contract with humidity.
- This is the preferred method for museums and galleries.
2. Dry Mounting
- Sandwich a sheet of dry-mount adhesive between the photo and board.
- Press with heat in a dry-mount press.
- This method is permanent, so it’s best for prints rather than original, irreplaceable photos.
3. Pressure-Sensitive and Spray Adhesives
- Products like Perfect Mount boards come with a pre-applied adhesive.
- Peel away the protective sheet, place your photo, and apply pressure.
- Easy, clean, but not archival long-term.
Tips for a Professional Finish
- Add texture: Use brushstrokes of Mod Podge for a canvas effect.
- Seal the surface: A light spray lacquer over the edges and back helps protect against humidity.
- Hanging methods:
- Command strips for lightweight boards.
- Sawtooth hangers for heavier wood.
- Velcro strips if you want repositionable displays.
Conservation & Longevity Considerations
When mounting photos on wood or board, ask yourself: Is this a keepsake or a décor piece?
- Archival methods (photo corners, hinging tissue) keep your image safe and reversible.
- Permanent adhesives (spray adhesive, Mod Podge) give a modern, professional look but can’t be undone.
- Protect from direct sunlight, moisture, and heat to prevent fading and warping.
Creative Uses for Mounted Photos
- Gifts: Birthdays, weddings, Mother’s Day, or Father’s Day.
- Home décor: Family photo walls, seasonal displays, or rustic gallery setups.
- Projects: Holiday crafts, children’s artwork preservation, or office wall décor.
Conclusion
Mounting photos on wood or board isn’t just about displaying an image—it’s about elevating a memory into art. Whether you prefer the rustic charm of wood or the clean lines of a mounting board, this technique is simple, affordable, and endlessly creative. With the right supplies, a bit of patience, and a touch of artistry, your favorite moments will stand out beautifully, ready to be admired for years to come.


