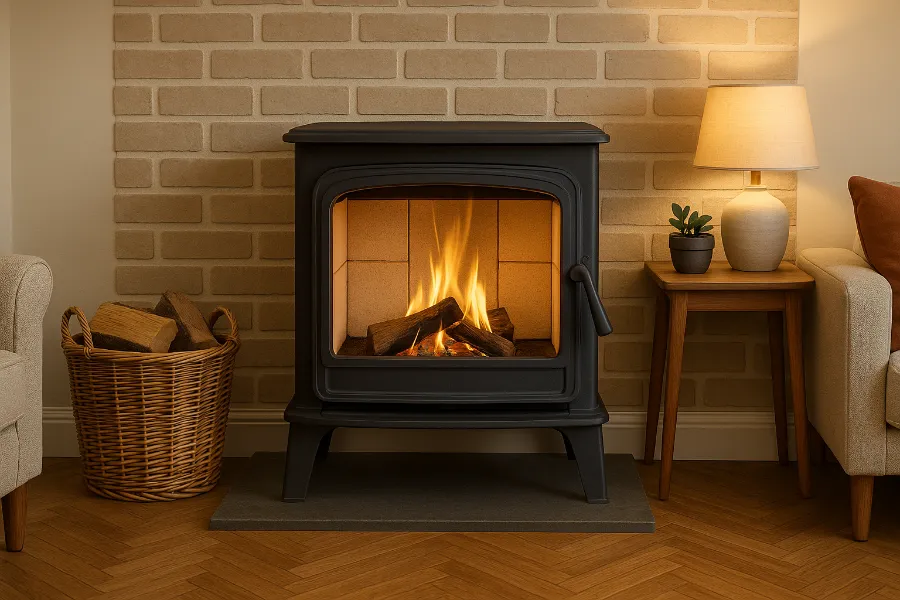
If you’ve ever looked inside your wood stove and noticed cracked or crumbling lining, you’ve seen the signs that it’s time to replace the fire bricks. Knowing how to install fire bricks in wood stove is a skill every stove owner should have. It’s not just about aesthetics—it’s about performance, safety, and longevity. Fire bricks are designed to withstand high temperatures, protect the metal body of the stove, and retain heat to improve efficiency. When they fail, your stove can overheat, warp, or even become a fire hazard.
In this guide, I’ll walk you step by step through the process of removing old bricks, choosing replacements, and installing new fire bricks like a pro. Don’t worry—you don’t need to be a contractor. With a few tools, a little patience, and the right know-how, you’ll be back to cozy, safe fires in no time.
Why Fire Bricks Matter
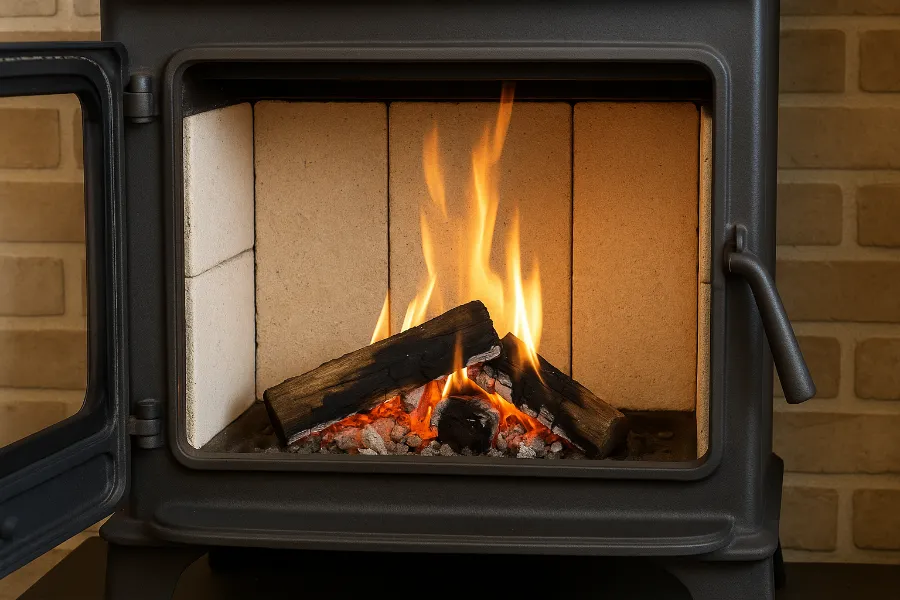
Fire bricks are the unsung heroes of your wood stove. They absorb intense heat, distribute it evenly, and protect the stove walls from direct flame. Without them, the steel or cast iron body of your stove would deteriorate quickly.
Here’s why they’re essential:
- Heat retention: Fire bricks store heat and radiate it back into the room.
- Efficiency boost: A well-lined stove burns hotter and cleaner, which means less smoke and more warmth.
- Safety shield: Cracked or missing bricks allow flames to lick the stove’s body, leading to metal fatigue or even cracks.
Bottom line? If you want your stove to last and perform efficiently, learning how to install fire bricks in wood stove is non-negotiable.
Safety First
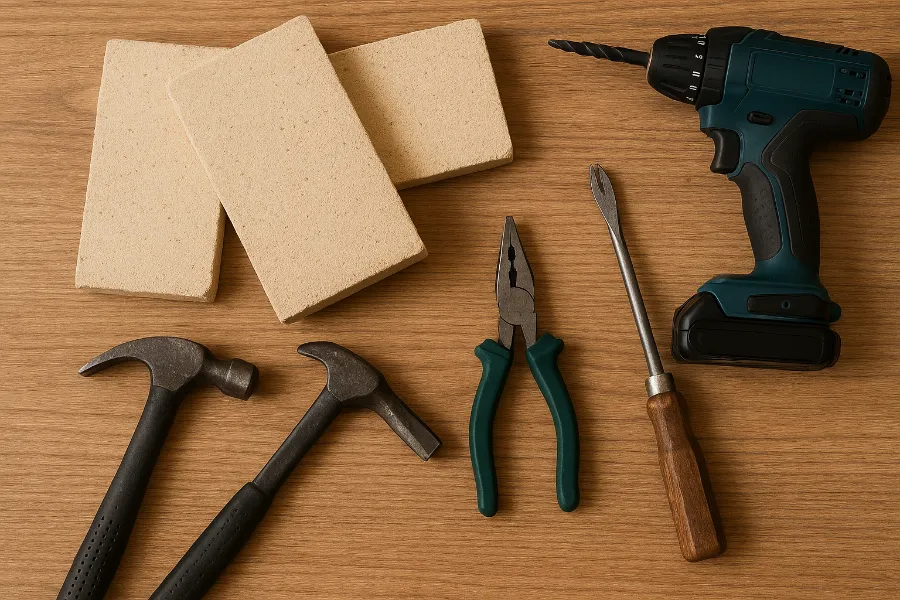
Before you grab a hammer or start prying out old bricks, safety comes first.
- Let the stove cool completely. This means not just “no fire,” but waiting until the metal feels room temperature.
- Wear gloves and goggles. Fire bricks can be crumbly, and broken pieces are sharp. Protect your hands and eyes.
- Dust mask: Removing old bricks stirs up ash and ceramic dust. A mask prevents breathing it in.
A little preparation here saves you a lot of trouble later.
Tools and Materials You’ll Need
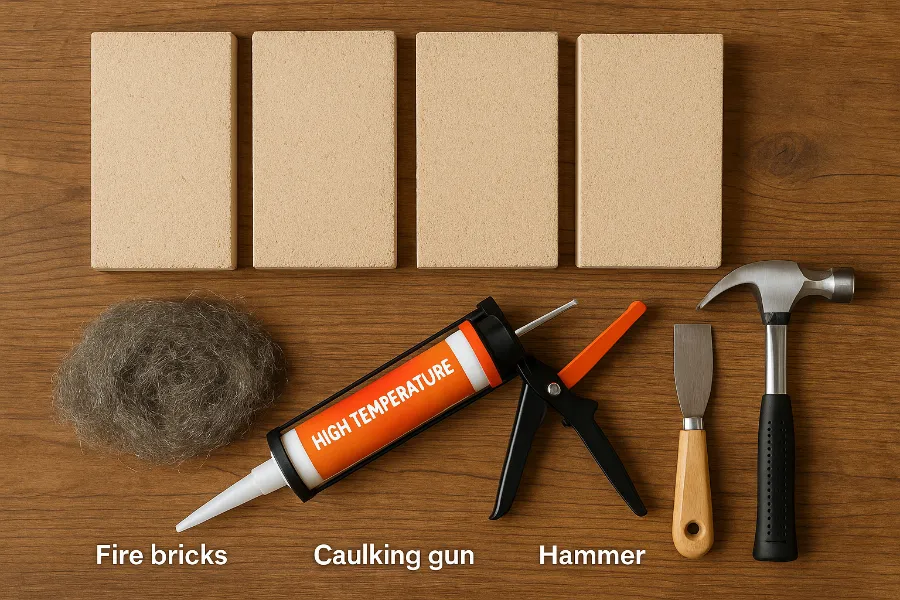
Installing fire bricks doesn’t require an arsenal of tools, but having the right ones on hand makes the job smooth:
- Replacement fire bricks (buy pre-cut ones designed for your stove model or cut your own if needed)
- Heatproof mortar or board adhesive (optional, depending on stove design)
- Ash shovel and brush
- Wire brush or scraper
- Small chisel or flathead screwdriver for prying
- Measuring tape
Optional extras:
- Fire cement or refractory adhesive (for securing loose bricks)
- Heatproof screed if you’re cutting custom bricks
Step-by-Step: How to Install Fire Bricks in Wood Stove
Now to the heart of the process. Follow these steps and you’ll have your stove lined and ready in under an afternoon.
Step 1: Clean Out the Stove
Remove all ash, soot, and debris. Use an ash shovel to scoop out the bulk, then a brush or vacuum to clear the corners. A clean stove gives you space to work and prevents dust from interfering with installation.
Step 2: Remove the Damaged Fire Bricks
Gently pry loose the old fire bricks. Some will slide right out; others may need persuasion with a flathead screwdriver or small chisel. If a brick crumbles, remove every piece—you don’t want fragments interfering with the new fit.
Step 3: Measure and Select New Bricks
Not all fire bricks are the same size. Check your stove’s manual or measure the old bricks before buying replacements. Standard fire bricks are often 9″ x 4.5″ x 1.25″, but stoves can vary.
Tip: If your stove uses angled or cut bricks, order the correct set designed for your model.
Step 4: Apply Adhesive (If Required)
Many stoves hold bricks in place with nothing more than pressure and tight fit. Some designs, however, call for fire cement or refractory adhesive. If yours does, spread a thin layer where the brick will sit.
Step 5: Install the New Fire Bricks
Slide the bricks into place, starting from the back and working your way forward. Install side bricks last, as they often wedge in to hold the rest. Make sure each brick sits snugly against its neighbor without gaps.
Step 6: Fire It Up to Set the Bricks
Once installed, light a small fire. This helps cure any mortar or adhesive and allows the bricks to settle into their permanent position. Start with a gentle fire—don’t blast full heat right away.
Signs It’s Time to Replace Fire Bricks
Knowing how to install fire bricks in wood stove is only half the story. The other half is recognizing when replacement is due. Look for:
- Cracks and breakage: Small hairline cracks are normal, but large cracks, chunks missing, or loose bricks mean it’s time.
- Heat escaping unevenly: If you notice one side of your stove glowing hotter, bricks may be failing on that side.
- Excessive smoke or reduced heat: A poorly lined stove burns less efficiently.
Replace bricks promptly to prevent long-term damage.
Tips for Long-Lasting Fire Bricks
Fire bricks are tough but not indestructible. A little care extends their life:
- Avoid overfiring: Don’t overload the stove with too much wood.
- Use seasoned hardwood: Wet wood burns cooler, creates more creosote, and strains the stove.
- Don’t slam logs: Dropping heavy logs onto fire bricks is a sure way to crack them.
- Check yearly: Make brick inspection part of your seasonal stove maintenance.
Conclusion
Learning how to install fire bricks in wood stove is a simple, practical DIY skill that pays off with better heat, improved efficiency, and greater safety. The job requires only basic tools, a little patience, and attention to detail. Replace damaged bricks promptly, and your wood stove will serve you reliably for years.
Next time you sit by a crackling fire, you’ll know that beneath the flames, your stove is protected and running at its best—thanks to those quiet workhorses, the fire bricks.


