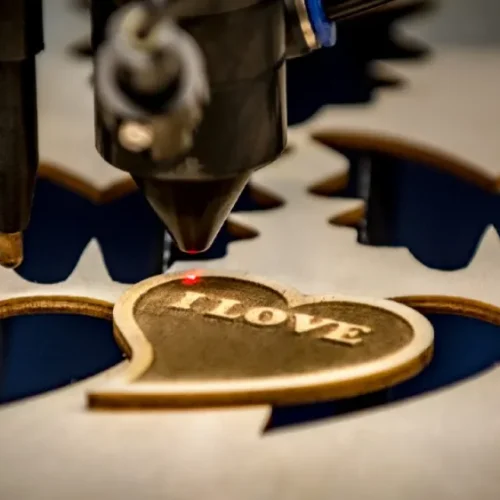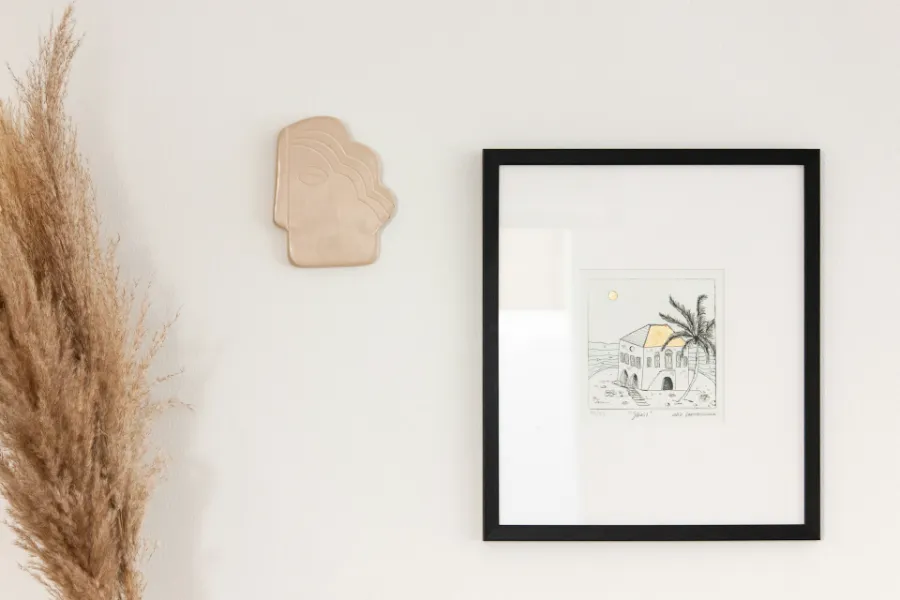
In an age where digital screens dominate our daily lives, there’s something uniquely satisfying about displaying physical photographs. A personalized photo frame not only showcases your cherished memories but also adds a touch of creativity to your living space. Utilizing a laser cutter for this DIY project can elevate the quality and precision of your frame, making it a standout piece. This comprehensive guide will walk you through the entire process of creating a custom photo frame using a laser cutter, from design conception to the final assembly.
Materials and Tools Needed
Before diving into the DIY process, it’s essential to gather all necessary materials and tools. Here’s a comprehensive list to ensure a smooth workflow:
Materials
- Acrylic, Wood, or Cardboard Sheets: Choose based on your desired aesthetic and the feasibility with your laser cutter.
- Backing Material: Foam board, cardstock, or another sturdy material to hold the photograph.
- Adhesive: Strong glue or double-sided tape for assembly.
- Mounting Hardware (Optional): For displaying the frame on walls.
- Decorative Elements (Optional): Paint, glitter, or other embellishments to personalize your frame.
Tools
- Laser Cutter: Ensure you have access to a functional laser cutting machine.
- Design Software: Software like Adobe Illustrator, Inkscape, or CorelDRAW.
- Measuring Tools: Ruler, calipers, or a measuring tape for precise dimensions.
- Protective Gear: Safety glasses and gloves when handling materials and operating the laser cutter.
- Clamps or Weights: To secure pieces during assembly if needed.
Designing Your Photo Frame
The design phase is crucial as it determines the aesthetics and functionality of your photo frame. Follow these steps to create an effective design:
a. Determine the Frame Size
Firstly, decide on the dimensions of the photograph you intend to frame. Common sizes include:
- 4×6 inches
- 5×7 inches
- 8×10 inches
Ensure the frame size accommodates the photo comfortably, leaving a small margin for visual appeal.
b. Sketch Your Design
Begin with a rough sketch of your desired frame. Consider the following design elements:
- Border Style: Simple, ornate, geometric, or thematic (e.g., floral, modern).
- Layering: Multiple layers can add depth and complexity to the frame.
- Joinery: Decide how the pieces will connect—slots, tabs, or interlocking parts.
c. Incorporate Decorative Elements
Think about integrating patterns, engravings, or cut-out designs that reflect your personal style. Laser cutters excel at producing intricate patterns, so leverage this capability to enhance your frame’s uniqueness.
Preparing the Design for Laser Cutting
Once your concept is clear, it’s time to translate it into a digital format suitable for laser cutting.
a. Choose Appropriate Software
Popular design software includes:
- Adobe Illustrator: Comprehensive vector graphics editor.
- Inkscape: Free and open-source vector design tool.
- CorelDRAW: Another robust vector illustration software.
b. Create Vector Paths
Laser cutters require vector files (like SVG or DXF formats) to follow precise paths. Ensure all your design elements are converted to vectors.
c. Set Proper Dimensions
Input accurate measurements based on your earlier sketch. Use layers to differentiate between parts to be cut, engraved, or untouched.
d. Optimize for Kerf
Kerf refers to the width of material removed by the laser. Adjust your design lines to compensate for this, ensuring pieces fit together snugly.
e. Test Your Design
Before committing to the final material, test your design on a cheaper substrate to identify and rectify any issues.
Laser Cutting Process
With your design ready, follow these steps to bring your photo frame to life:
a. Material Selection and Preparation
Choose a material that aligns with your design and desired finish. Common choices include:
- Acrylic: Offers a sleek, modern look with vibrant color options.
- Wood: Provides a warm, classic feel and can be stained or painted.
- Cardboard: Cost-effective and eco-friendly, suitable for simpler designs.
Ensure the material is clean and free from defects. Measure and cut the sheets to the size required by your laser cutter.
b. Configure the Laser Cutter
Adjust the laser cutter settings based on the material’s specifications. Key parameters include:
- Power: Determines the depth of the cut.
- Speed: Influences how quickly the laser moves.
- Frequency: Affects the quality of the cut or engraving.
Consult your laser cutter’s manual or manufacturer guidelines for optimal settings.
c. Test Cuts
Perform small test cuts on a scrap piece to verify settings. Adjust as necessary to achieve clean, precise cuts without burning or incomplete perforations.
d. Execute the Cutting Process
Load your material into the laser cutter and start the cutting process. Monitor the machine to ensure everything operates smoothly and safely.
Assembling the Photo Frame
After successfully cutting all the pieces, the next step is assembling your frame.
a. Clean the Pieces
Remove any residue or scorch marks from the edges. Light sanding with fine-grit sandpaper can smooth the surfaces and improve the appearance.
b. Lay Out the Components
Arrange all the frame components on a flat surface to visualize the final product. This step ensures all parts fit together correctly before gluing.
c. Apply Adhesive
Using a suitable adhesive, begin assembling the frame. Apply glue sparingly to avoid warping or excess seepage. For complex designs with interlocking parts, ensure each connection is secure before moving to the next.
d. Clamp and Dry
Use clamps or weights to hold the pieces together firmly as the adhesive dries. Follow the adhesive manufacturer’s instructions for drying times to ensure a robust bond.
e. Insert the Backing
Once the frame is assembled, place your backing material inside. This could be foam board, cardstock, or another sturdy medium to hold the photograph in place.
Finishing Touches
The final steps involve enhancing the frame’s appearance and functionality.
a. Sanding and Smoothing
Ensure all edges are smooth and free from rough spots. This step is particularly important if the frame will be handled frequently.
b. Painting or Staining
Depending on your material choice, you might want to paint or stain your frame. Acrylic can be painted with specialized paints, while wood responds well to stains and varnishes.
c. Adding Protective Coating
A clear sealant can protect your frame from scratches and environmental damage, especially if using wood or unfinished materials.
d. Mounting Options
Decide how you want to display your frame. Options include:
- Hanging Hardware: Attach hooks or brackets for wall display.
- Stand: Create a stable base for tabletop display.
Ensure mounting components are securely fixed to handle the frame’s weight.
e. Personalization
Add personal touches like engraving names, dates, or special messages to make the frame truly unique.
Tips and Tricks
To ensure the best results in your DIY laser-cut photo frame project, consider the following tips:
- Precision Matters: Accurate measurements and precise cuts are crucial for a cohesive frame.
- Material Experimentation: Don’t hesitate to try different materials to find the perfect match for your design.
- Layering Techniques: Incorporate multiple layers to add depth and dimension to your frame.
- Ventilation: Always operate laser cutters in well-ventilated areas to avoid inhaling fumes.
- Backup Your Designs: Save multiple copies of your design files to prevent data loss.
- Practice Safety: Familiarize yourself with the laser cutter’s operation manual and safety protocols.
Safety Considerations
Safety should always be a priority when working with laser cutters and materials. Adhere to the following guidelines:
- Protective Gear: Always wear safety glasses to protect your eyes from laser reflections and debris.
- Ventilation: Use laser cutters in spaces with adequate ventilation to disperse fumes and smoke.
- Material Safety: Some materials release toxic fumes when cut. Avoid using PVC or other harmful substances.
- Fire Safety: Keep a fire extinguisher nearby and never leave the laser cutter unattended while in operation.
- Machine Maintenance: Regularly clean and maintain your laser cutter to ensure optimal performance and safety.
Conclusion
Creating a DIY photo frame with a laser cutter is a rewarding project that combines creativity, precision, and personalization. By following this guide, you can craft a stunning frame that not only showcases your favorite photographs but also serves as a testament to your crafting skills. Whether you’re enhancing your home décor, designing unique gifts, or exploring small-scale production, laser-cut photo frames offer endless possibilities. Embrace the process, experiment with designs, and enjoy the satisfaction of displaying your memories in a frame you’ve meticulously crafted yourself.
Embarking on a DIY photo frame project with a laser cutter can be both fun and fulfilling. With the right materials, tools, and a bit of creativity, you can produce beautiful, custom frames that enhance any photograph. So, gather your supplies, fire up your laser cutter, and start designing your next masterpiece!


