
Hey there, my friends! Today, I’m bringing you a super handy home improvement tip that might not seem flashy, but trust me—it’s one you’ll be glad to know! I first learned this trick from my brother years ago. The first time he did it on one of my walls, I was horrified, thinking he was making things worse. But once I saw the results, I realized it’s actually the best way to handle wall anchors!
If you’ve ever tried to remove a wall anchor, you know how frustrating it can be. Wall anchors are designed to spread out behind the drywall, securing screws and other fixtures in place. The problem? When you try to remove them, they can leave behind a huge, messy hole that’s difficult to patch up. On the flip side, if you simply try to fill the hole without removing the anchor, it often remains visible beneath the paint.
So what’s the best solution? Instead of attempting to yank the anchor out of the wall, the trick is to knock it into the wall itself! This method is quick, simple, and ensures a much cleaner finish.
Step-by-Step Guide to Removing Wall Anchors
Here’s exactly how to do it using just a few basic tools:
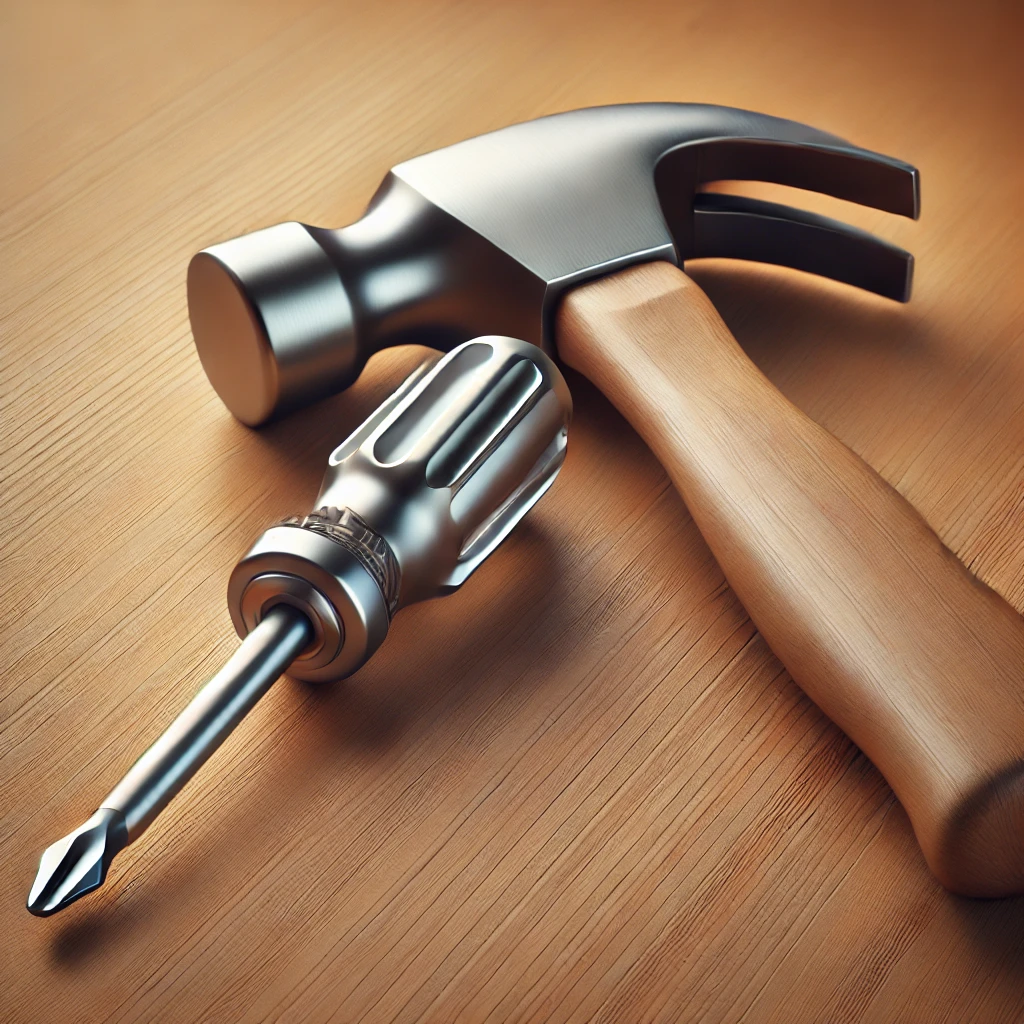
What You’ll Need:
- A hammer
- A flat-head screwdriver
- Spackling compound (this is my favorite—affiliate link—it turns from pink to white when it’s ready to be sanded!)
- Sandpaper
- Paint (to match your wall color)
Step 1: Remove Any Screws from the Anchor
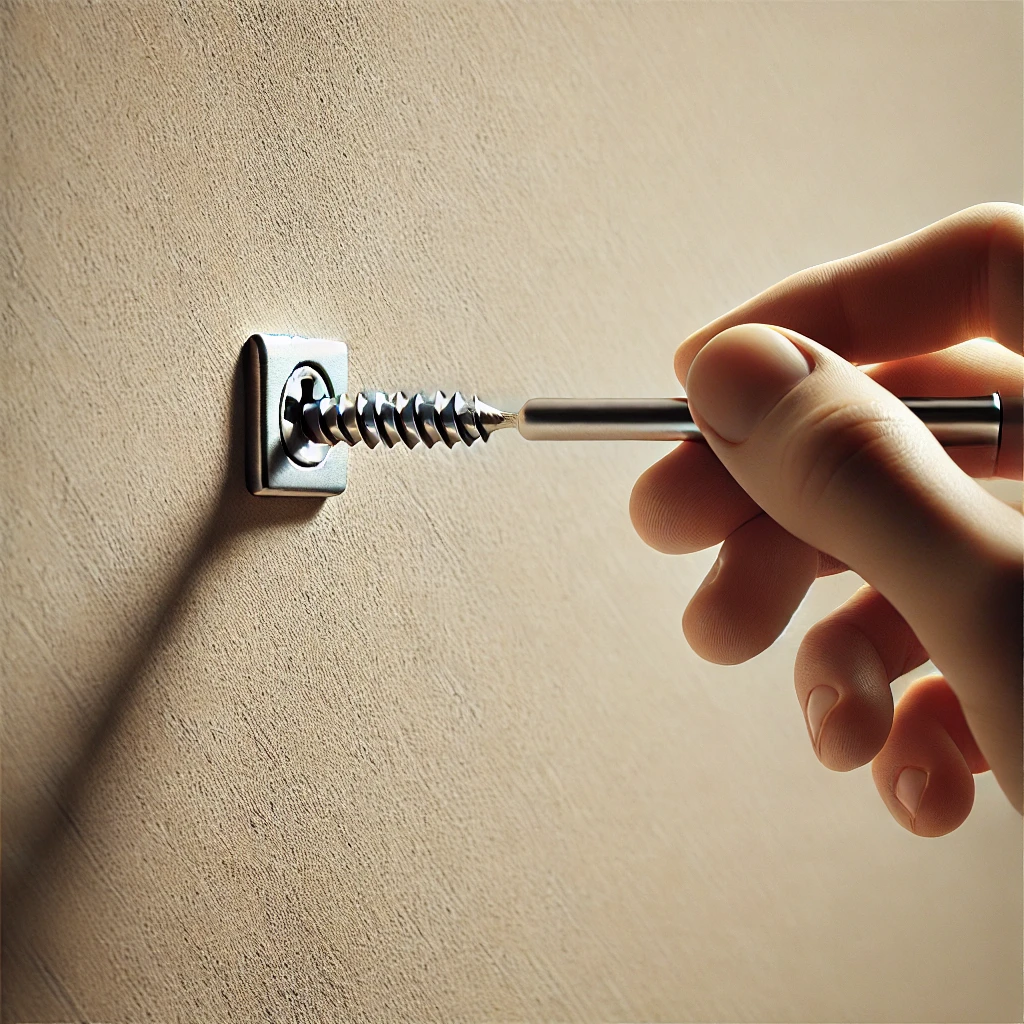
Before dealing with the wall anchor itself, you need to remove any screws that may still be in place. Simply unscrew them using a screwdriver or drill. Once the screw is out, you’ll be left with just the anchor in the wall.
Step 2: Flush the Anchor with the Wall
Take a look at the anchor. If it’s protruding slightly from the wall, you’ll need to make it flush before knocking it in. Here’s how:
- Take the handle end of your flat-head screwdriver and place it against the anchor.
- Gently tap the flat head of the screwdriver with your hammer. This will push the anchor so it sits flush with the surface of the drywall.
Step 3: Knock the Anchor into the Wall
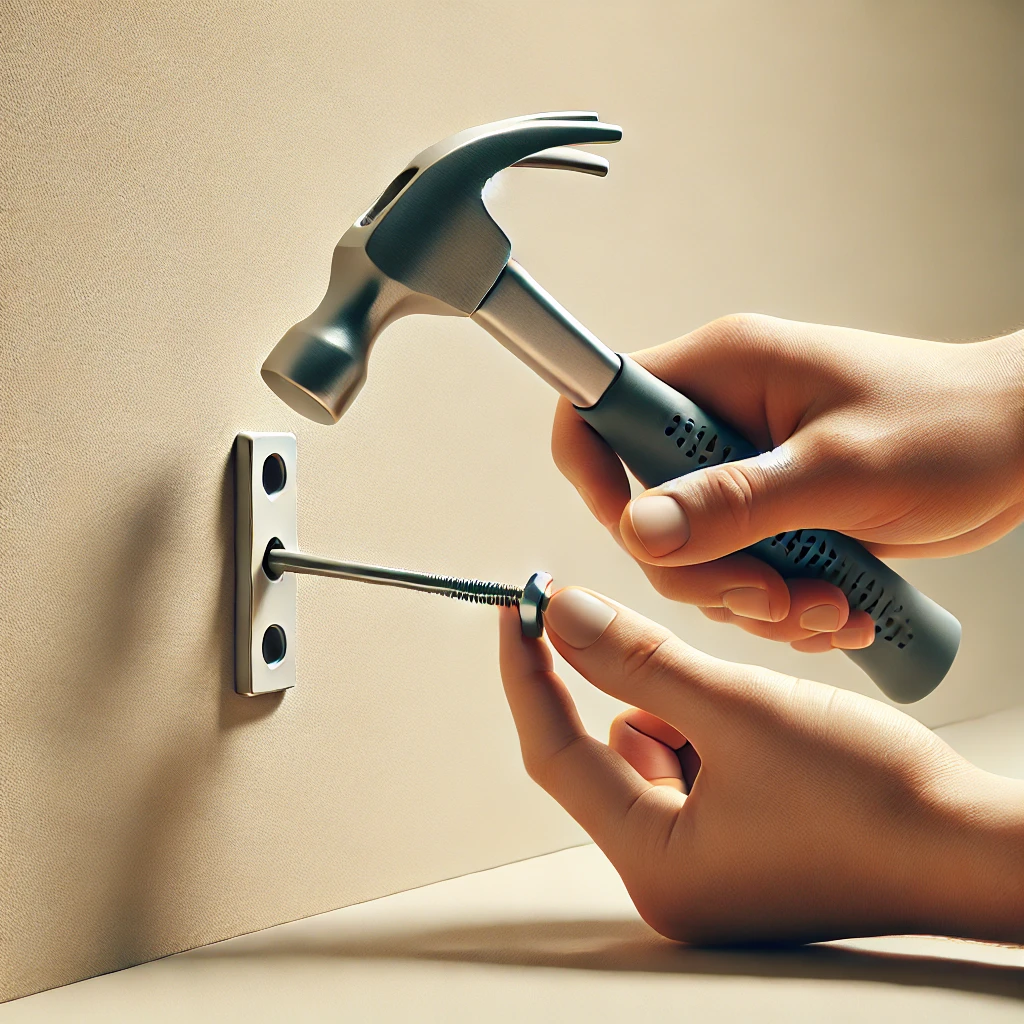
Now that the anchor is flush with the wall, it’s time to push it through.
- Flip the screwdriver around so the flat head is against the anchor.
- Lightly tap the handle of the screwdriver with your hammer. Be gentle—you don’t want to damage the drywall.
- Continue tapping until the anchor pops through and falls inside the wall cavity, between the drywall and the studs.
And just like that, the troublesome anchor is gone! Instead of a large, jagged hole, you’re left with a small hole that’s much easier to patch up.
Step 4: Fill the Hole with Spackling Compound

Now that you have a small hole where the anchor used to be, it’s time to patch it up.
- Take your spackling compound and apply a small amount to the hole. You can use a putty knife or even your finger to smooth it over.
- If you’re using a color-changing spackling compound (like my favorite one—affiliate link), you’ll know it’s dry when it changes from pink to white. This takes out the guesswork!
Step 5: Sand and Paint
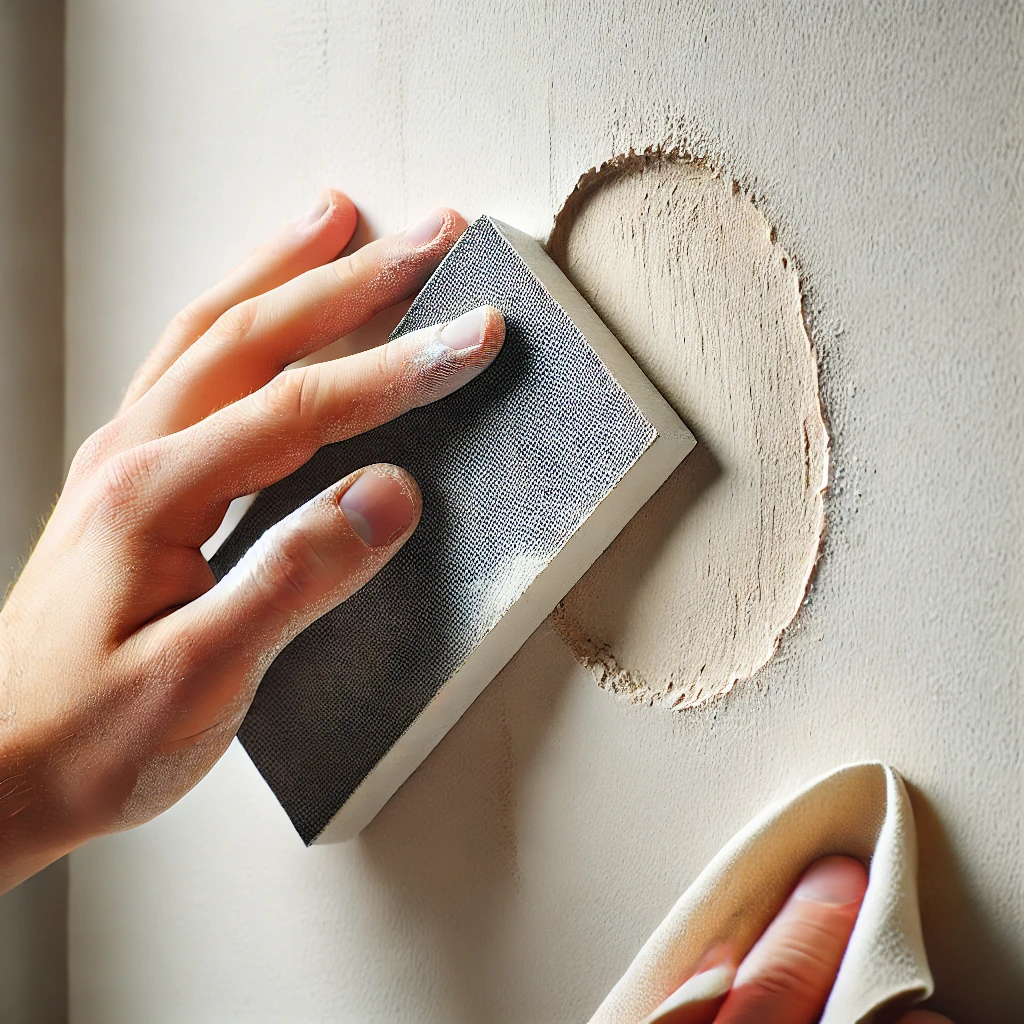
Once the spackling compound is completely dry, it’s time for the finishing touches.
- Lightly sand the area using fine-grit sandpaper until it’s smooth and blends seamlessly with the surrounding wall.
- Wipe away any dust with a damp cloth.
- Finally, touch up the area with paint that matches your wall color. Let it dry completely before assessing if a second coat is needed.
And That’s It!
No more ugly wall anchors or gaping holes! This method is quick, easy, and leaves your wall looking as good as new. Plus, it saves you the frustration of dealing with large, messy patches.
Why This Method Works So Well:
✅ Minimizes damage – Pulling out a wall anchor can rip up a huge section of drywall, making it much harder to repair. Knocking it through the wall avoids this problem.
✅ Less work – A small hole is far easier to fill, sand, and paint than a giant tear in the drywall.
✅ Fast and effective – The whole process only takes a few minutes, and the results are seamless.
So the next time you need to remove a wall anchor, don’t fight with it—just push it through! It’s a game-changer when it comes to home repairs.
Have you tried this method before? Let me know in the comments how it worked for you! And if you found this tip helpful, be sure to share it with a fellow DIYer.


